As a bibliophile, Shirley is very nostalgic for the library card catalog and had been looking on ebay and etsy for card catalogs. Chris tried to talk some sense into her pointing out that card catalogs are not very useful pieces of furniture. “What can you put in a card catalog?”
Then she came across some examples of DIY card catalogs (and similar projects for apothecary cabinets), which were made from dressers. She was inspired to “try and build one”, which is code for seeing if Chris could do it.
Of course he can. . .
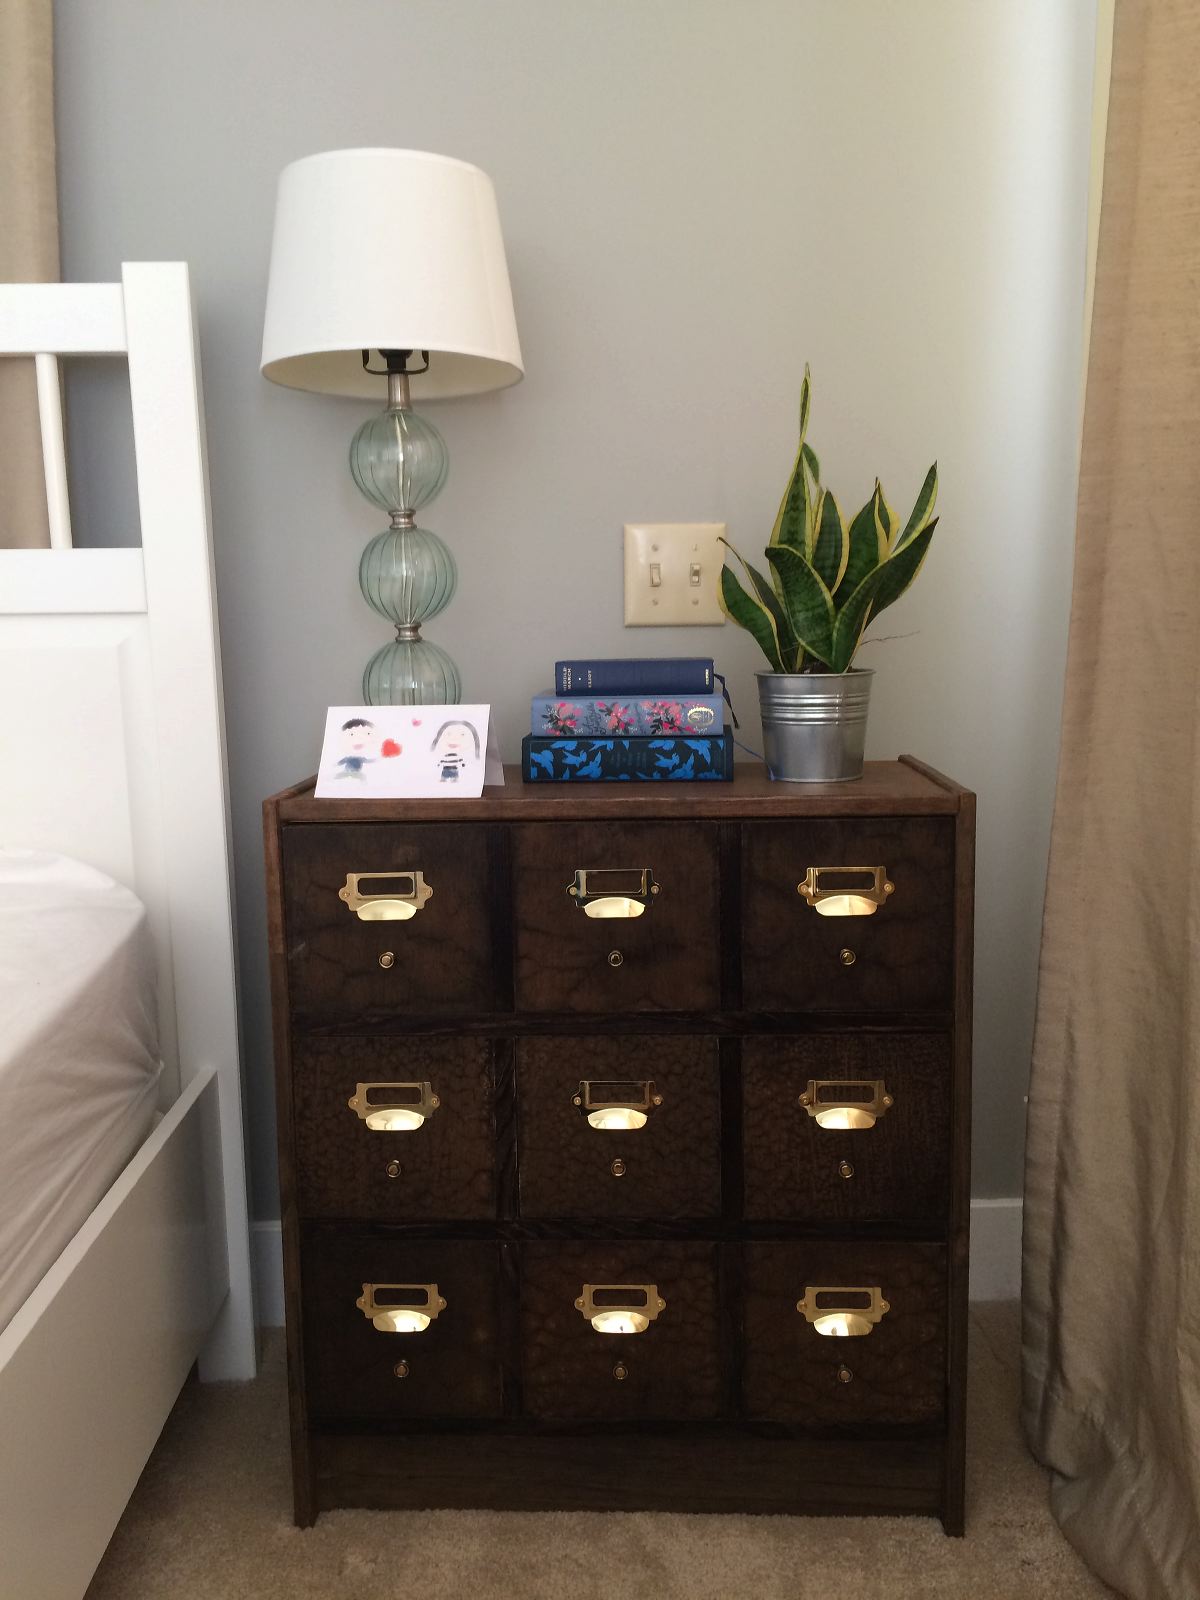
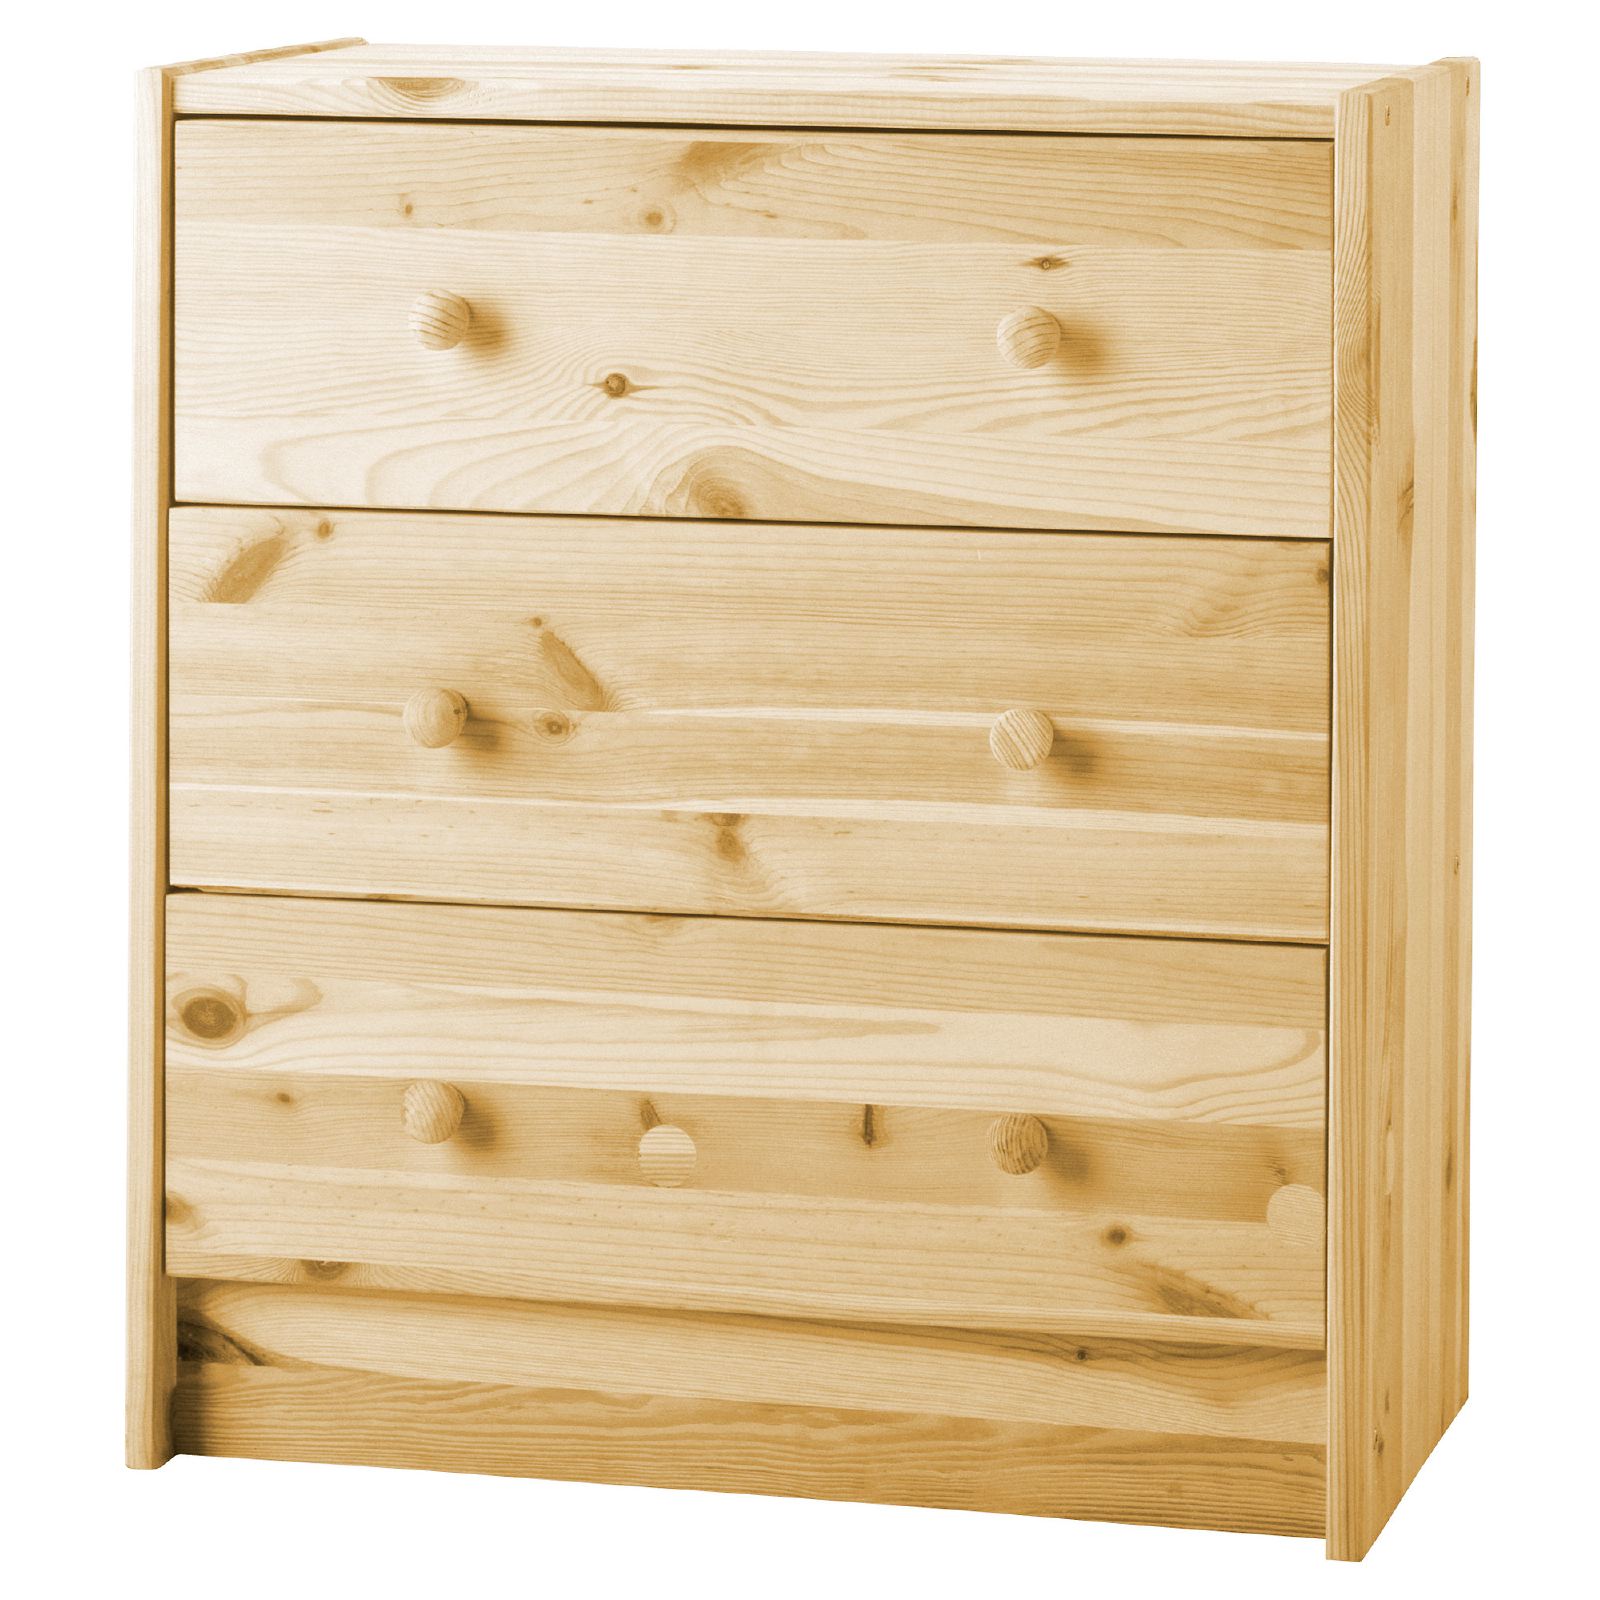
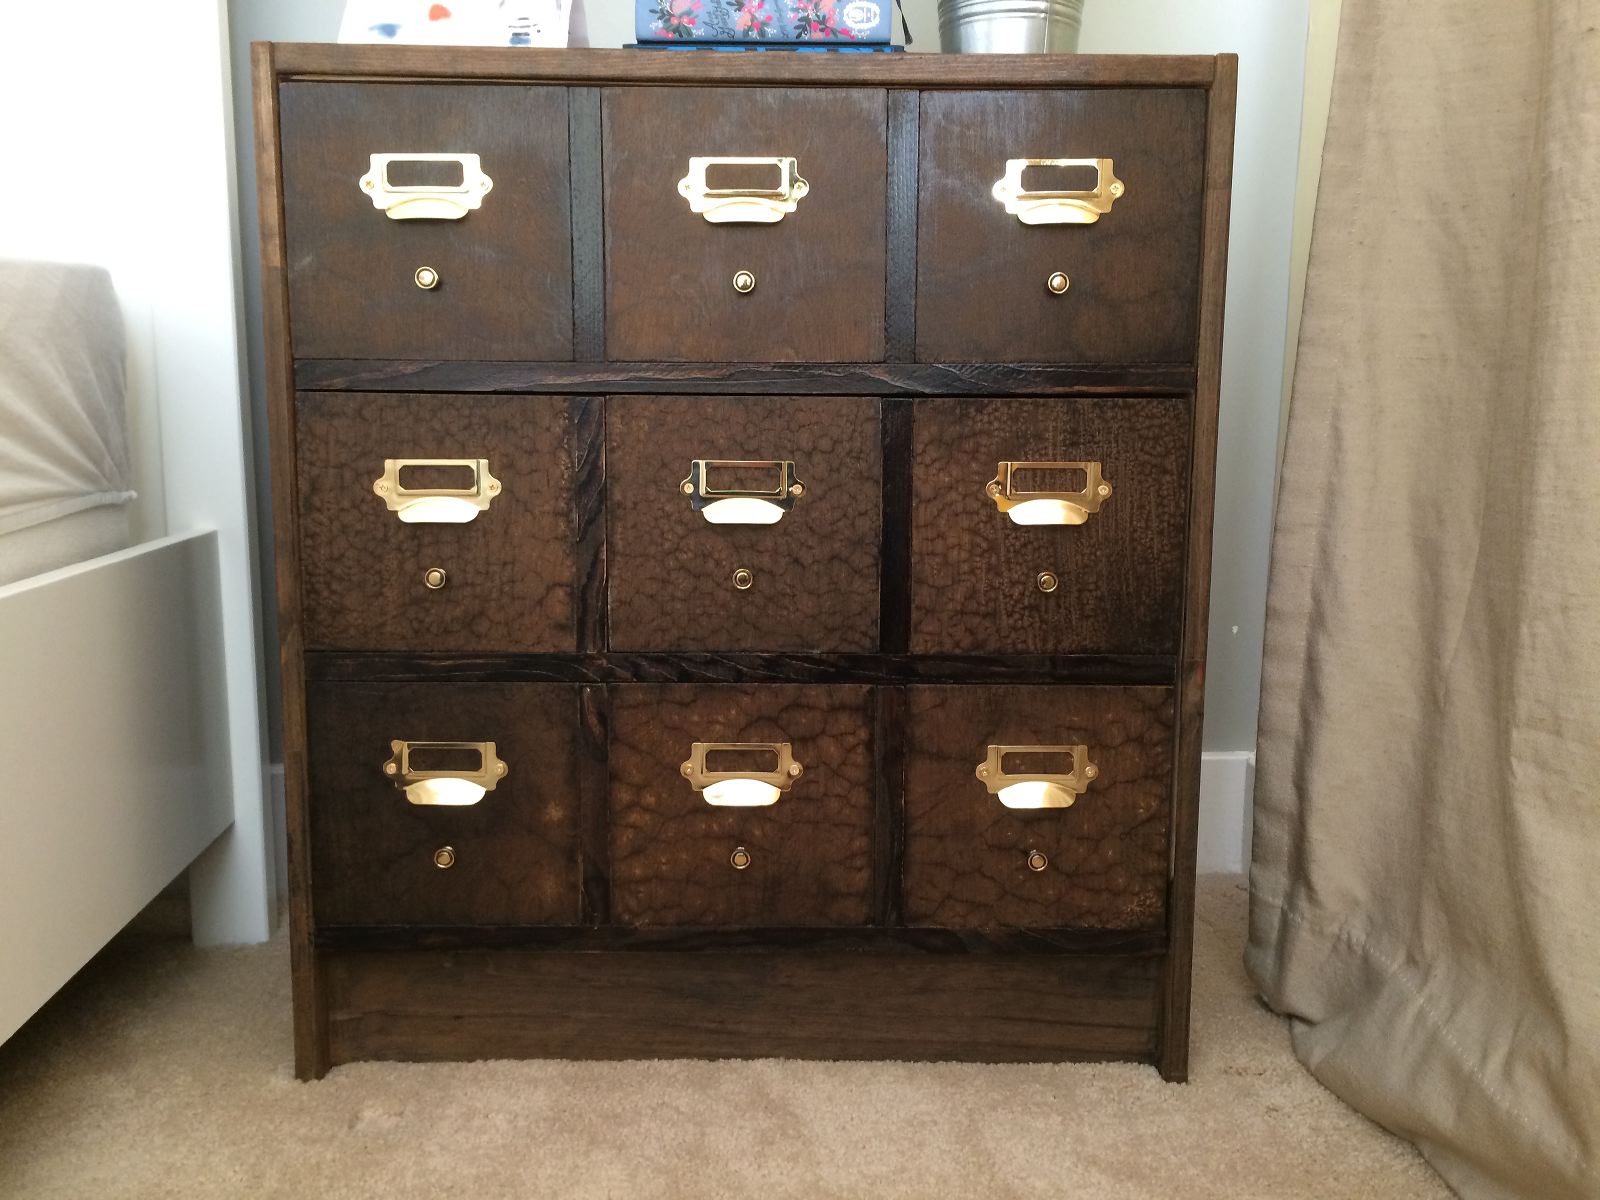
Here’s the finished product, built using an IKEA Rast dresser.
There are lots and lots of hacks of the Rast dresser, mainly because it’s so cheap ($35), and a fairly basic and customizable style. As an added plus, our daughter likes to assemble IKEA furniture, since she’s a whiz with an allen wrench.
To create the card catalog effect, Chris cut a bunch of panels out to represent the individual drawers and used a separate piece of screen moulding to represent the face frame. Of course, the doors are not really the same size as a card catalog.
Dimensions:
Each of the Rast drawer fronts is 7-1/2″ tall and 23″ wide. The screen moulding is about 3/4″ wide. So each faux drawer front ends up being 6-3/4″ tall by 7-1/8″ wide. The screen moulding and the drawer fronts are both 1/4″ thick.
Wood glue was used to join each of the pieces of plywood and screen moulding to the Rast drawer front and clamped. Screws for the handles will also help hold the new fronts on to the Rast drawer.

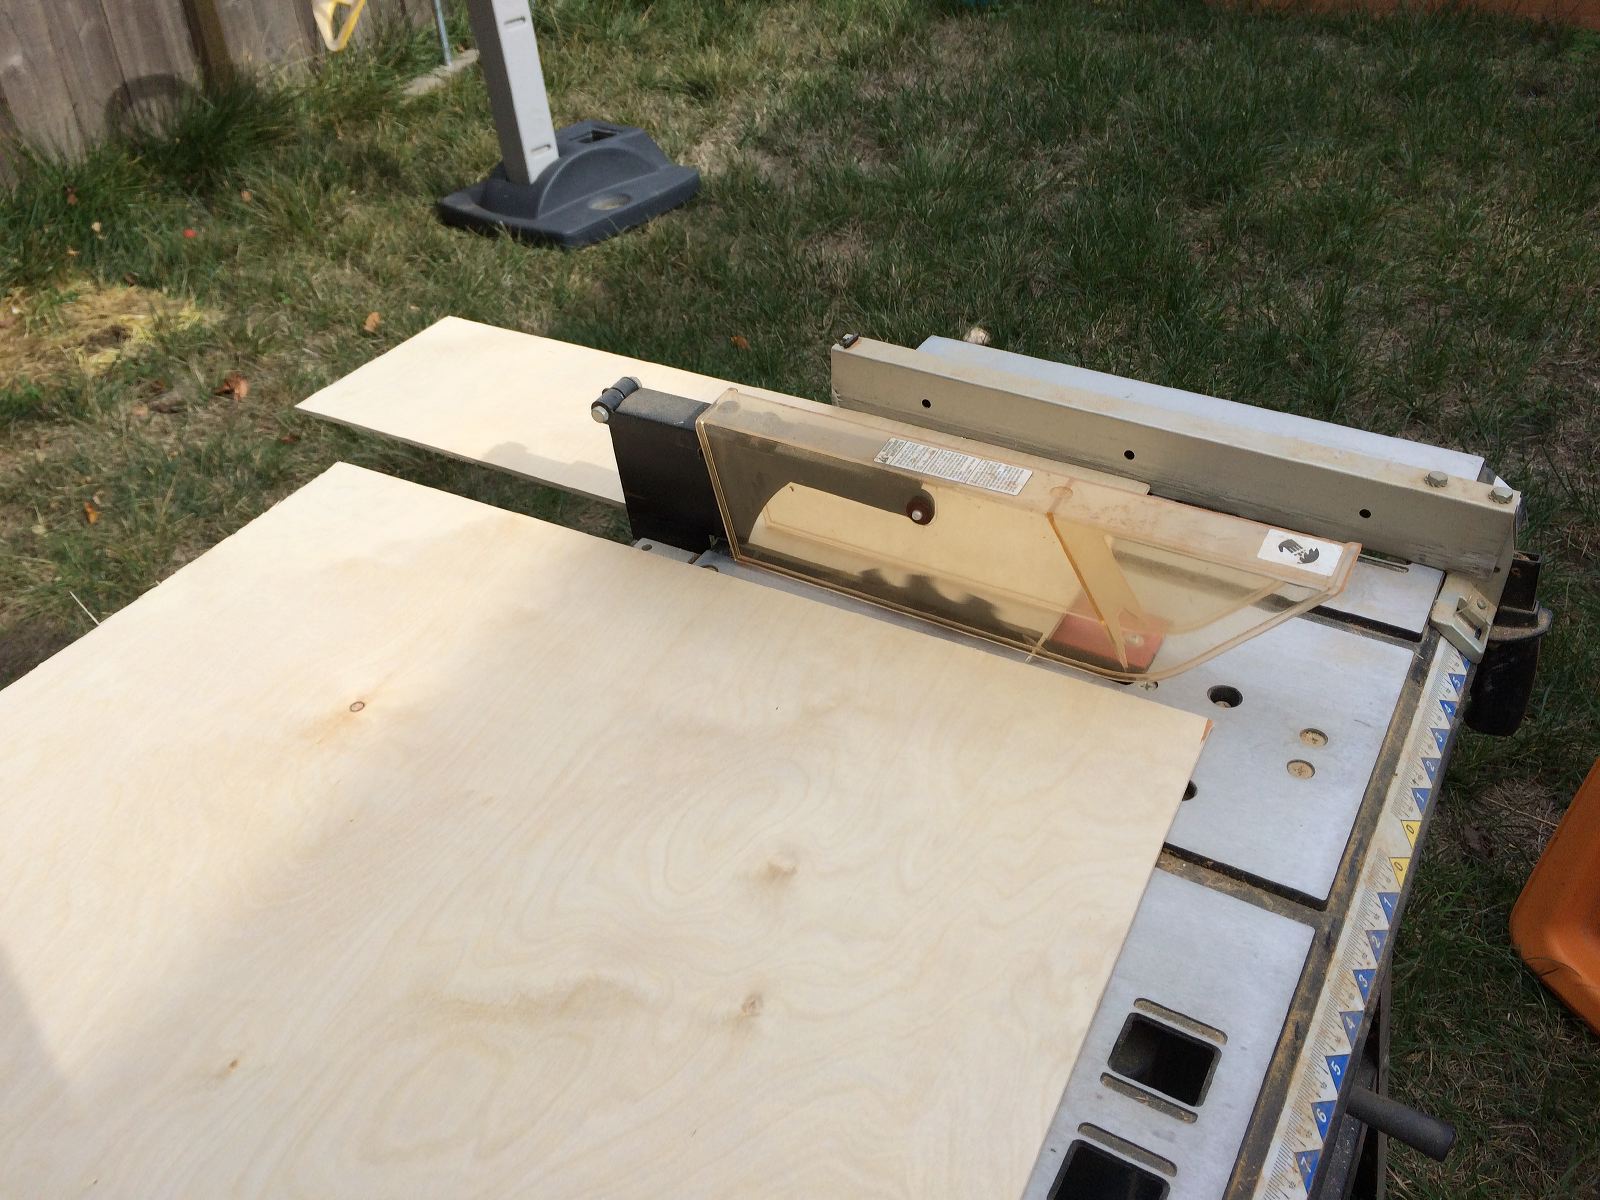
Chris used a table saw to rip the plywood to create the individual panels to the appropriate dimensions.
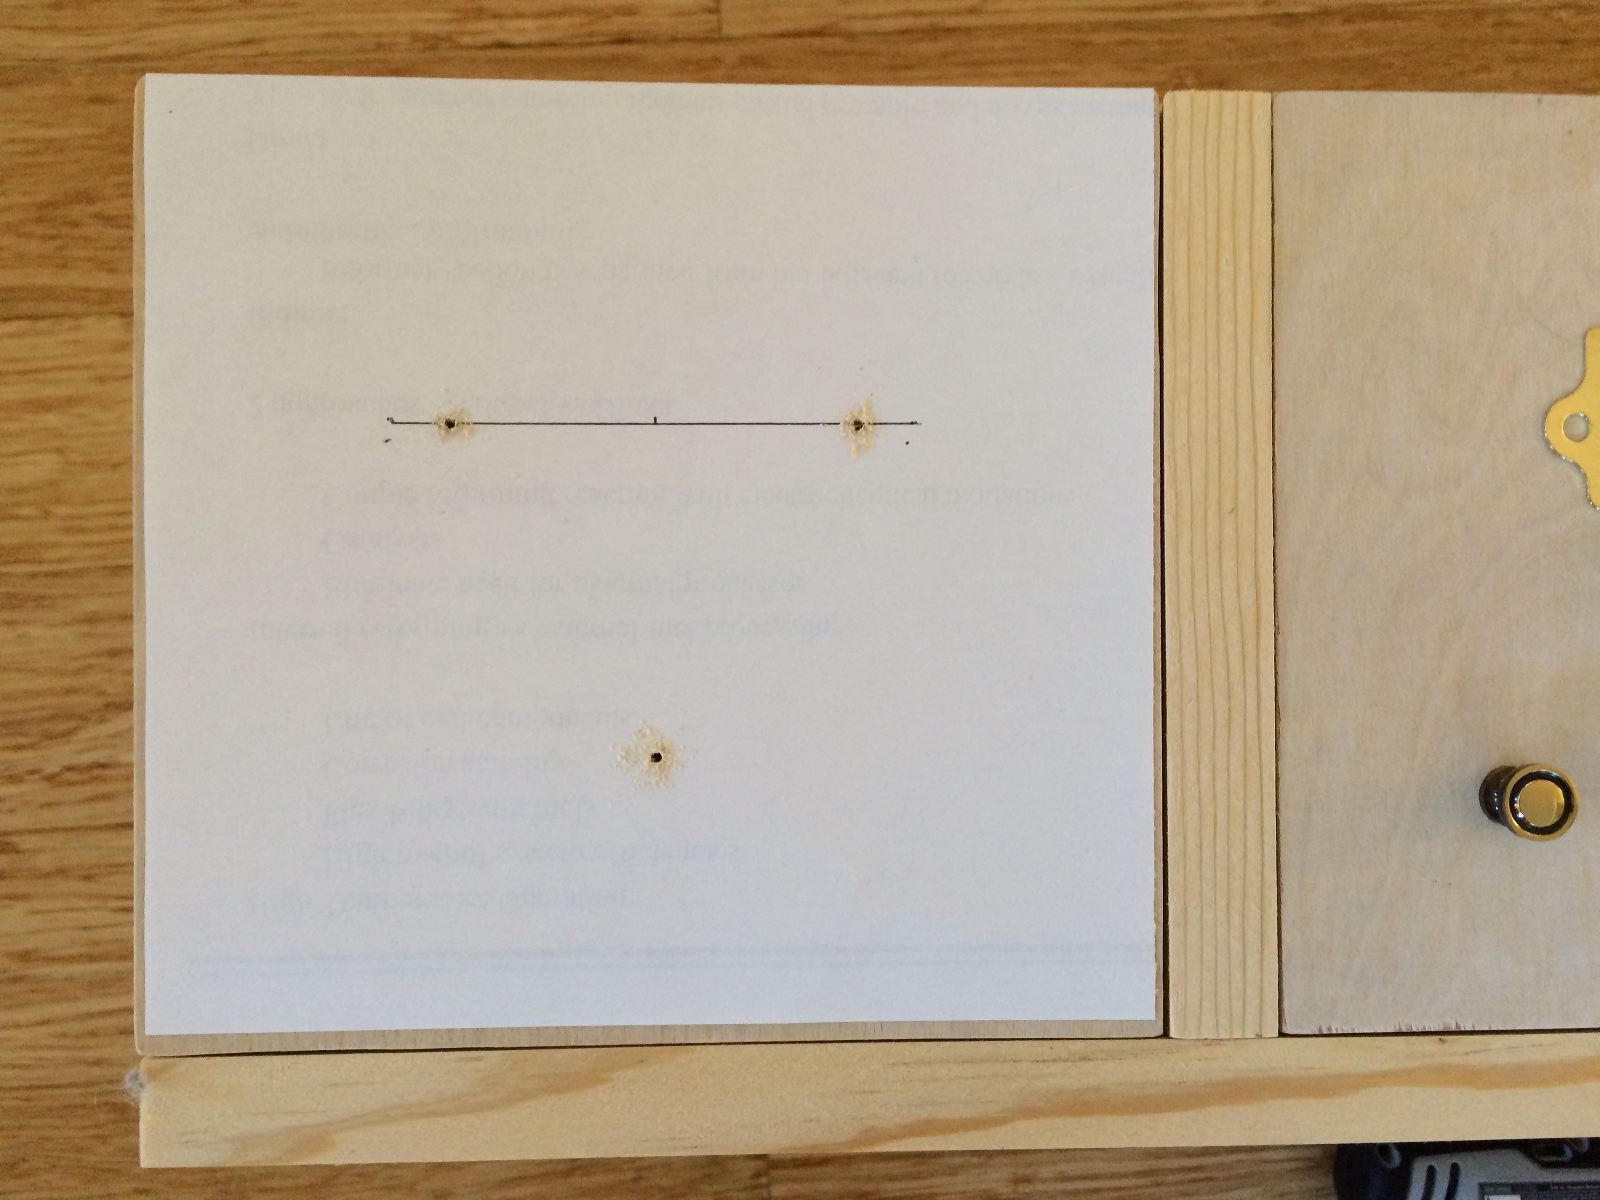
Then a template was used to drill the holes for the label holders/handles and knobs, which we purchased them online from D. Lawless Hardware.
Here’s a shot of the project before staining and sealing. In addition to the panels and screen moulding on each of the drawer faces, there is also one more piece of screen moulding on the very top of the dresser. This, along with the dresser sides (which stuck out about 1/4 inch in front of the drawer fronts) creates a more or less flush frame and new drawer fronts for the entire dresser.
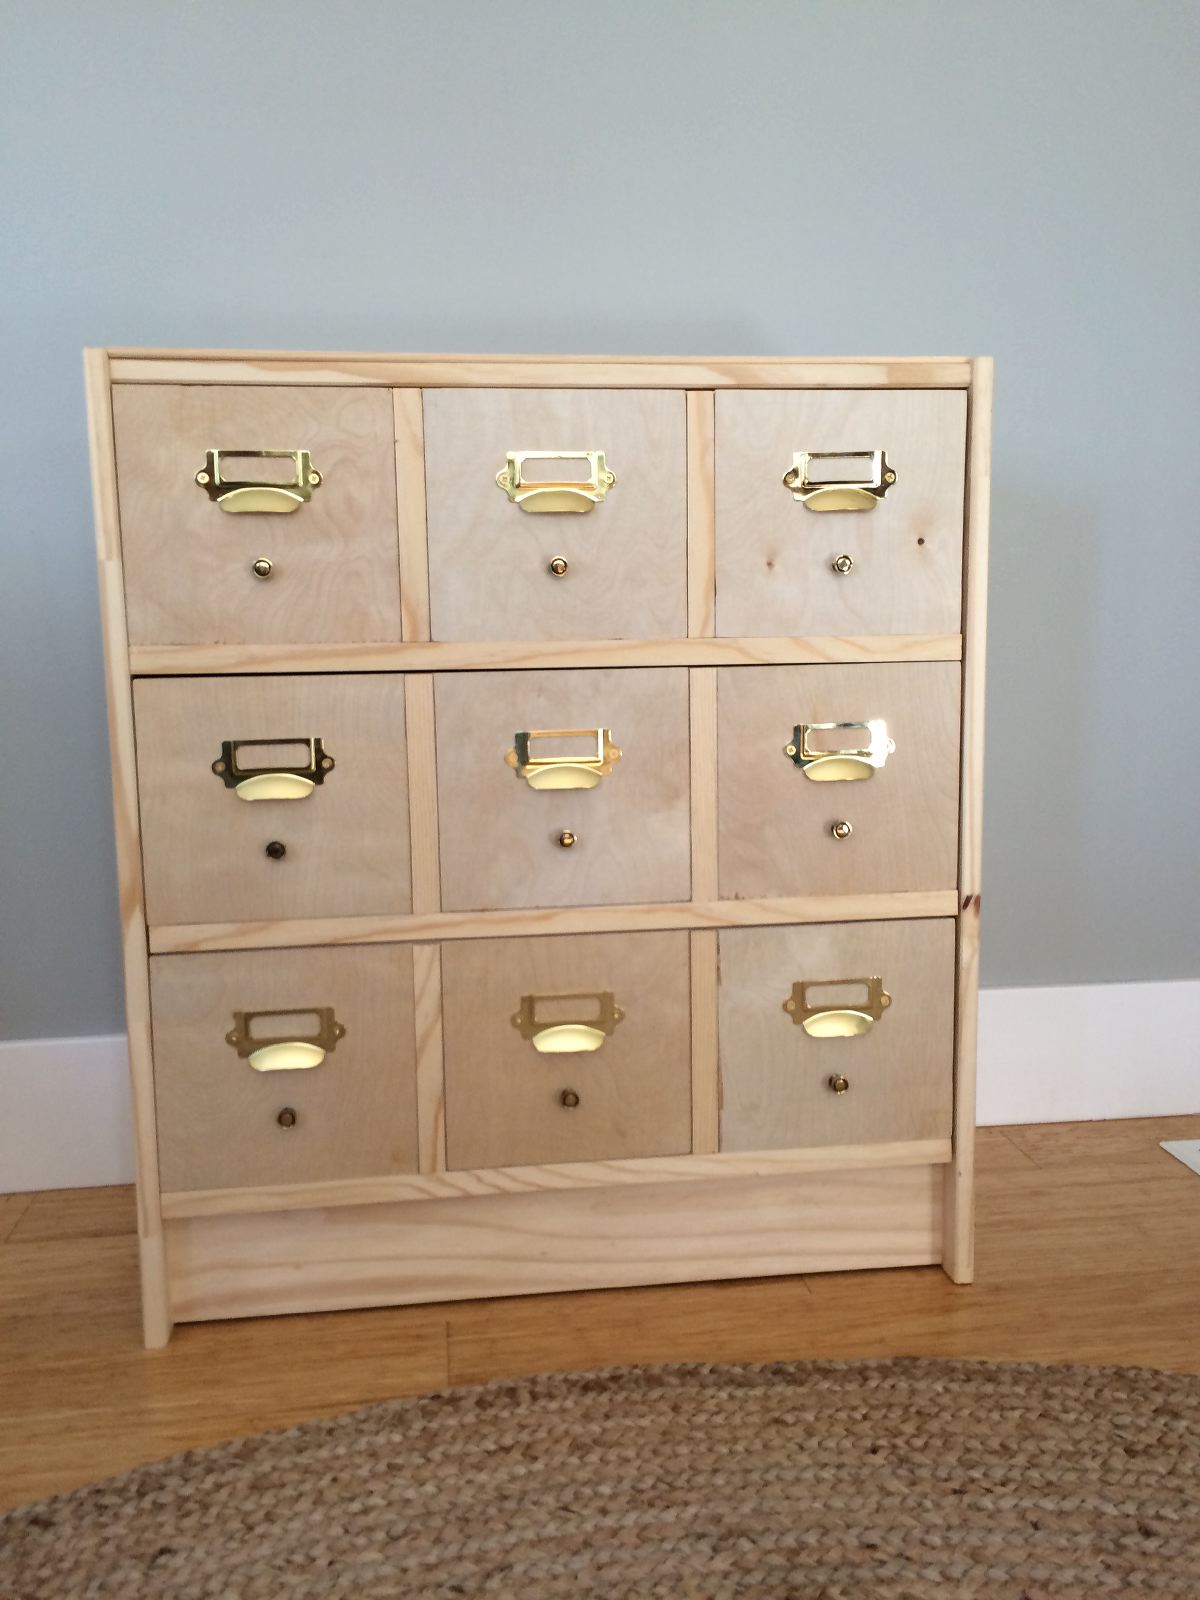
The diagram below shows the screen moulding on the top of the dresser and the various pieces that are glued to each of the drawer fronts. 3 plywood drawer panels (in pink) and 2 short vertical pieces of moulding and one long horizontal piece of moulding (in blue). The three drawers are identical.

We thought about painting the dresser but ended up deciding on stain, Minwax Dark Walnut stain, because we liked the look of the wood grain. This was Chris’s first time using stain and there were some issues during staining.

The wood surfaces of the Rast itself stained quite nicely. However, since the plywood panel, the screen moulding and the Rast were all made of different types of wood, they all took the stain very differently and were very different shades after the first coat. The plywood drawer fronts kind looked a sickly greyish brown while the grain on the moulding stood out way too much. Chris ended up staining the drawer fronts several times to get them darker and more uniform (and more similar to the dark rich color of the Rast top and sides). He left them to stain for a few weeks just to get the wood to really take the stain. After we were satisfied with the final colors, then came a couple of coats of polyurethane to seal it.

Here are a few final shots of the finished Rast card catalog. Overall we were very pleased with the results, but the staining process was a bit of a pain, mostly with the uncertainty of how it would turn out given the different types of wood that were used, and trying to get the wood colors to more ore less match up.


Here’s the final bill of materials
- IKEA Rast dresser: $35
- Cup pull label holder/handle x 9 $5.40
- Knobs x 9 $4.50
- Screen moulding 8ft lengths x 2 $4.50
- Plywood panel 2′ x 4′ x 1/4″ $15
- Assorted screws $3
- Minwax Wood Stain, Dark Walnut
$3
- Polyurethane $4
- Total ~$75
Update: we were featured on ikeahackers.net! See our other ikeahacks listed below.
Hey, thanks for the link and for using us in this project! Get ahold of me next time you need hardware. I’d be glad to provide it free of charge if you are gonna use it in an awesome way again! Thanks!
I love Rast makeovers! The transformations are so fun and are always unique!
I’ve done a pair of nightstand before too, and want to do them again potentially for a closet!
All great ideas and nice execution. Thumbs up for you guys.
Minwax makes a wood conditioner that is designed to use on pine. You put it on before the stain, and it evens out the way the different kinds of wood and the grains take the stain. It’s not perfect, but it works surprisingly well.
I love your “card catalogue”!
sooo good