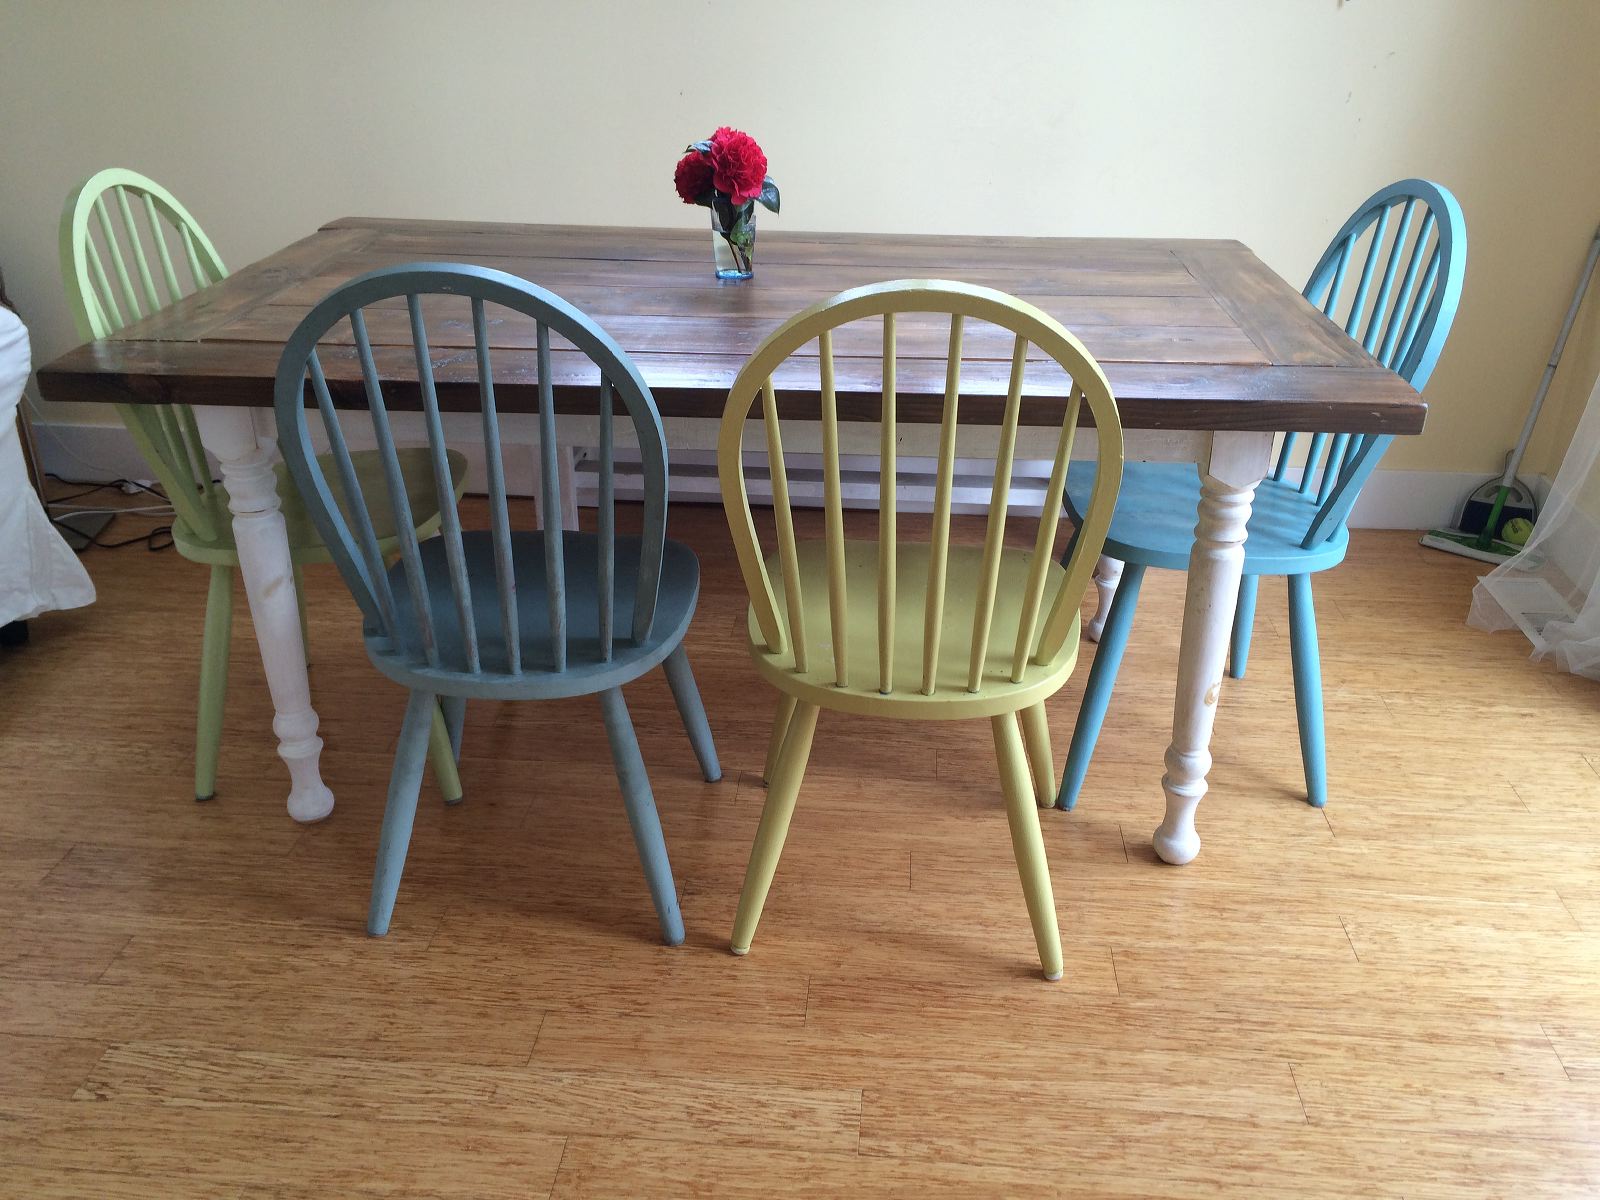
When Shirley mentioned she liked farmhouse tables, the wheels in Chris’s head started turning and he decided he would try to build one.
Research phase:
There are a number of examples online of people building some great tables online (e.g. here and here). Also there were also some great ideas of making new wood look like old, aged barnwood, which involved dissolving steel wool in vinegar and wiping the wood with a mixture of the solution and tea to “weather” the wood. This causes a reaction between the dissolved iron and the tannic acid in the wood (and the tea) to create a greyish color that mimics weathered wood.
Execution phase:
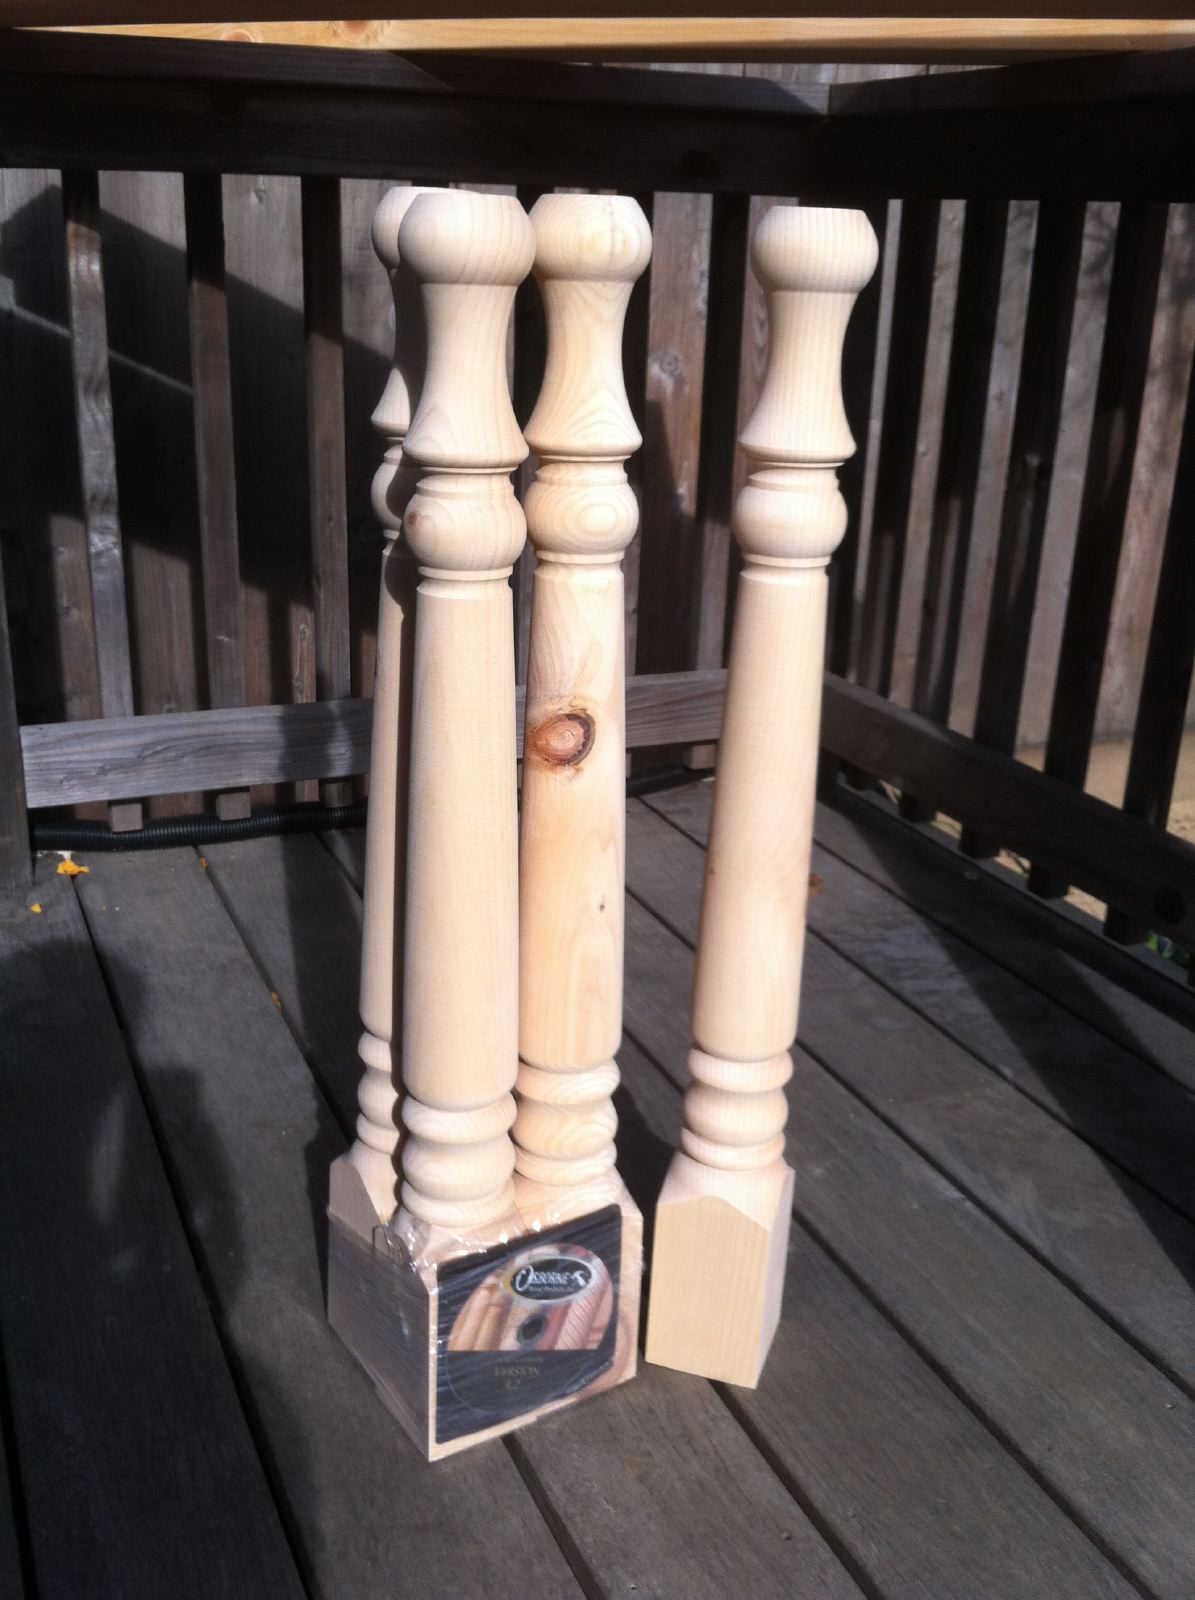
We had some wood in the garage and bought some more douglas fir wood from Home Depot and Ashby Lumber. We tried to find some inexpensive table legs at some salvage stores but ended up ordering some farmhouse table legs online. Here are all the constituent parts (mainly 2x4s, 2x6s and 2x8s).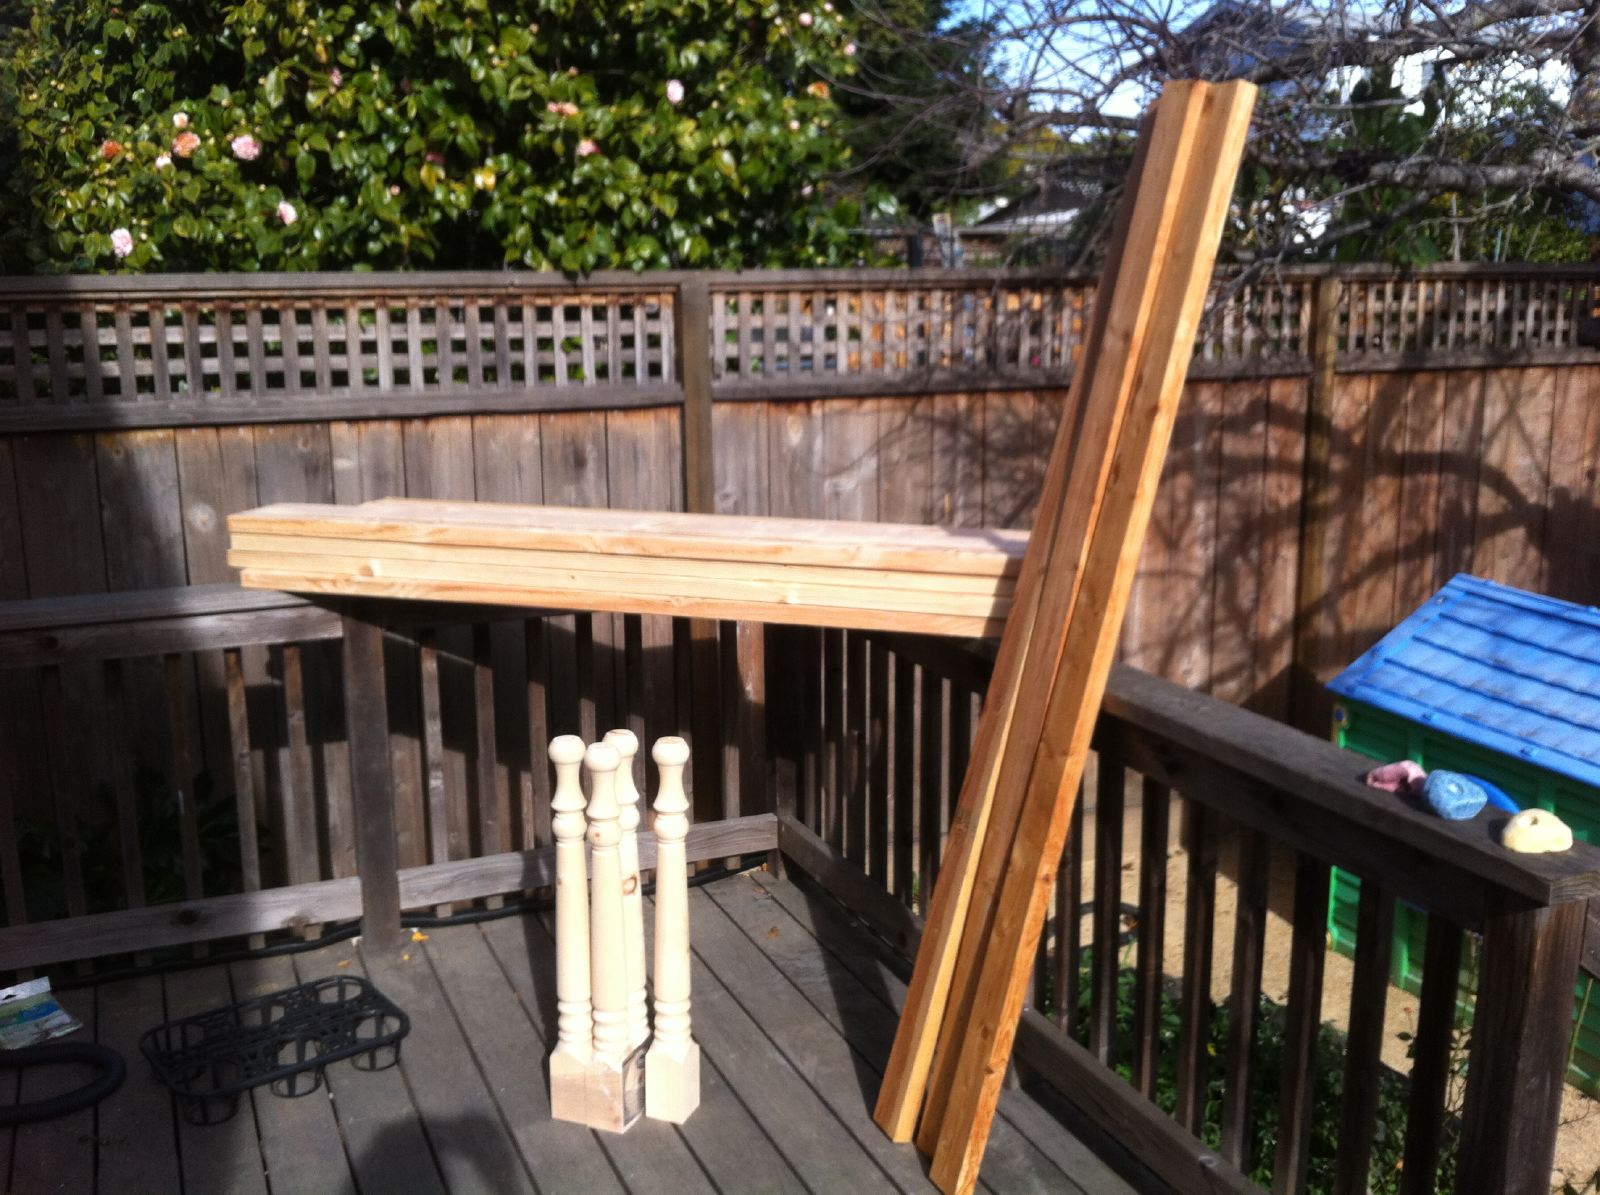
We ended up purchasing the legs online for $95.
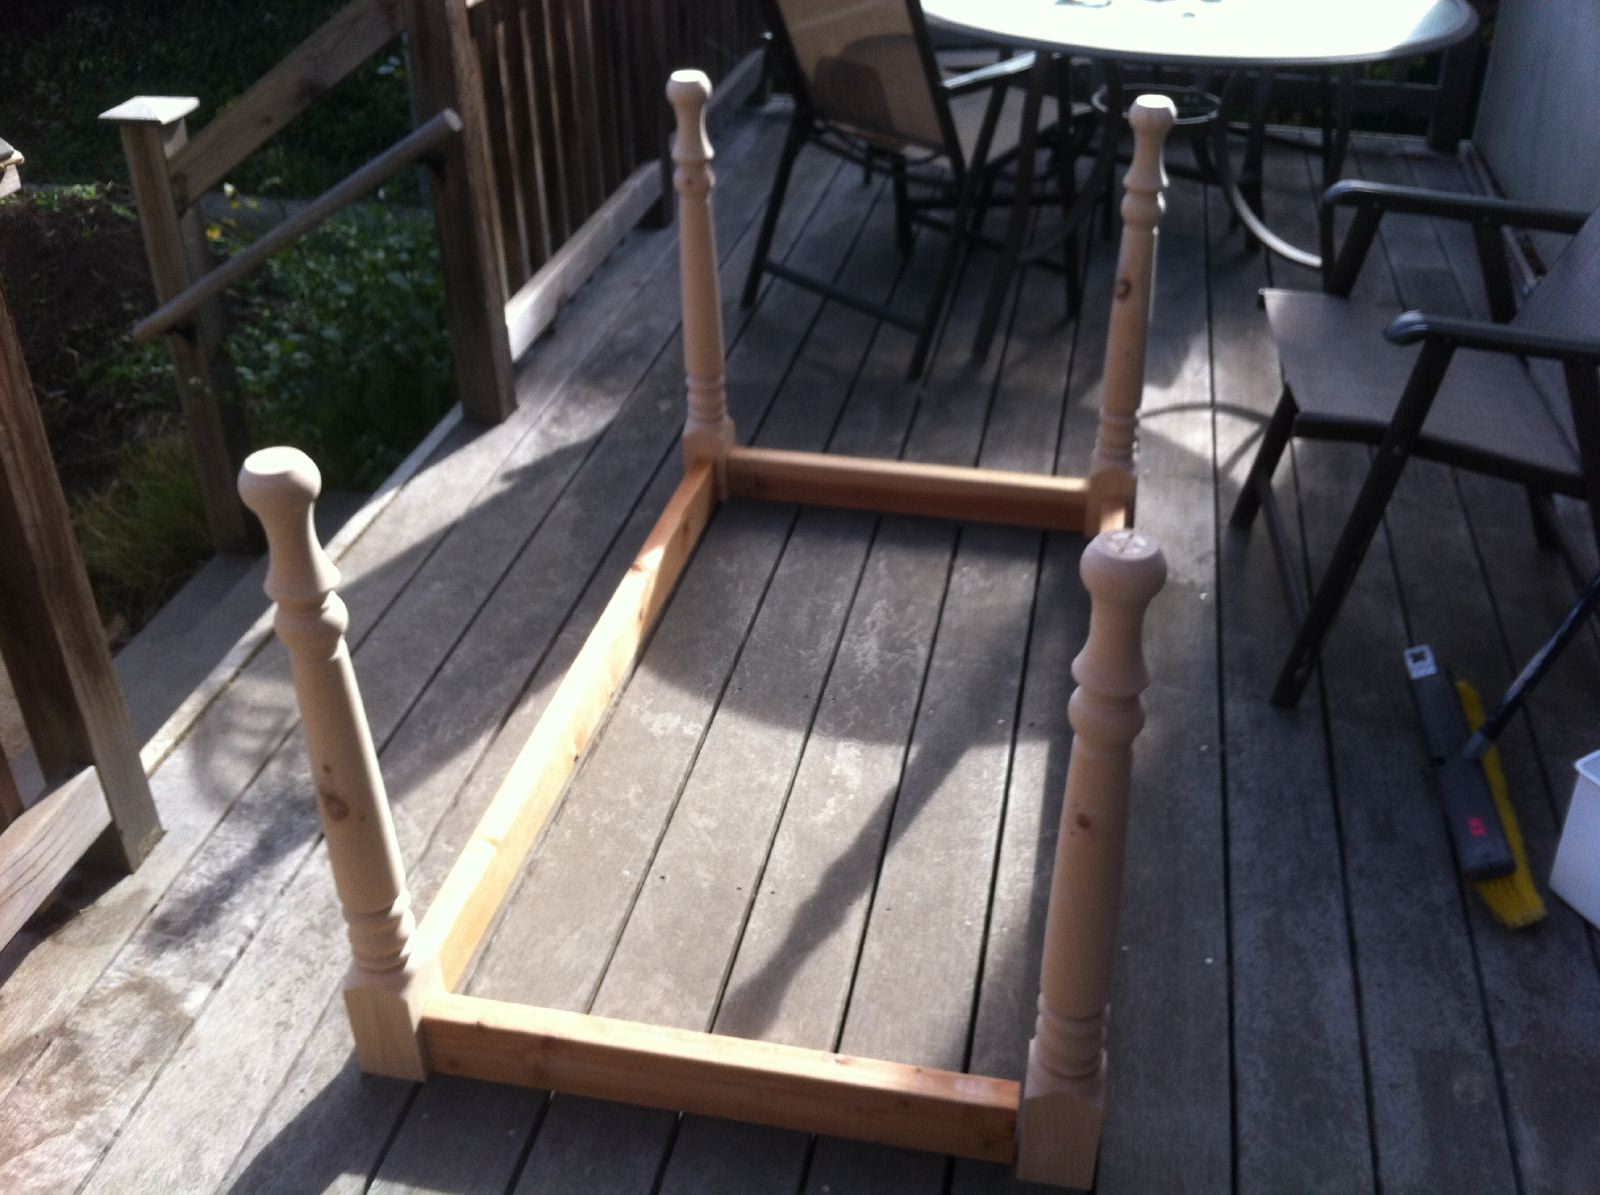
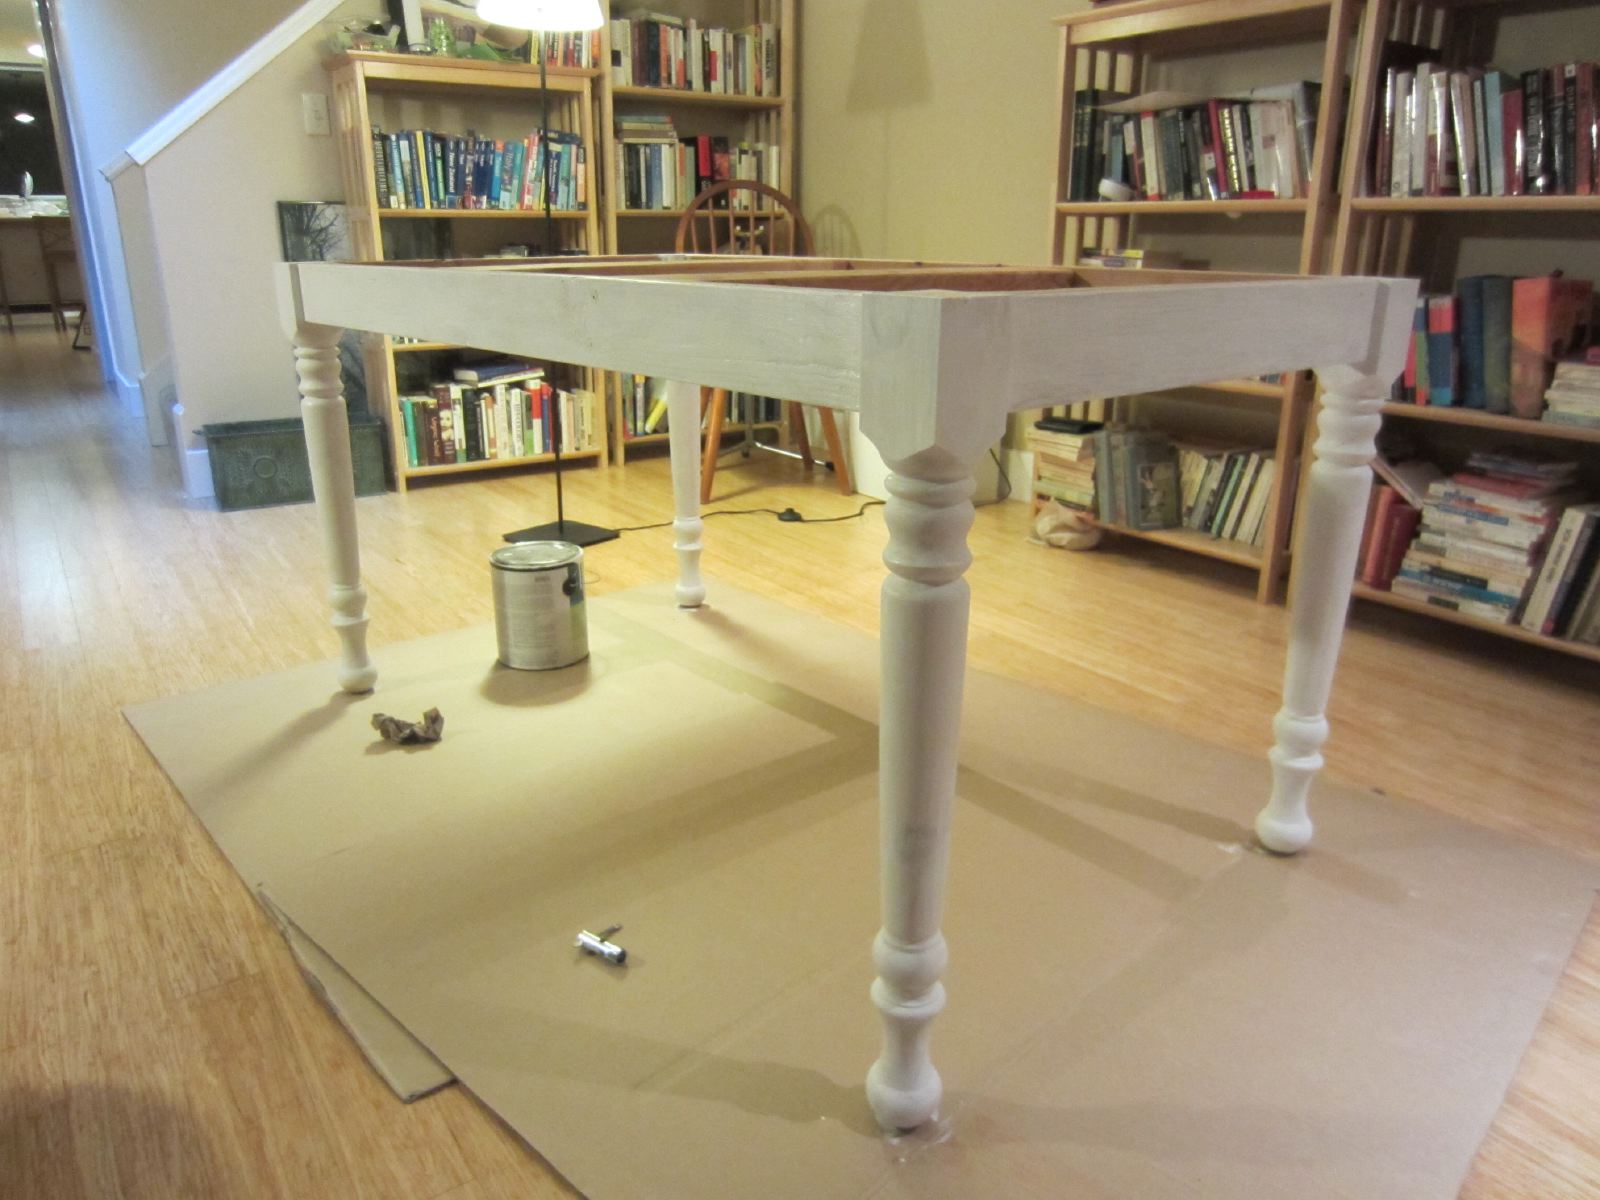
Combining 2x4s and table legs to make the apron (joined via pocket screws).
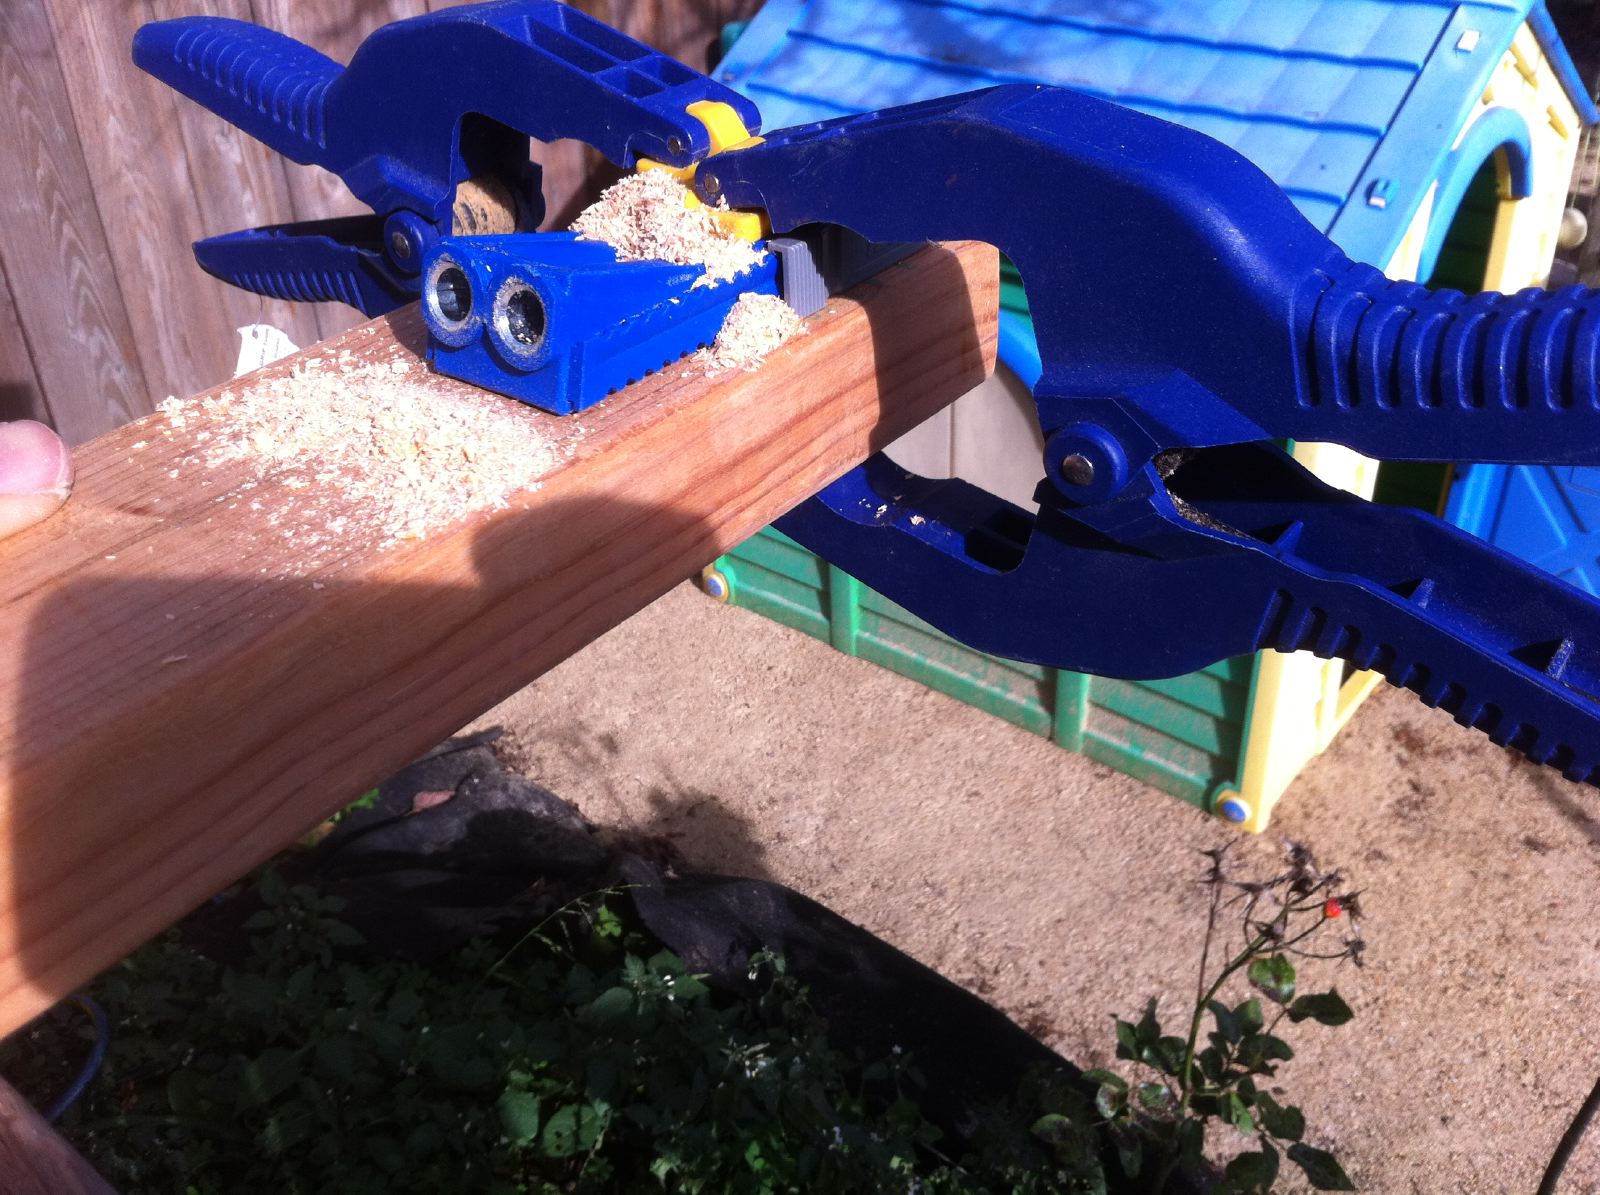
The pocket hole jig makes it very easy to connect pieces of wood together very solidly. This one is made by Kreg. It drills a hole in at a shallow angle. The screw head will not be visible and the screw will go through one board into a second and tighten the joint.
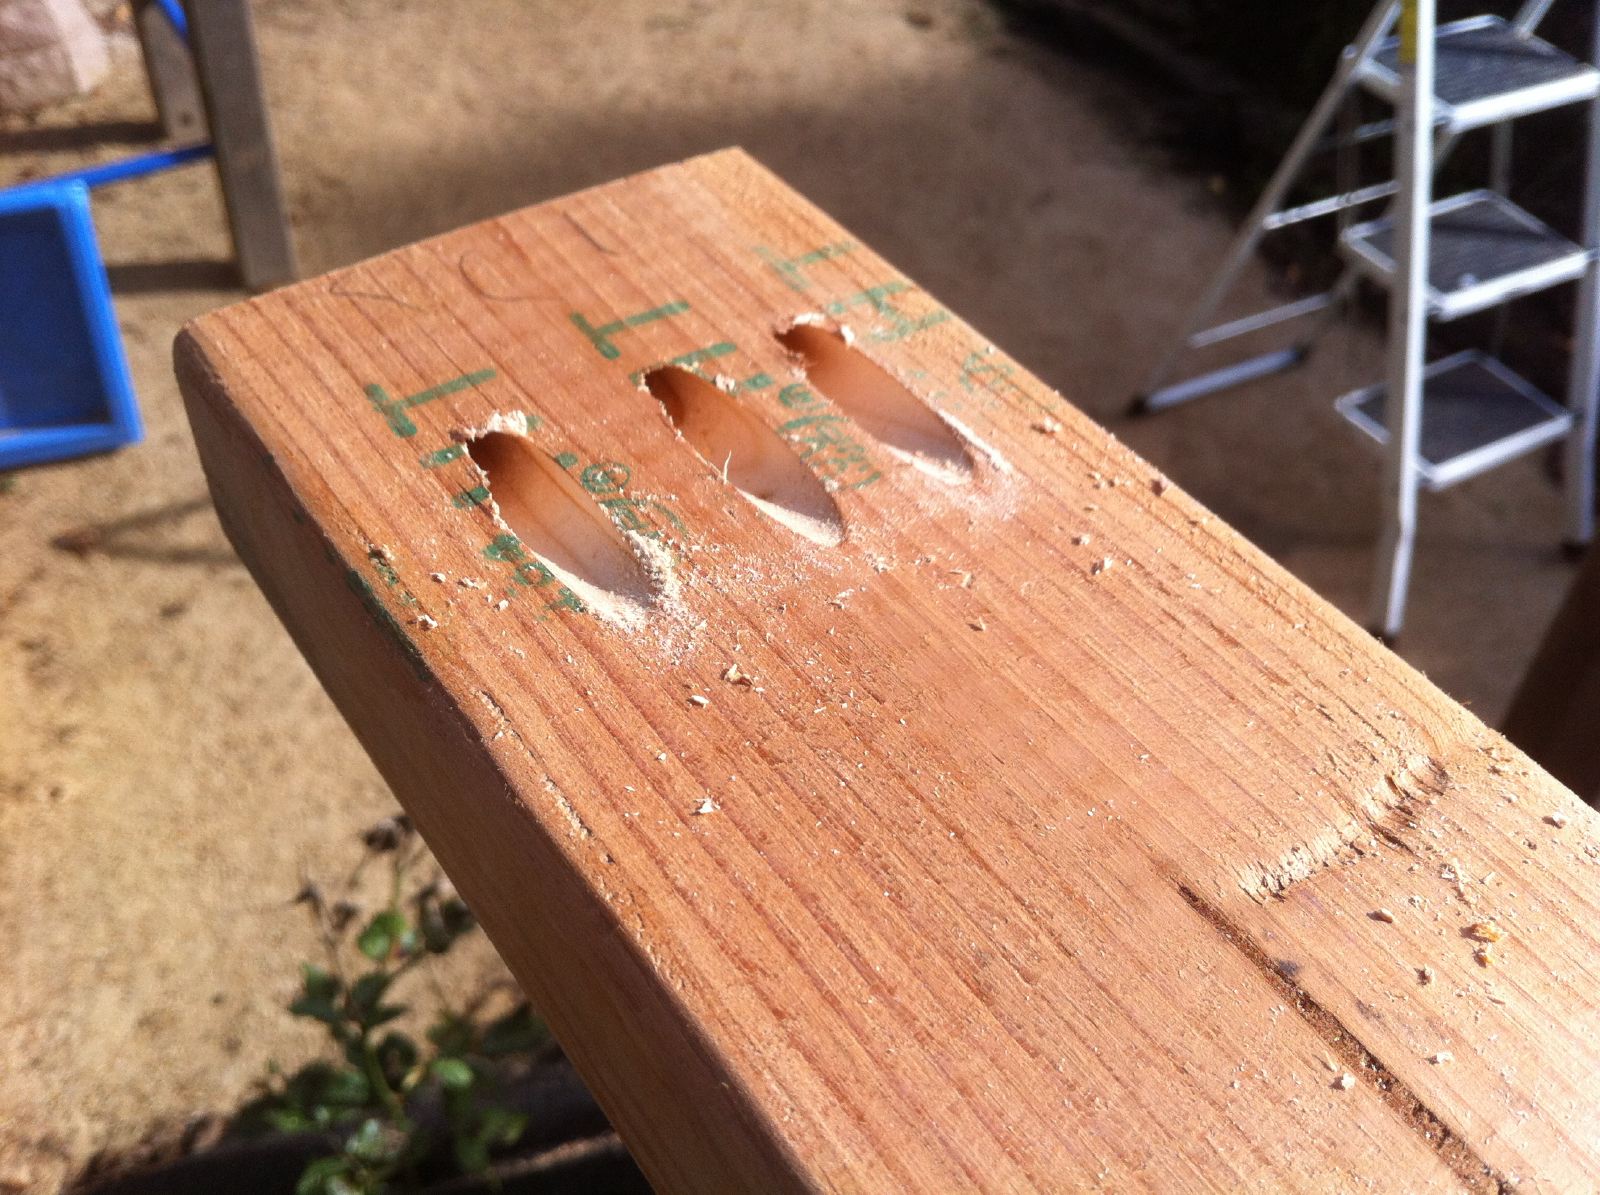
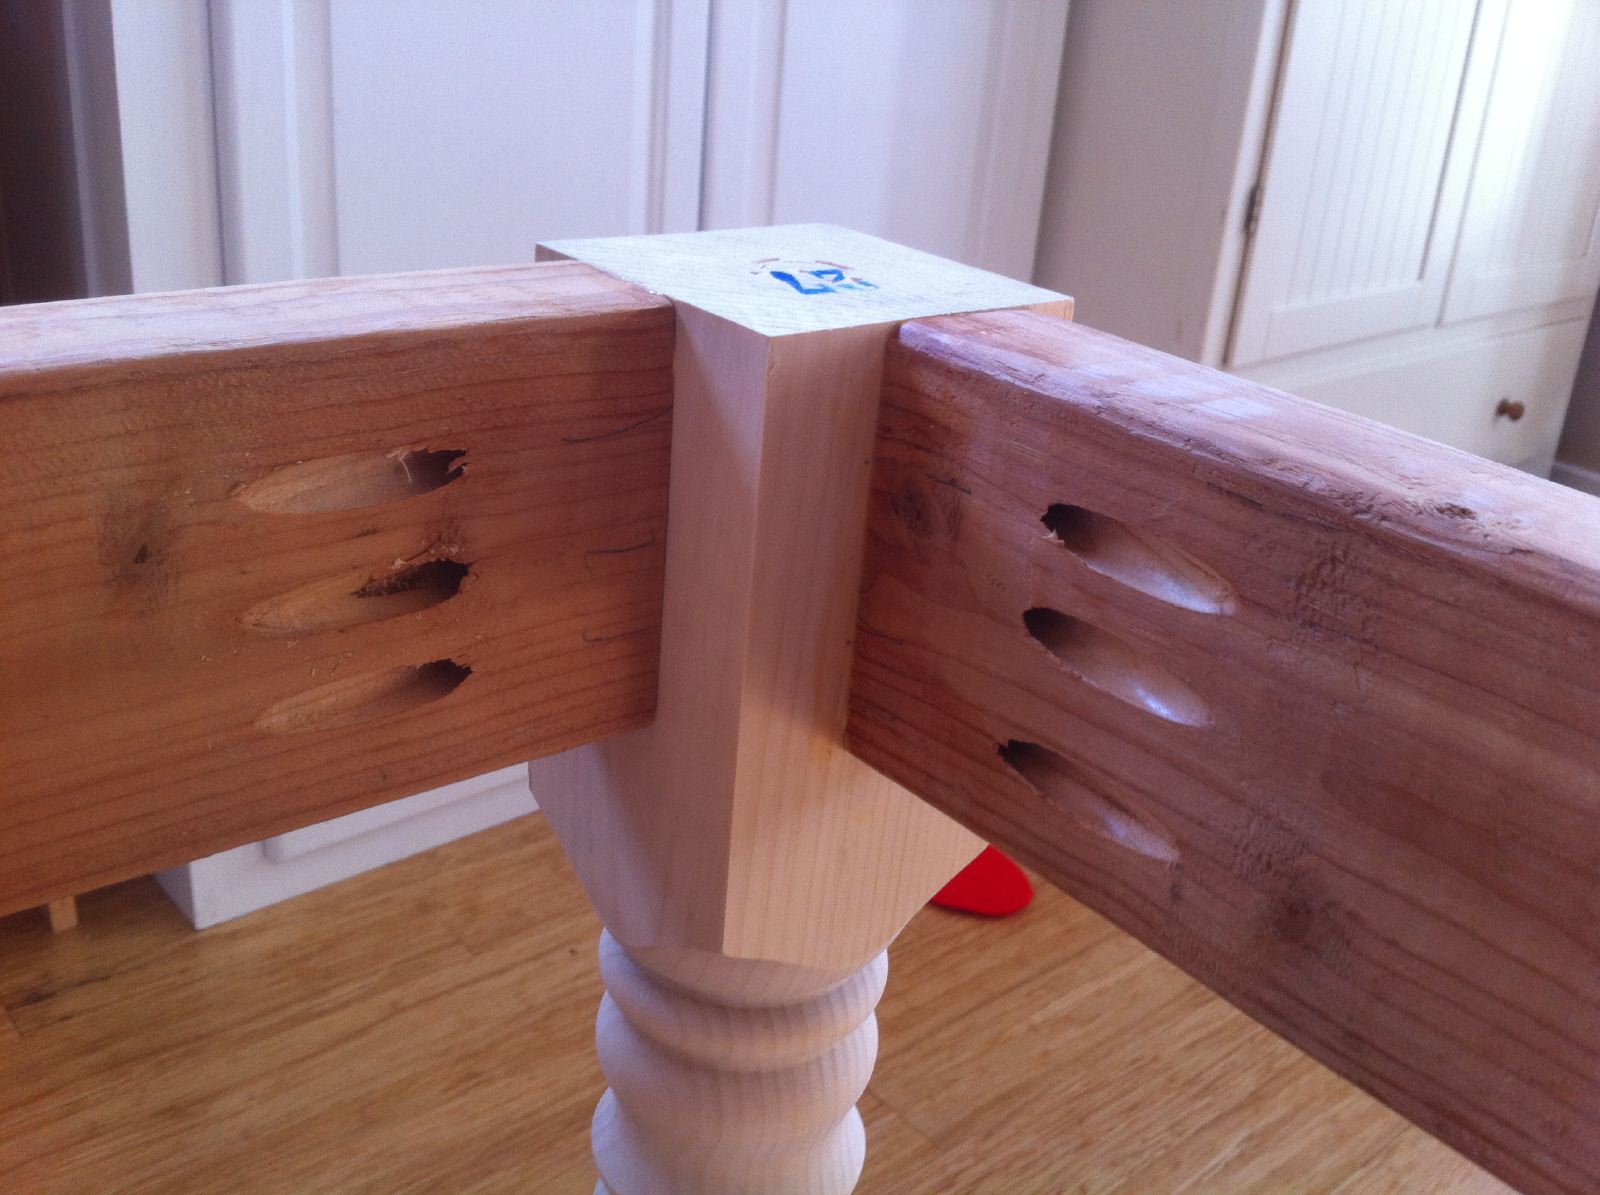
The assembled table apron and a closer look at the pocket screw joint.

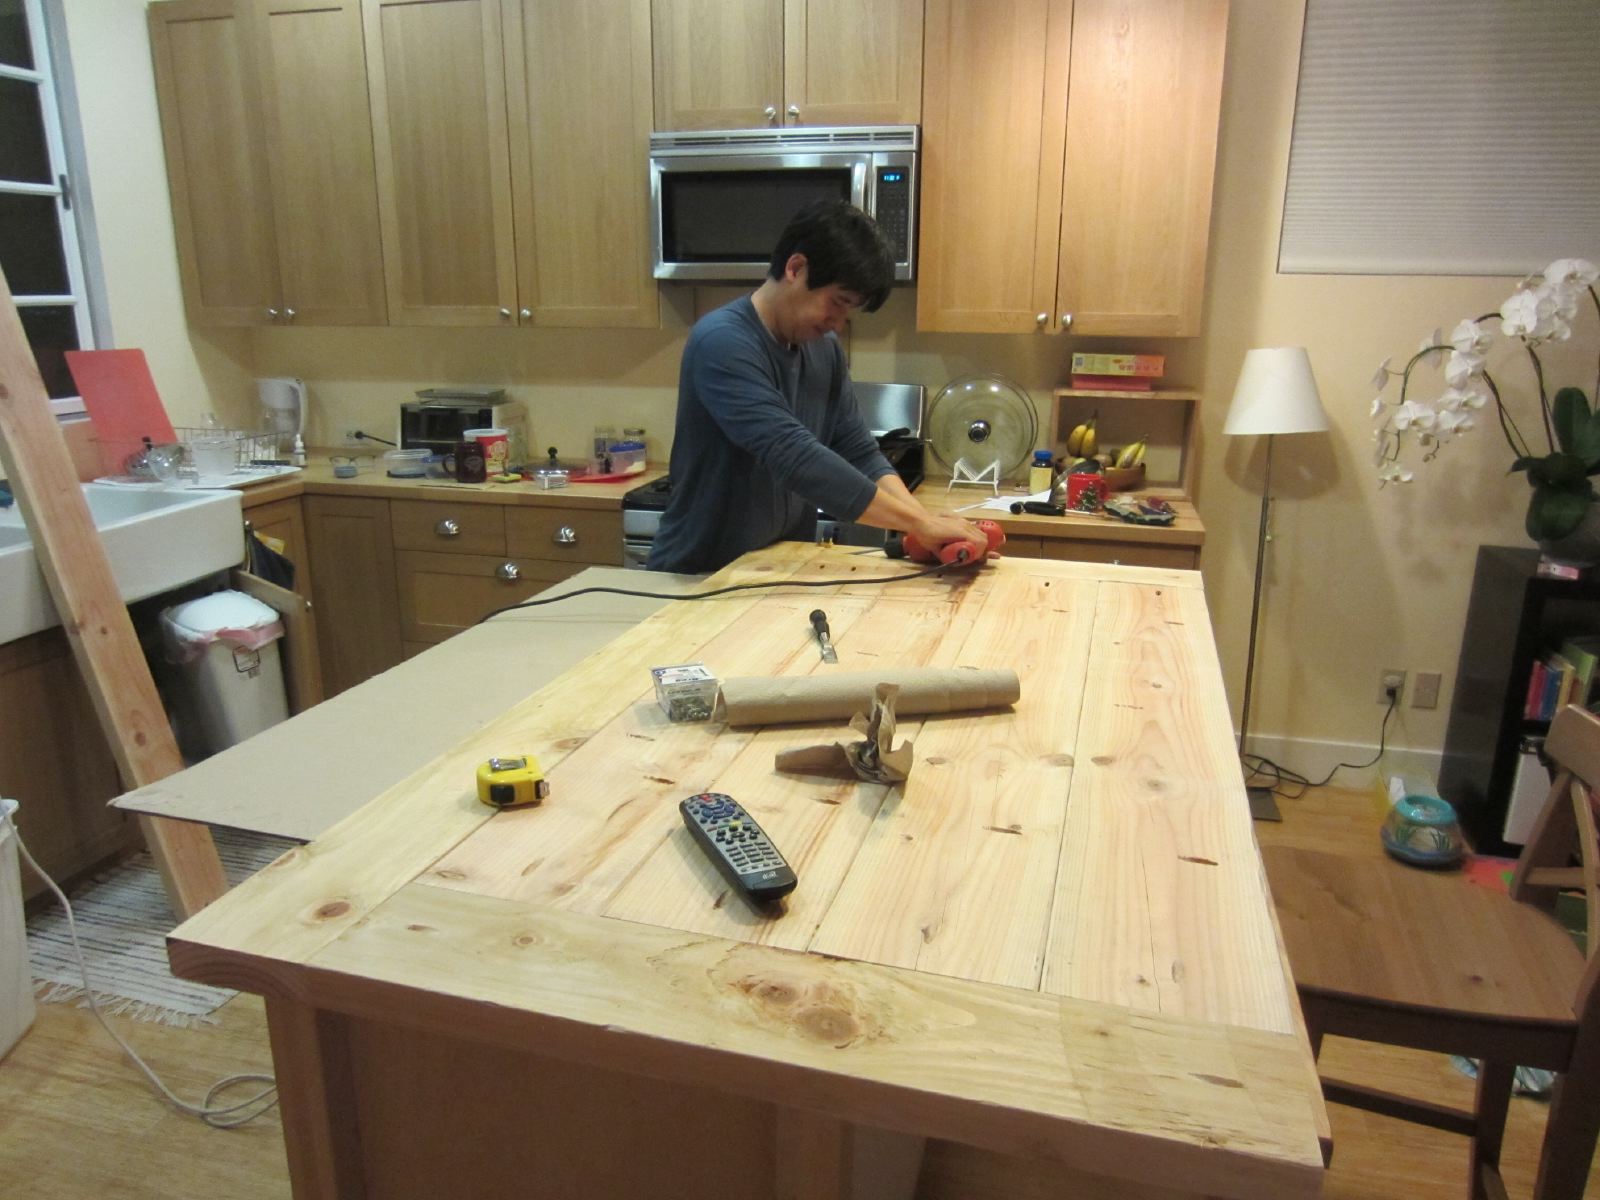
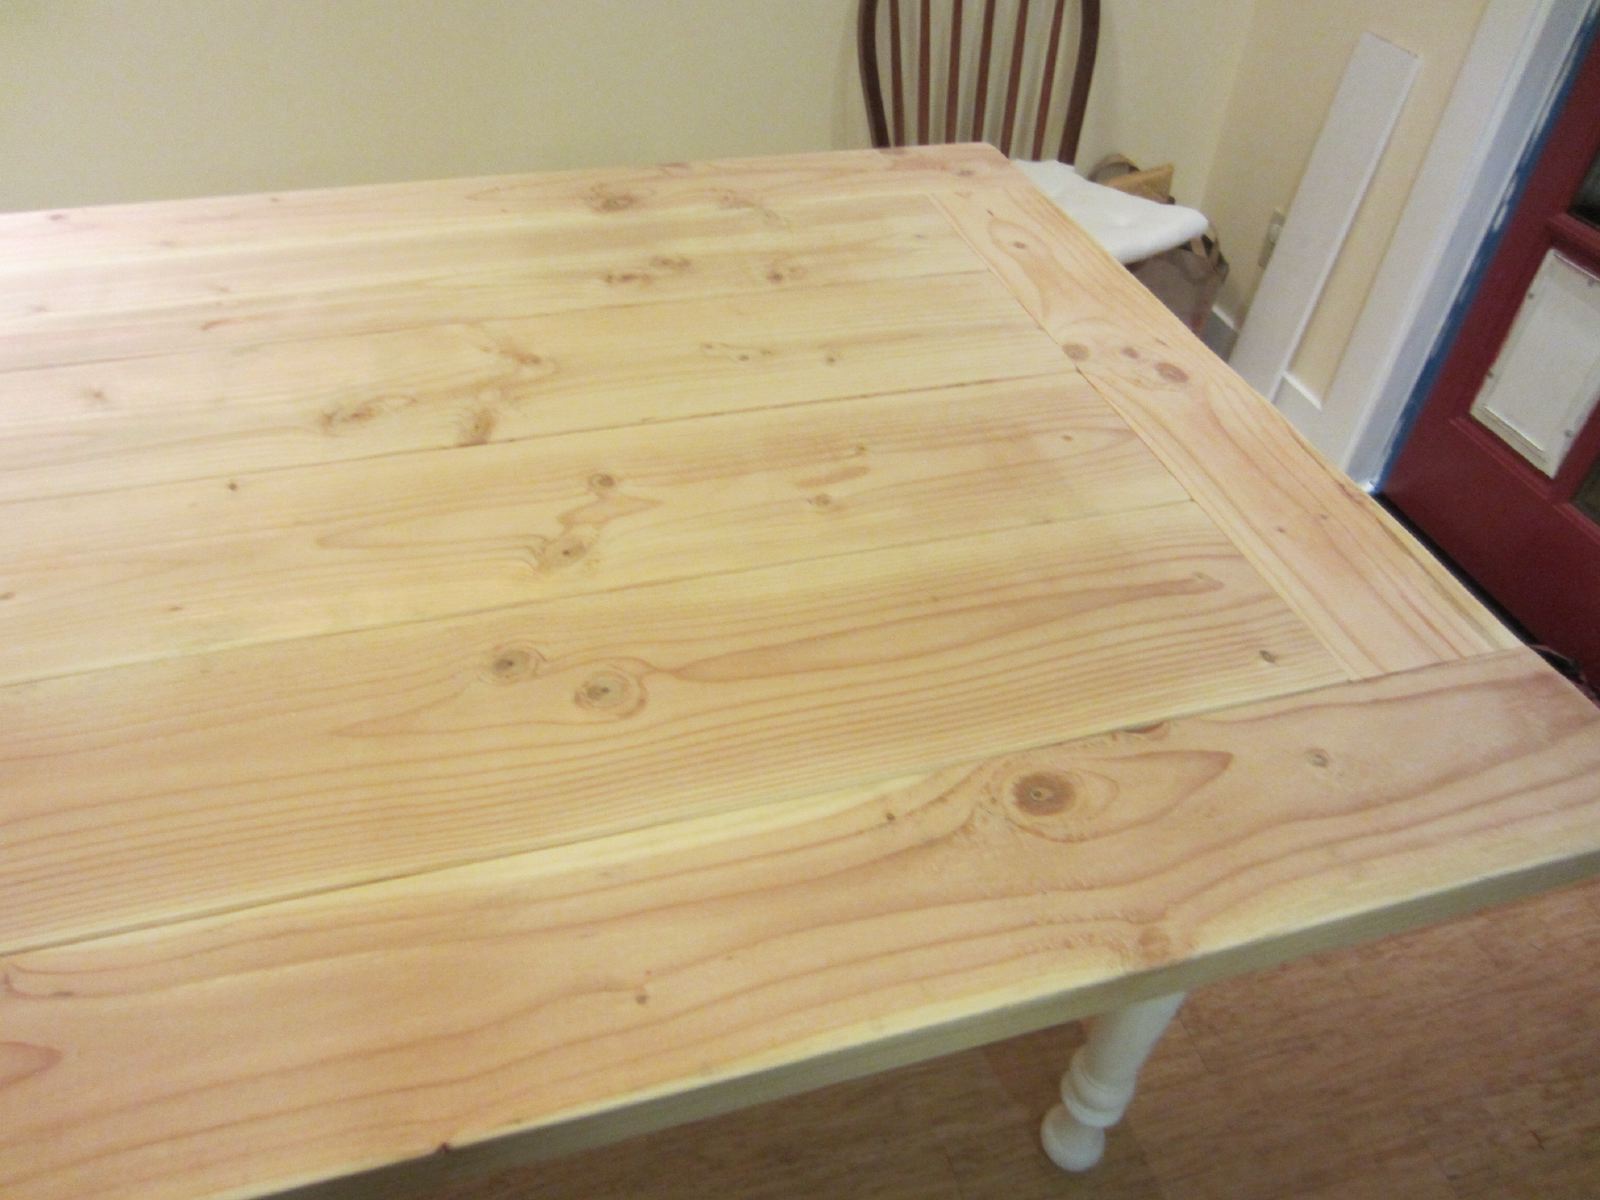
Starting the table top with the 2x8s on our kitchen island as a workbench. Pocket holes are used to connect the boards together (they are on the bottom when the whole tabletop is flipped over.

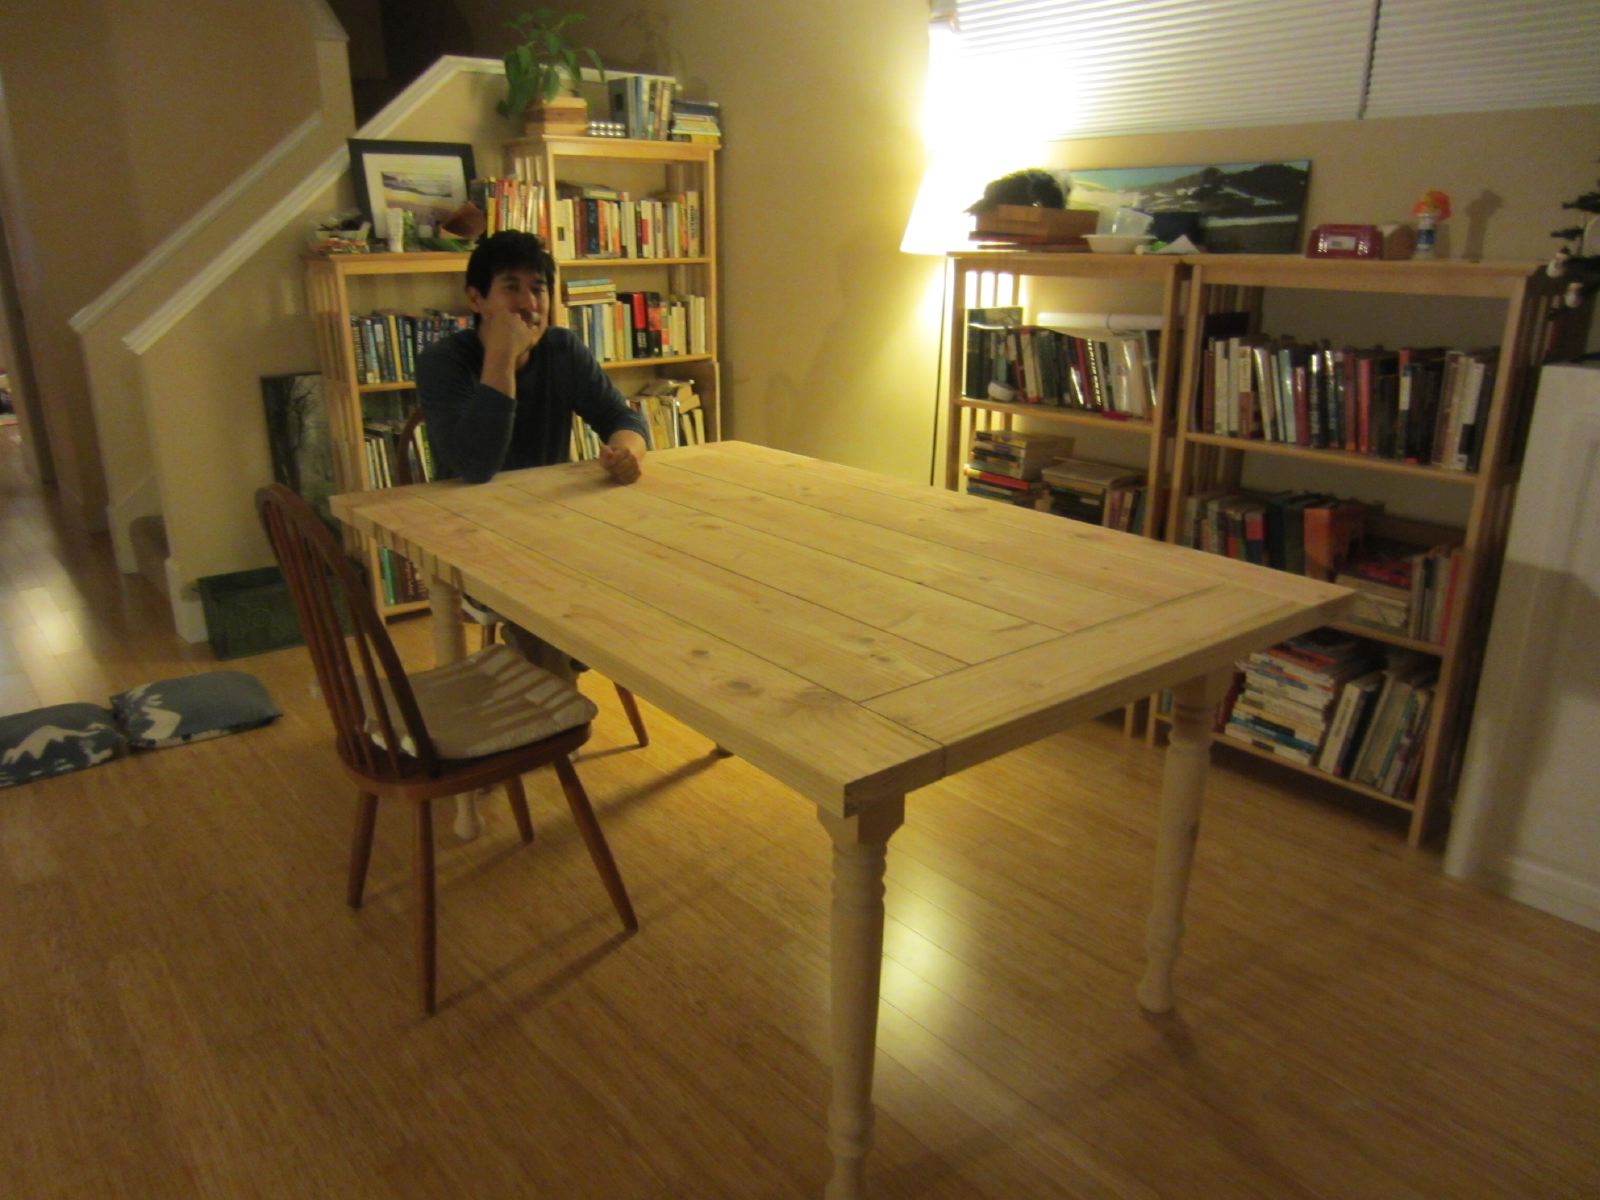
The finished table. I checked the height of the table which ended up being a little high so I ended up cutting 1-1/2 inches off the legs and redoing the table apron.

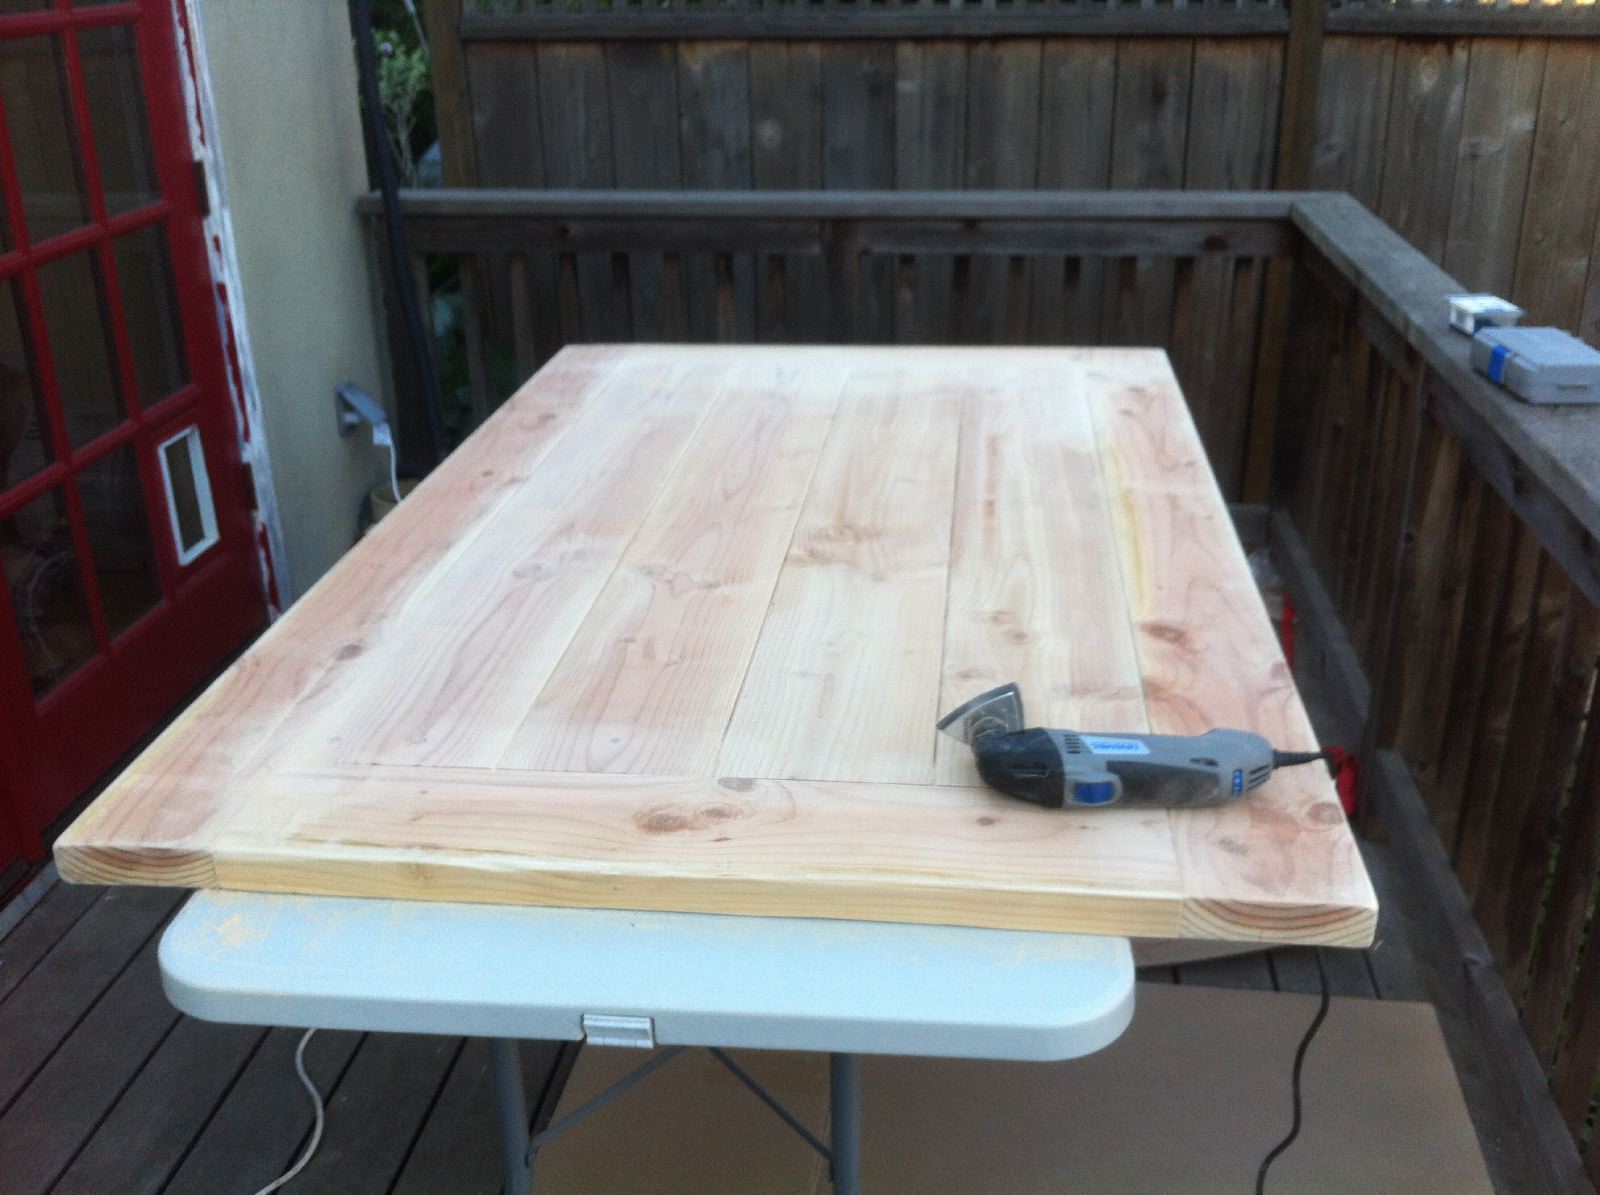
Sanding the table top to prep for the aging/stain treatment.
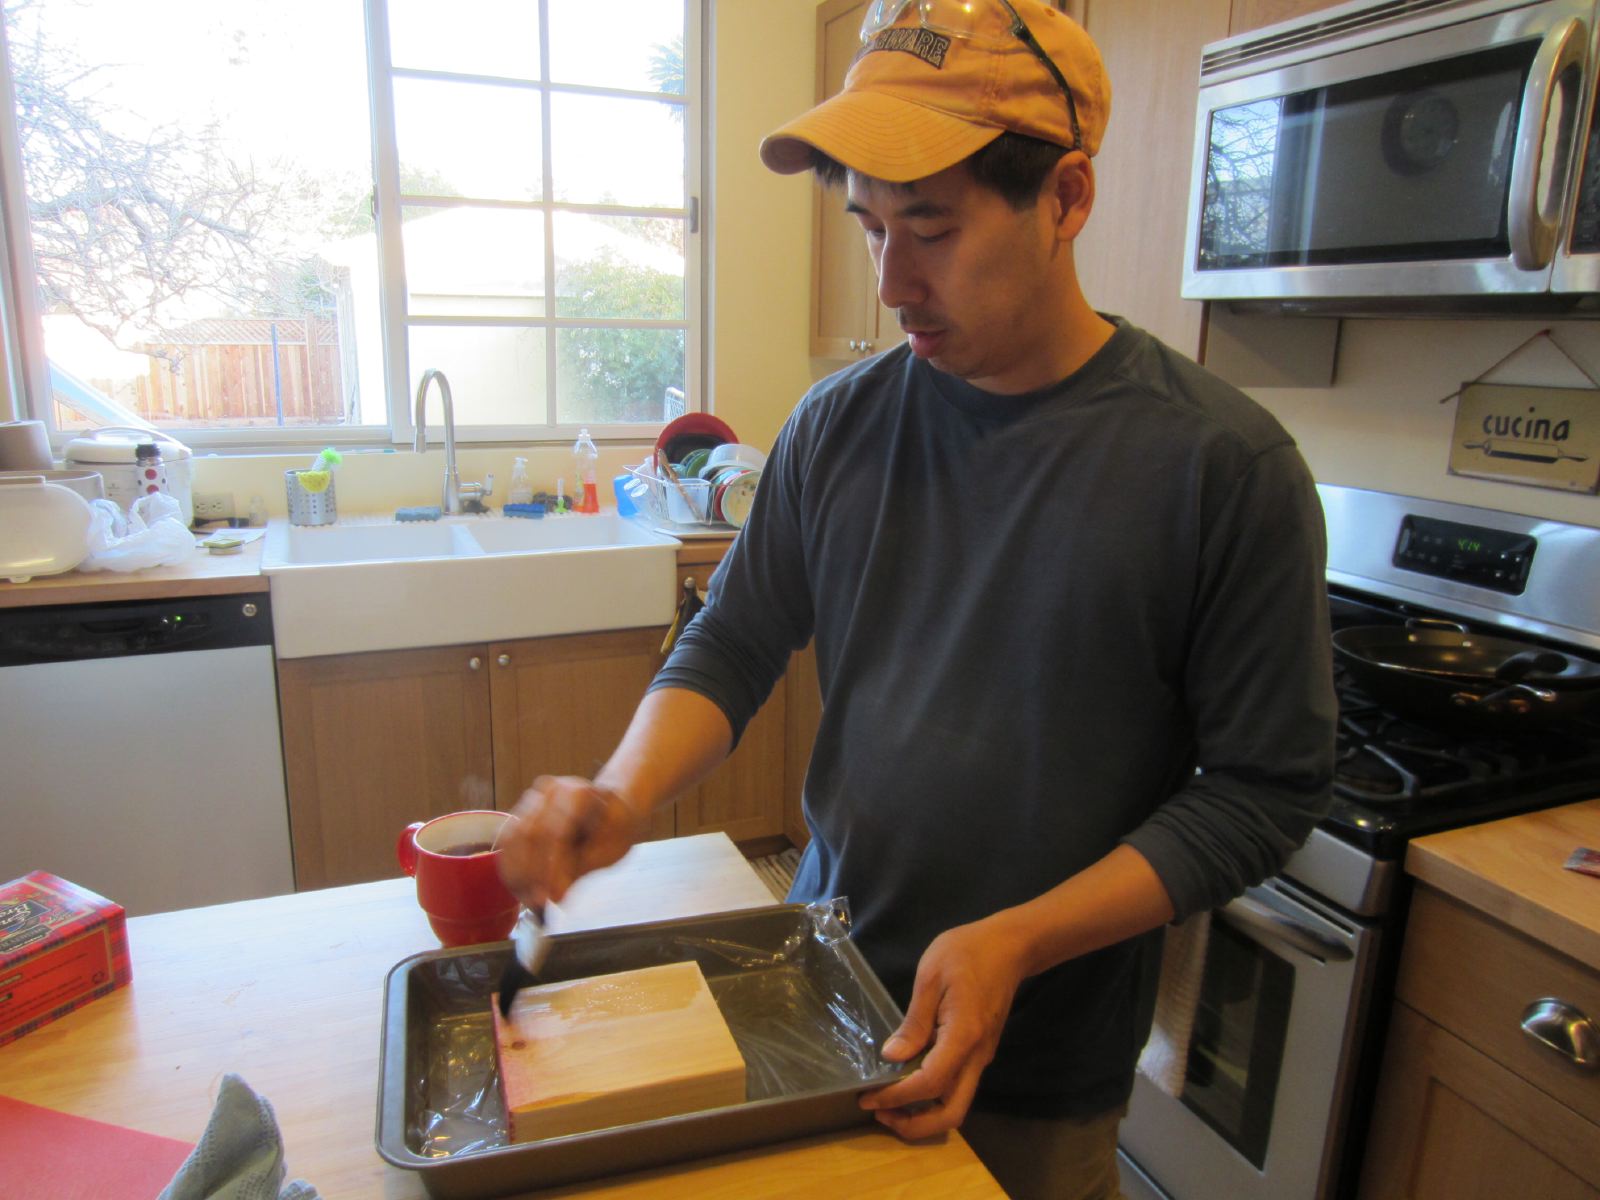
Testing the iron/vinegar/tea mixture on a small piece of wood.
Painting the table apron and bench legs white.

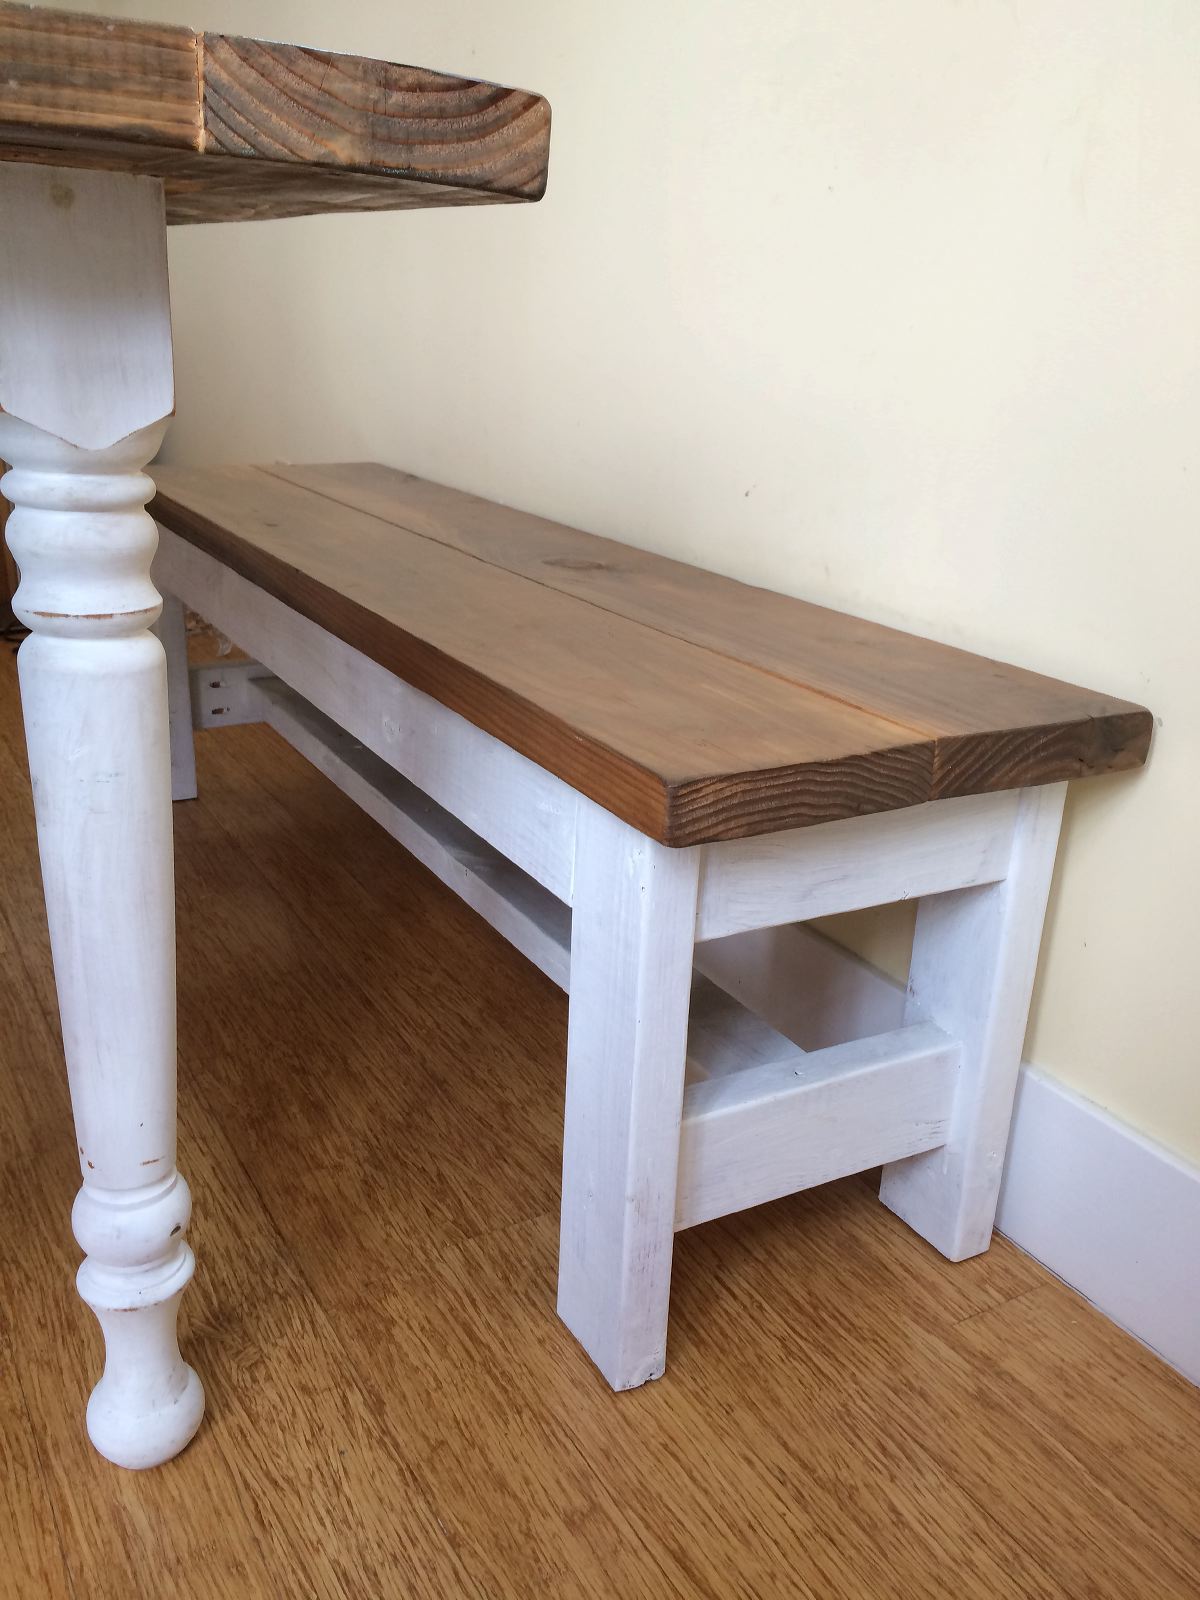
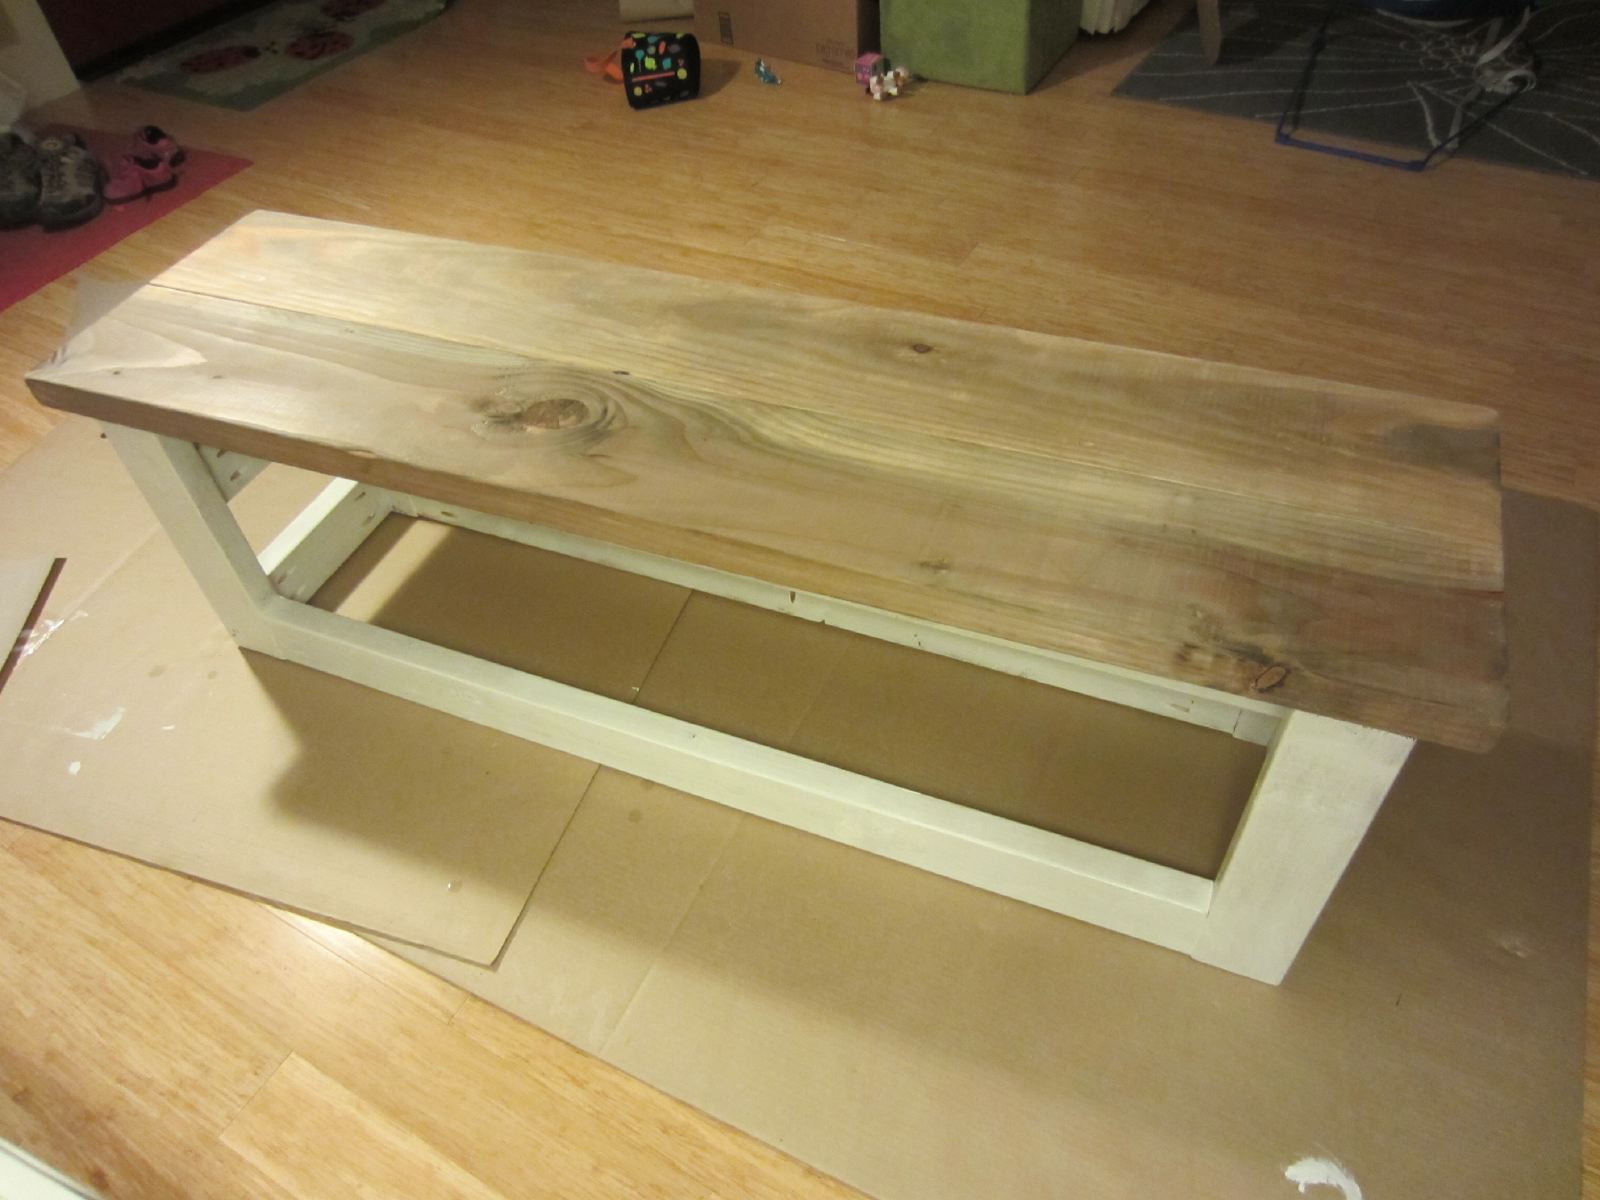
The treated, newly aged bench top.
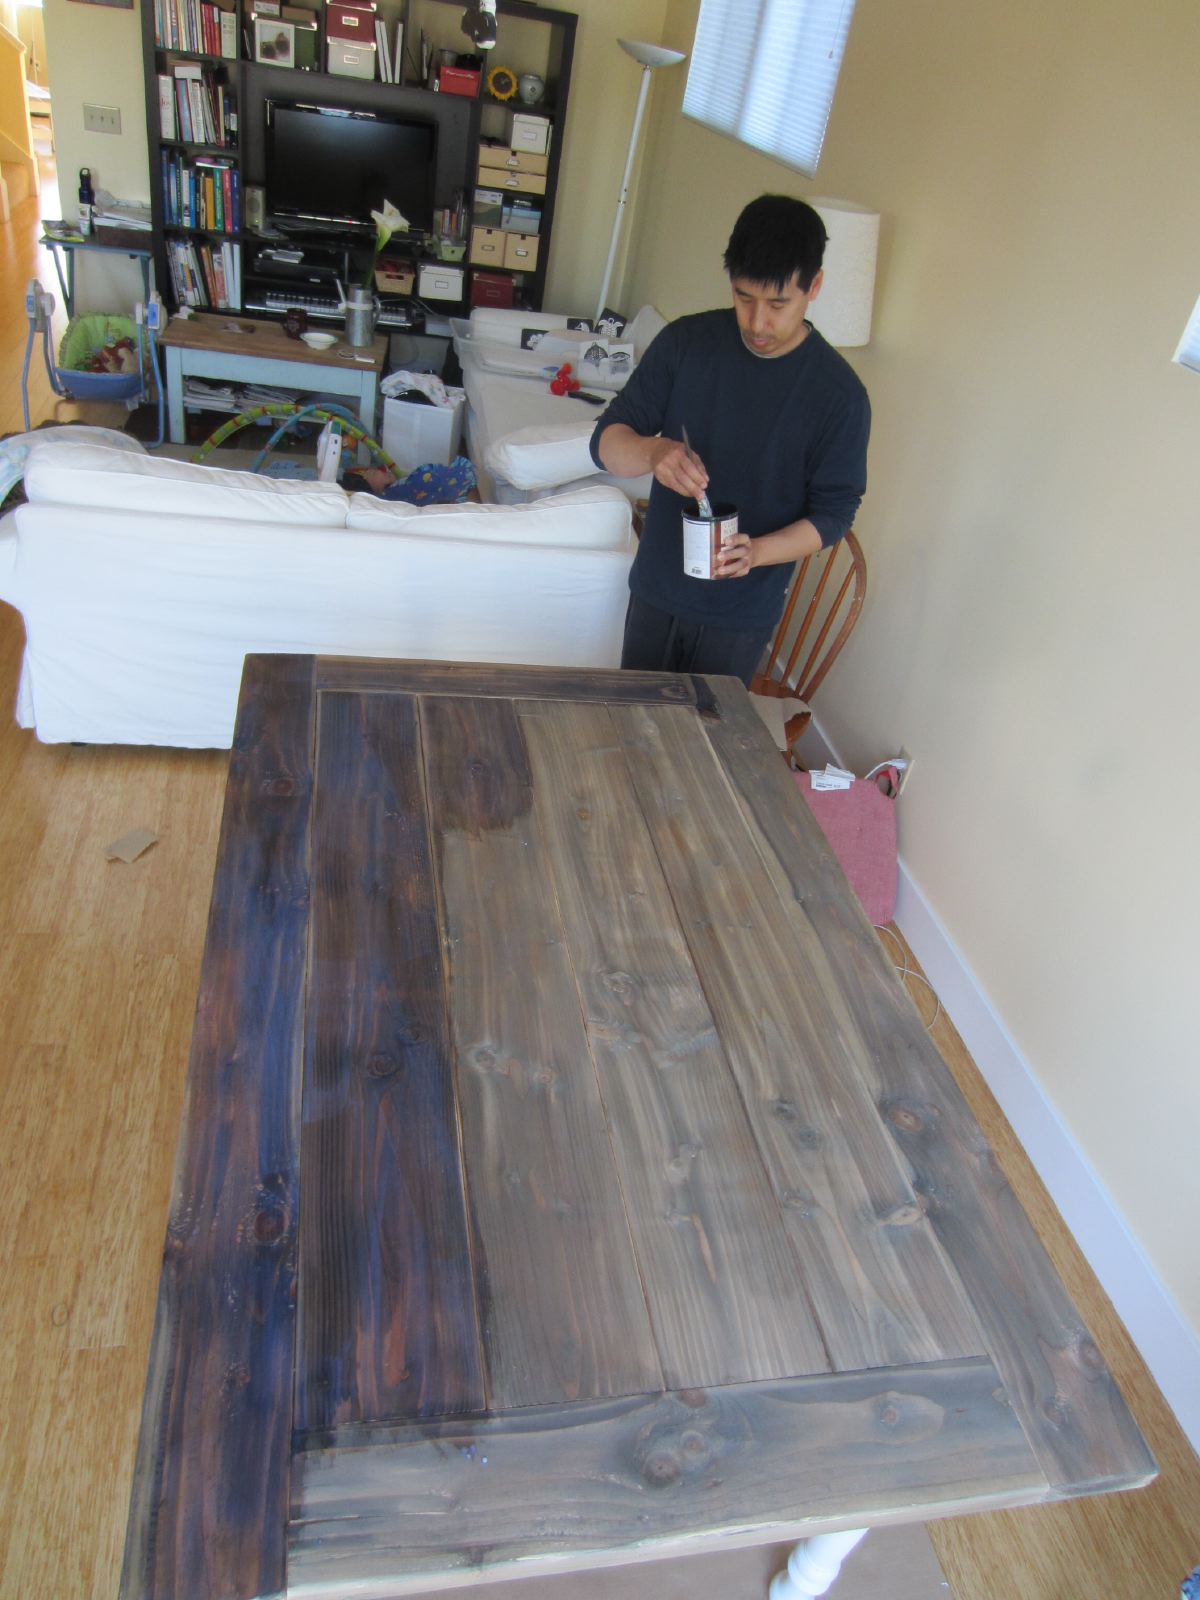
The table top, before and after the aging treatment.
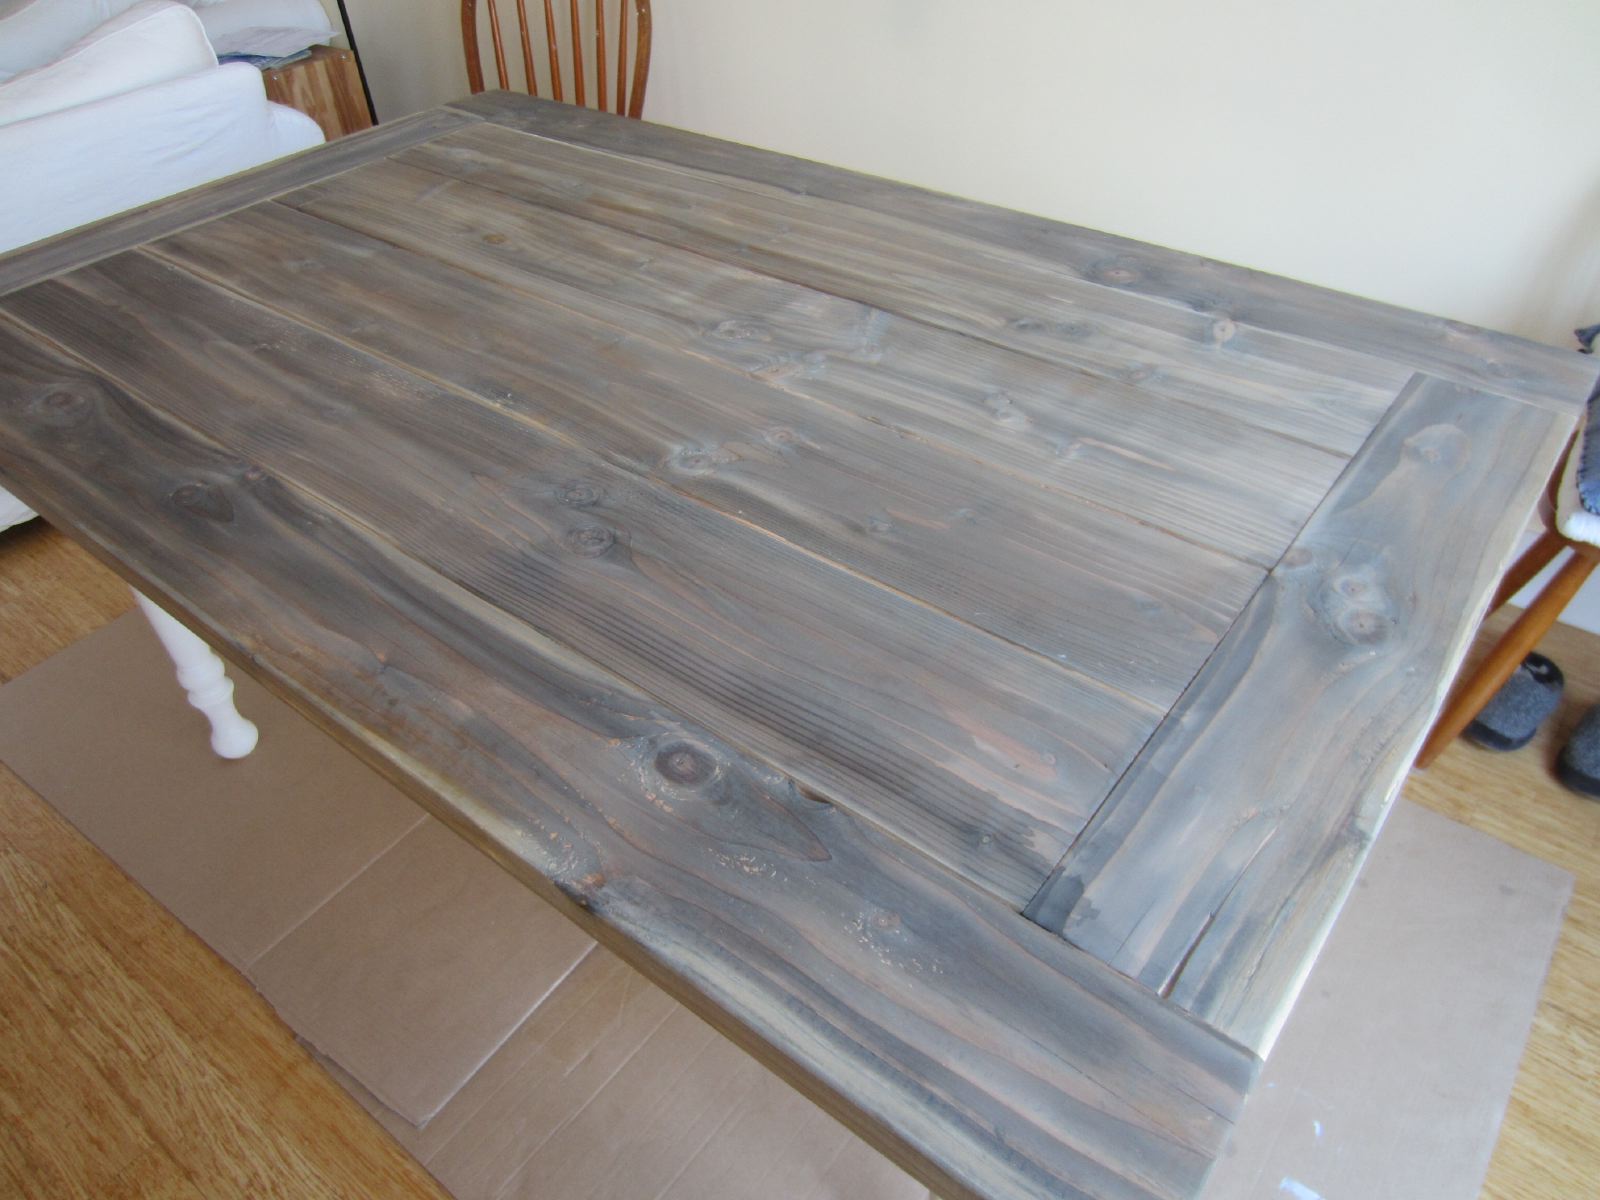
Adding a coat of sealer made the table top a bit darker. The sealer is a natural whey-based sealer.
The finished farmhouse table and bench.
The total project cost was about $174 (see below), not including the pocket hole tool (i.e. Kreg Jig) The table turned out pretty well, though we probably should have waited until the wood dried a little bit more before assembling the table as there has been a bit of shrinkage as the relatively moist wood in the table equilibrated with the interior of the house. The house smelled like vinegar for a few days. The table was used during Sierra’s birthday party and has seen lots of guests already.
Table and bench costs:
- 4 Farmhouse table legs from osborne wood $95
- Douglas Fir 2x6s and 2x8s for tabletop $28
- Douglas Fir 2x8s for bench top $23
- Old 2x4s for table apron Free
- Old 2x4s for bench legs Free
- Low VOC sealer (Polywhey cheese-based!) $28
- Vinegar and steel wool $4
- Assorted screws $2
- TOTAL COST $174
I just want to know 2 things. When is Chris going to start his own show on DIY or Oprah’s network? And, where did Dylan get those amazing cheeks??!!!
A better magazine theme will make the blog looks nicer:)
Glad to visit this blog, keep it going.
Hello. fantastic job. This is excellent. Thanks!
How did you accomplish the finish on those benches?
The finish on the top of the bench is just the polywhey sealer described in the post. The wood treatment is the vinegar/steel wool, while the legs of the bench are painted white.
I enjoyed reading your blog and the pictures are great. Thanks for the inspiration, looking forward to starting my own projects.