Shirley has been madly “pinning” DIY home projects on Pinterest, and she became obsessed with the idea of making something like this pallet silhouette art project. Chris was kind enough to humor her and help her implement this idea. Behold the finished product:

To get there, we took a still shot of a video that our friend had taken of our family.

We didn’t use pallet wood but rather used regular pine boards from Home Depot (we got three 1″ x 4″ x 8′ boards and cut them each in three pieces so that they would be about 32 inches long). He screwed some leftover molding pieces on the back so that the wood would stay together. The assembled wood piece ended up being about 31×32 inches (3.5″ wide x 9 boards = 31.5″ wide and 32″ tall).
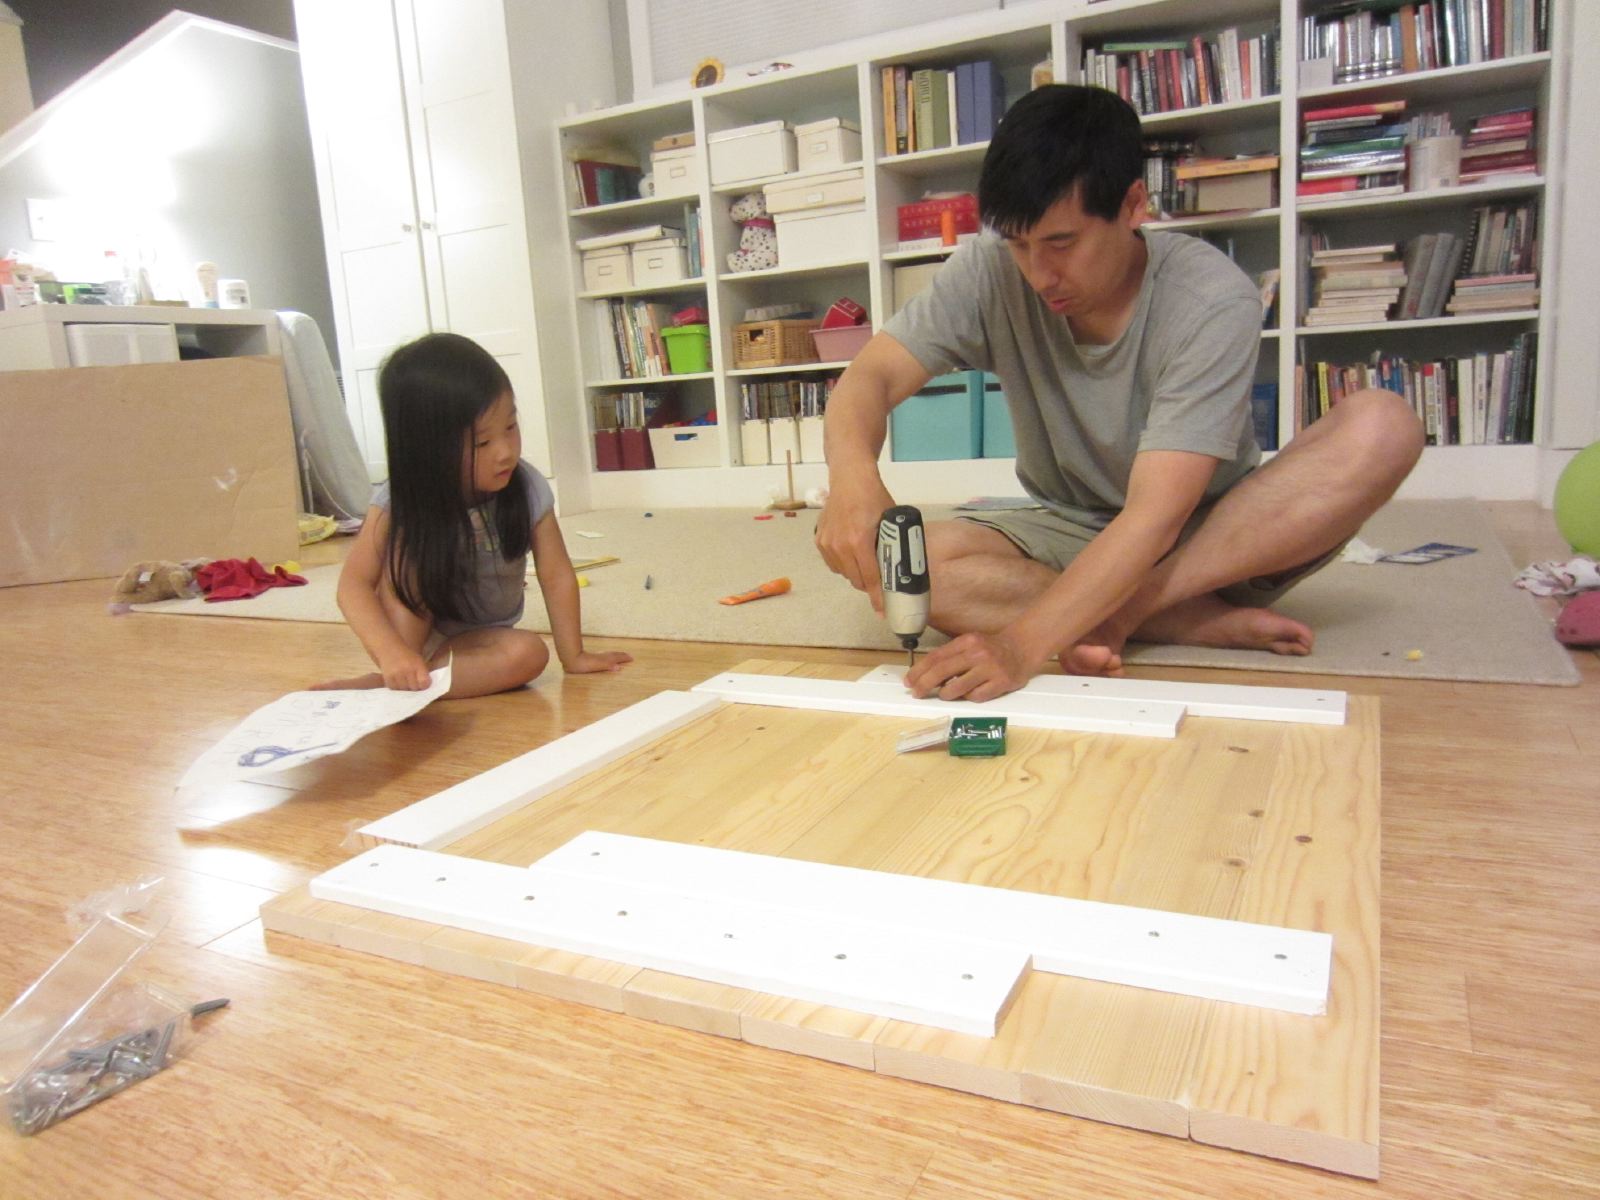
Chris brushed a mixture of water and iron sulfate (which you can get in the garden section at any home improvement store or hardware store) on the wood, which made it look immediately aged (grayer).
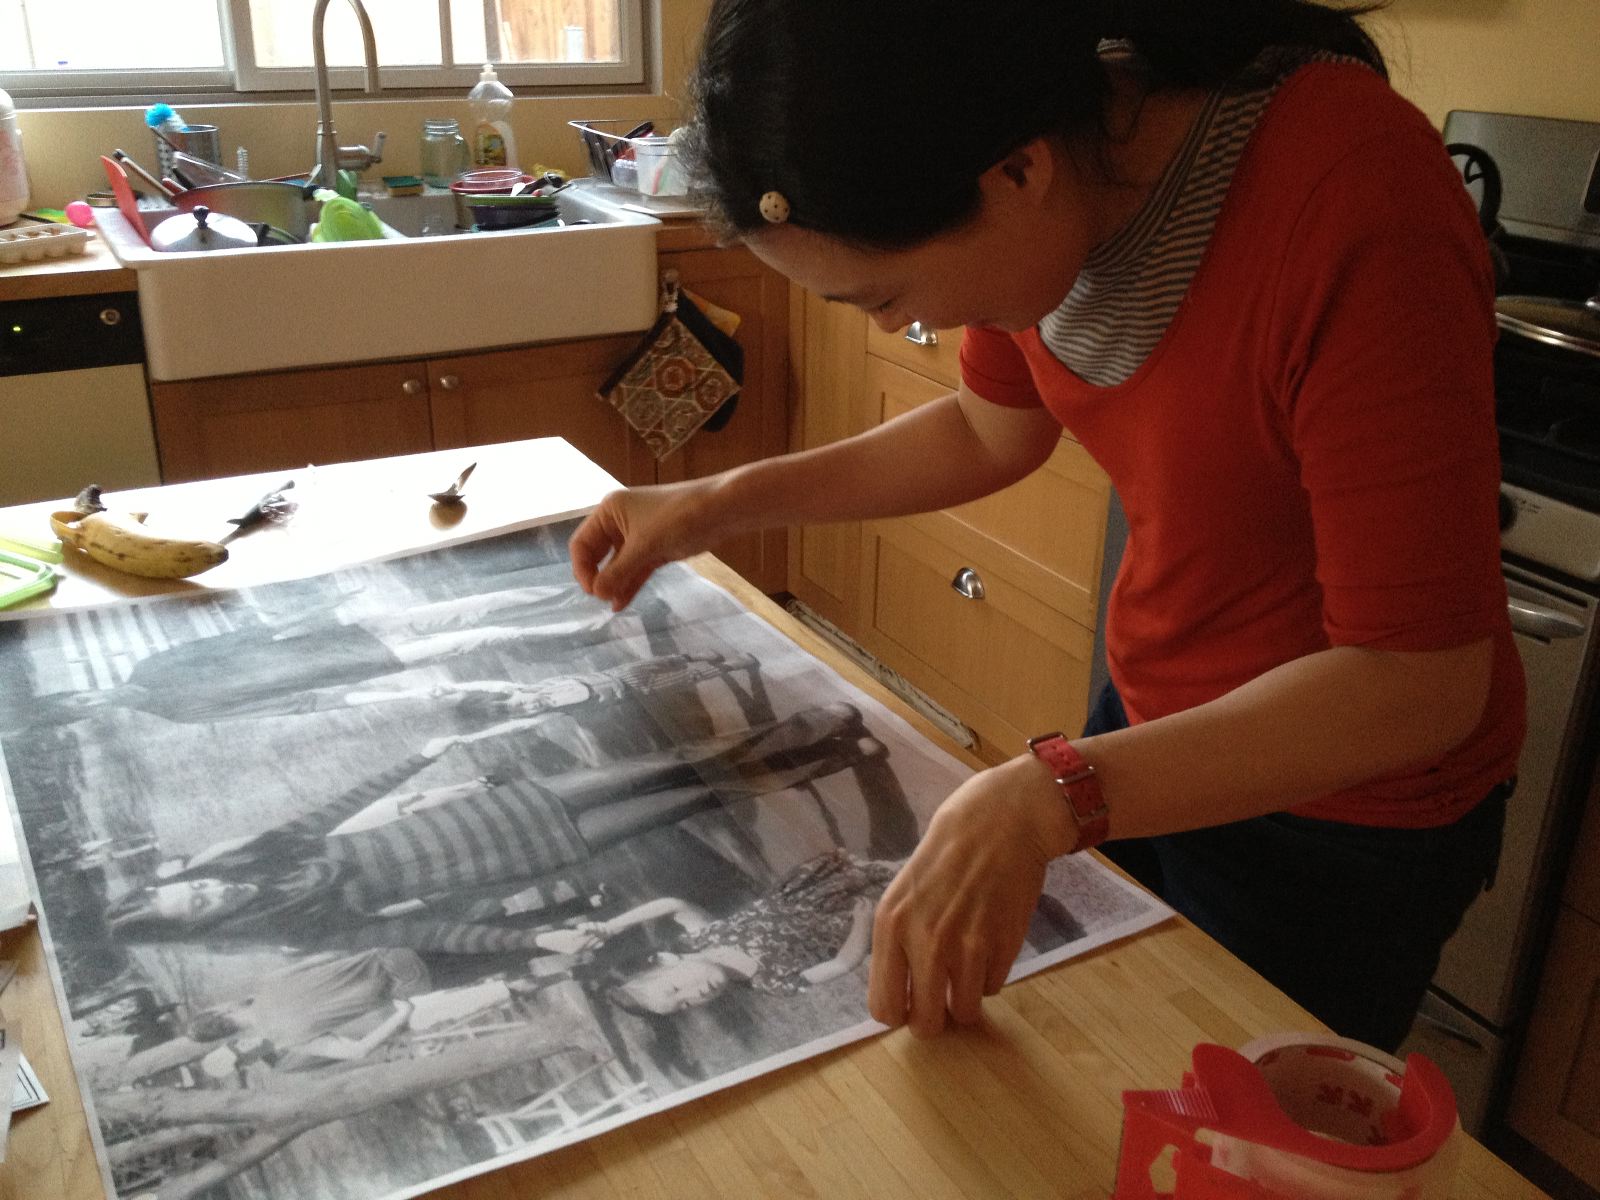
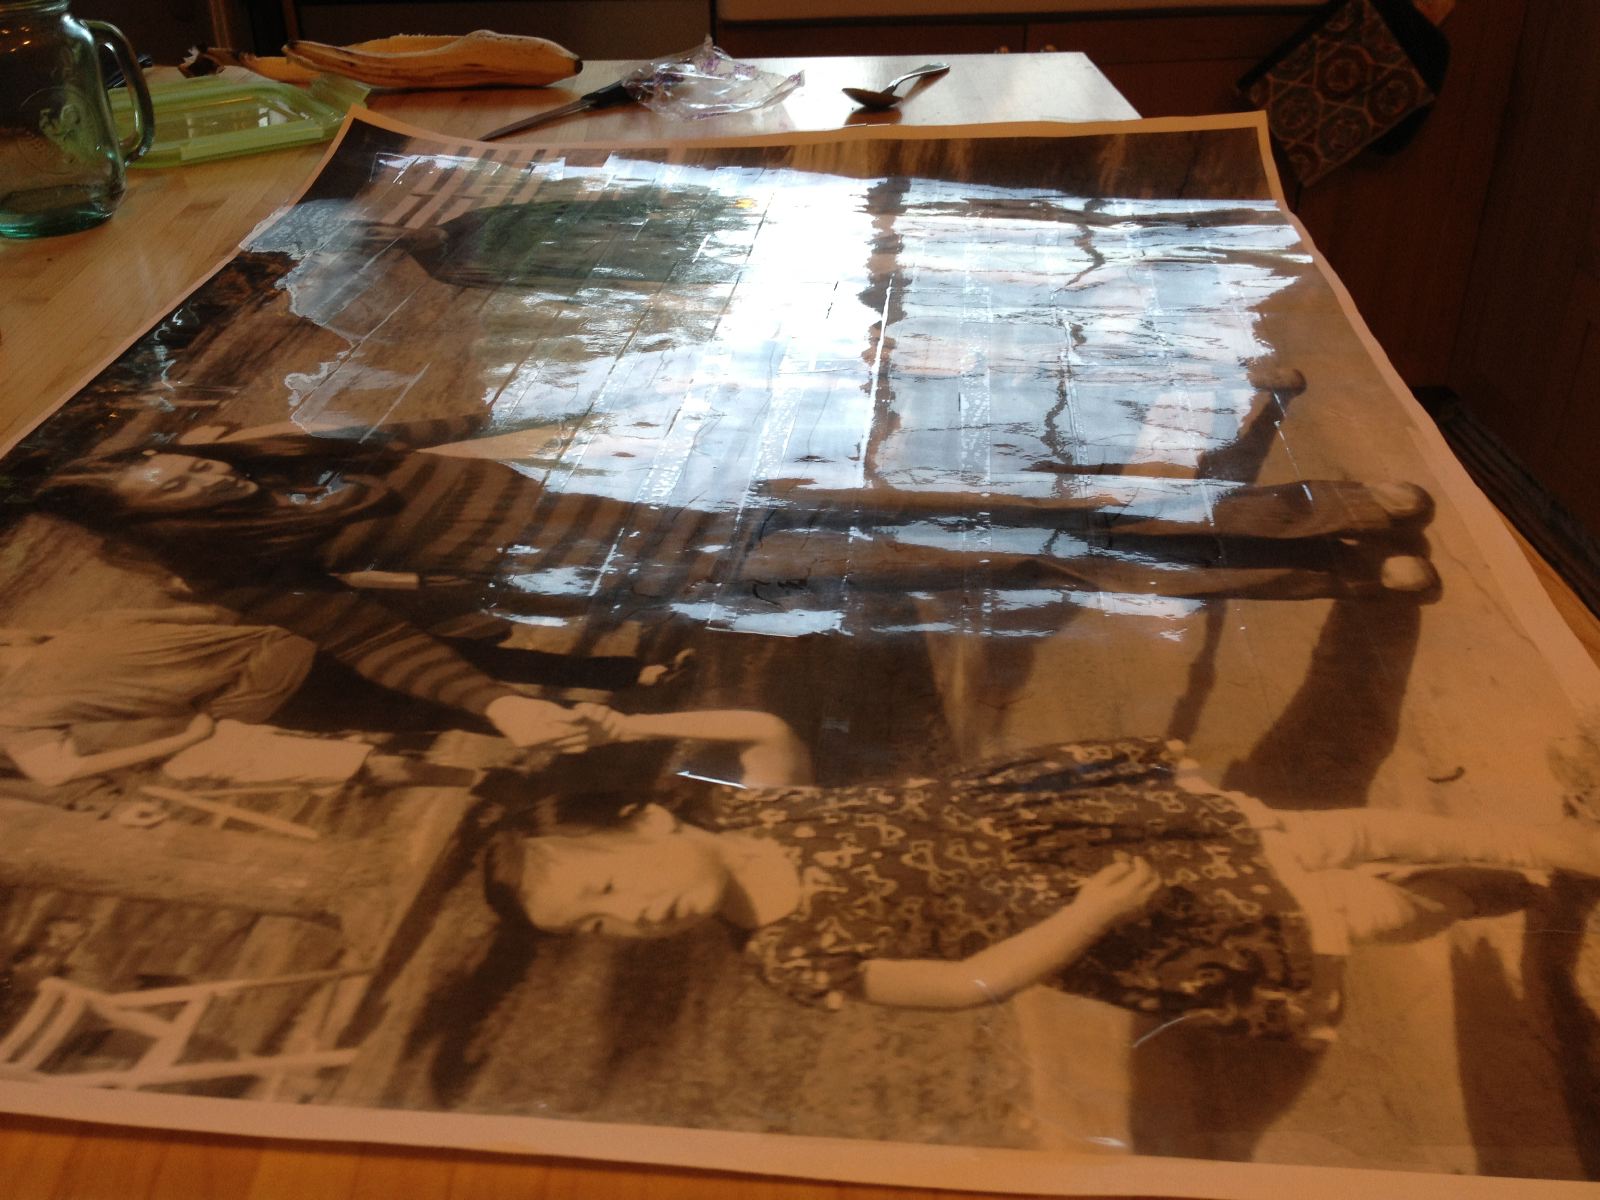
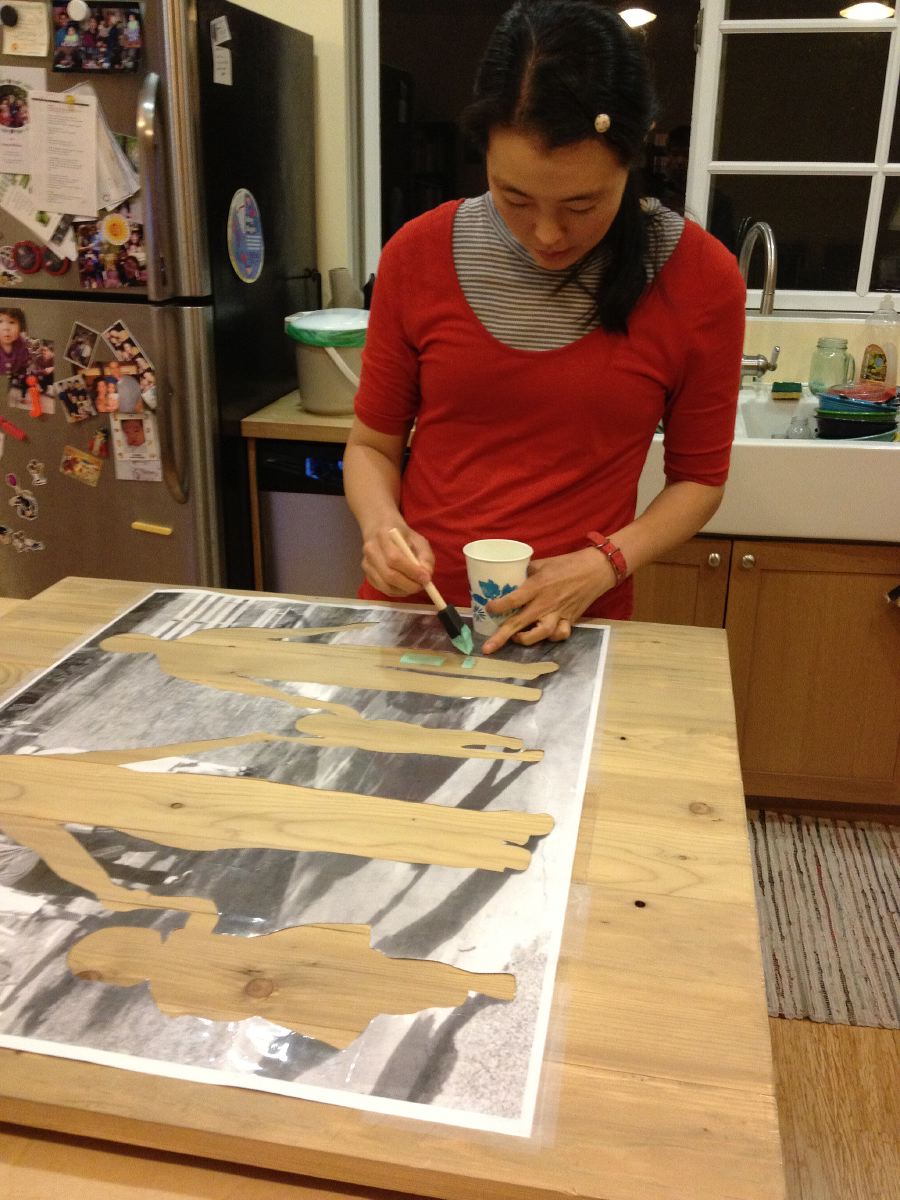
Next we turned to the silhouette part. Unlike in the project at Infarrantly Creative (see link above), we didn’t have a silhouette cutter. It took us a while to figure out how best to create a silhouette from the photo. We finally ended up blowing up the jpg image at Kinko’s to a 22×29-inch size and then putting packing tape on top of the enlarged photo. We added the packing tape to minimize ripping of the photo or seeping of paint under the cut-out edges of the silhouette while we were painting. Here is Shirley carefully putting packing tape on the photo.
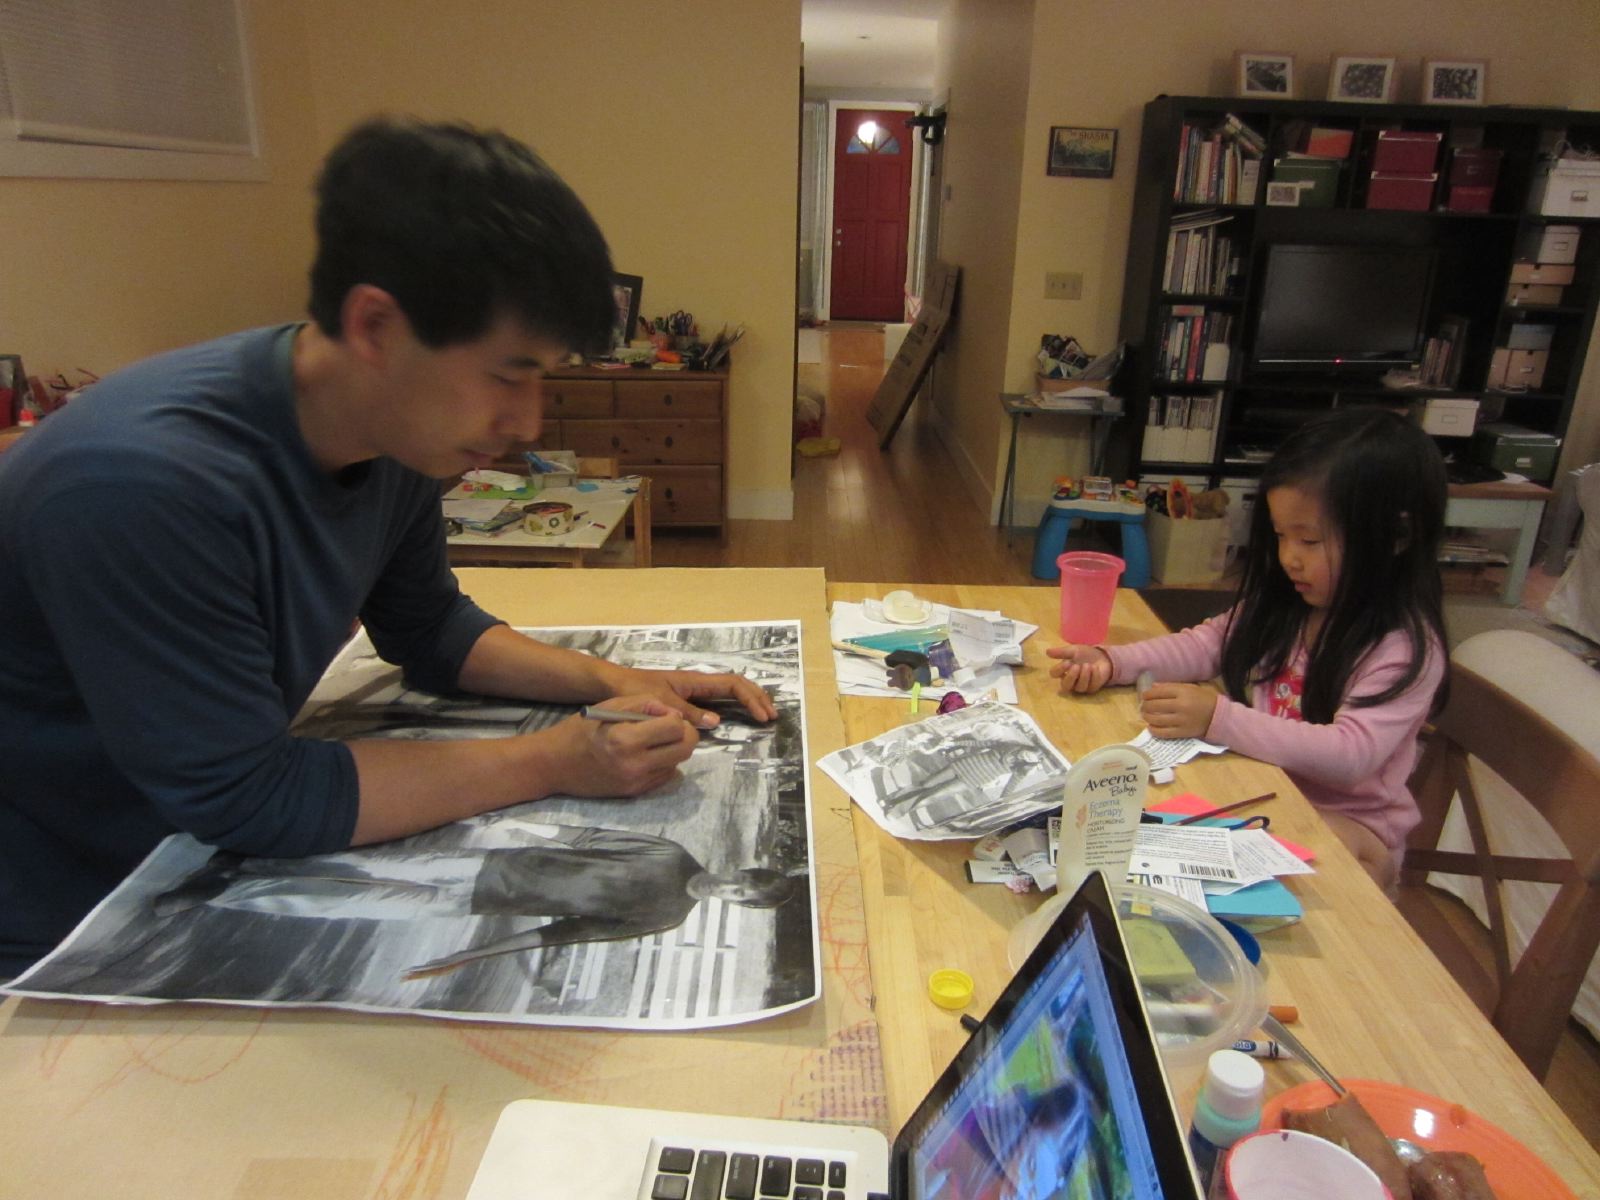
Chris then got out the Exacto knife and carefully cut around our four figures in the photo. This took about a half-hour.
We previewed how the silhouette might look here with the cut-out figures, along with two possible paint choices (on the cardboard at the top of this photo):
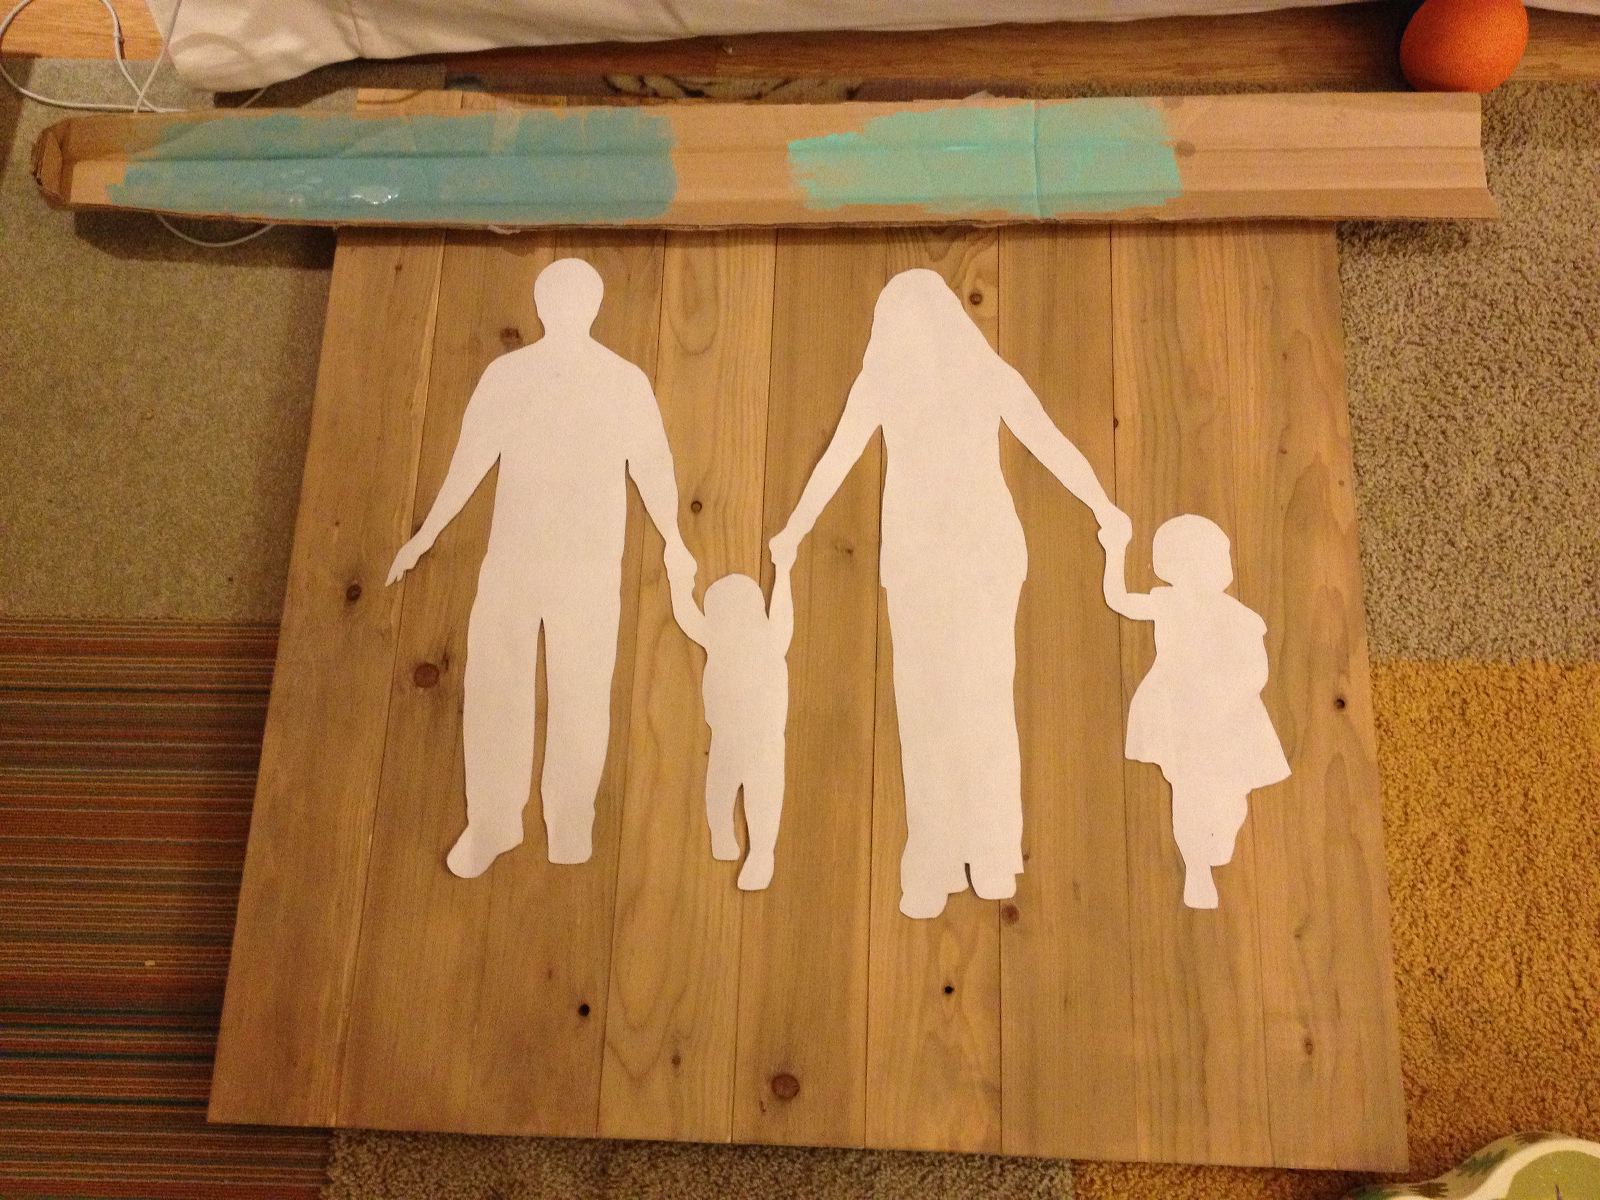
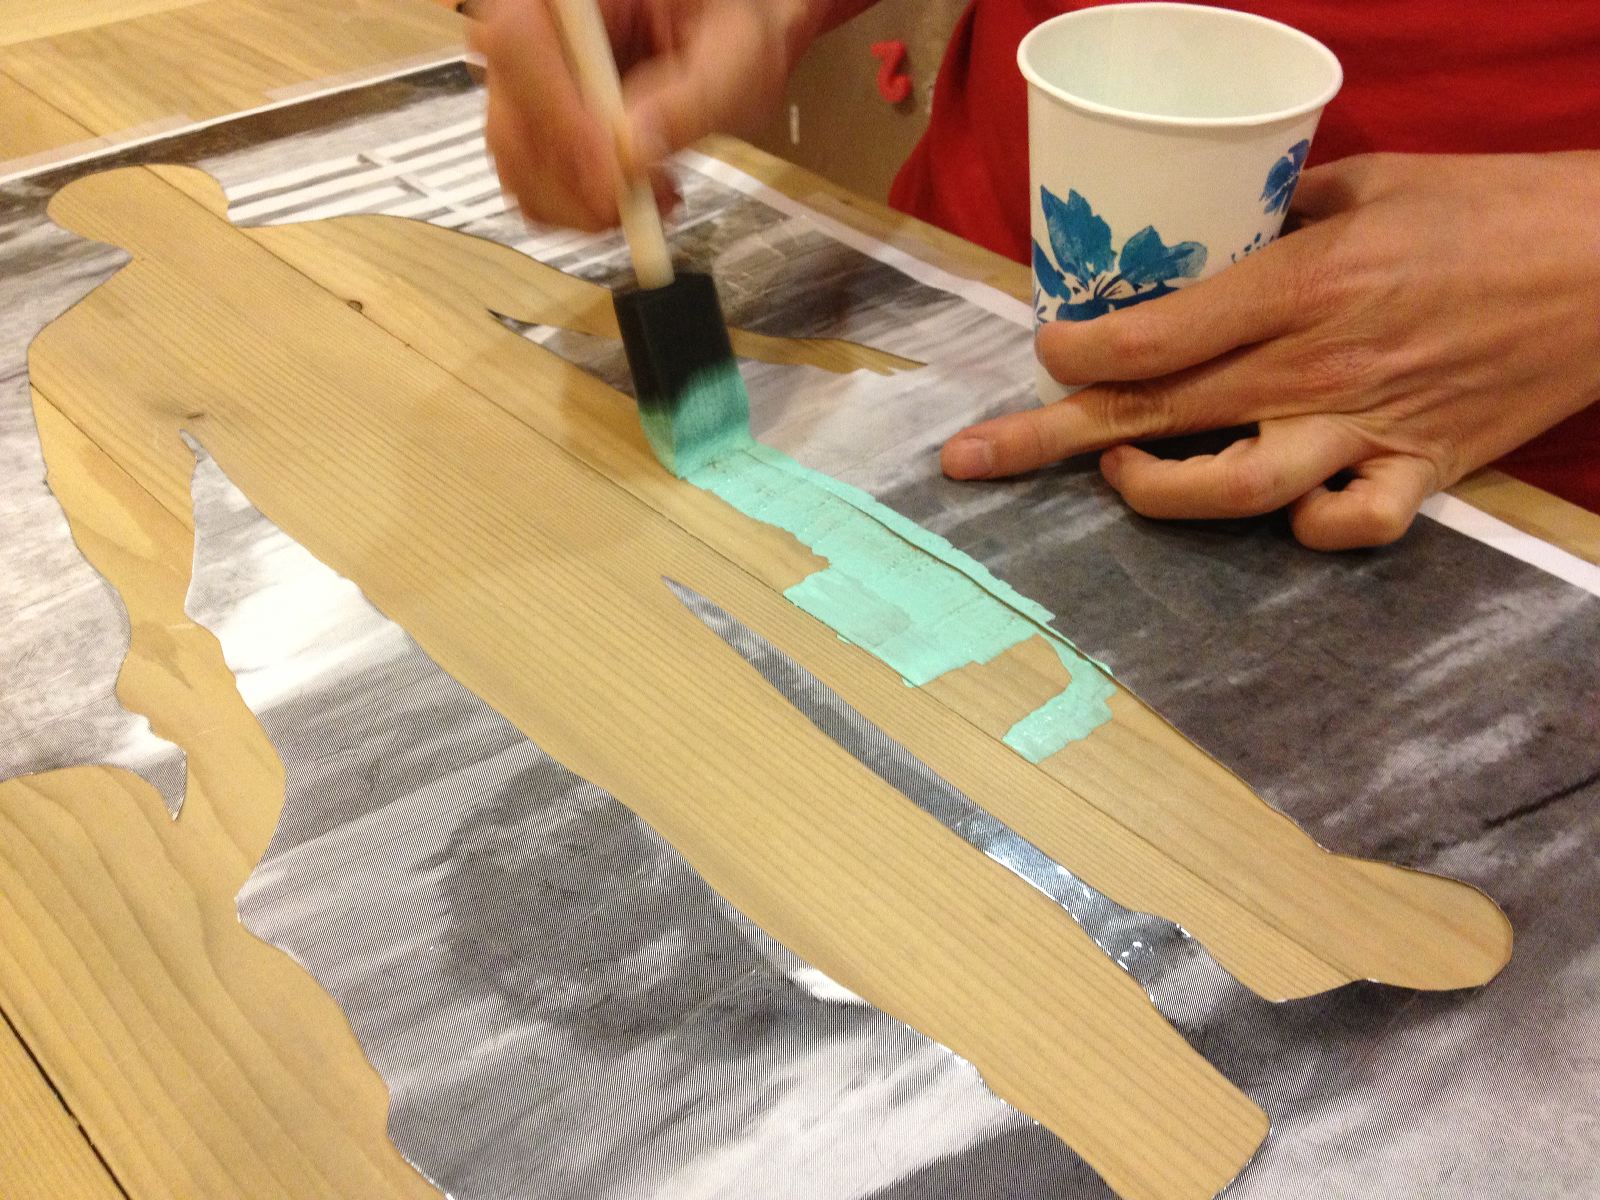
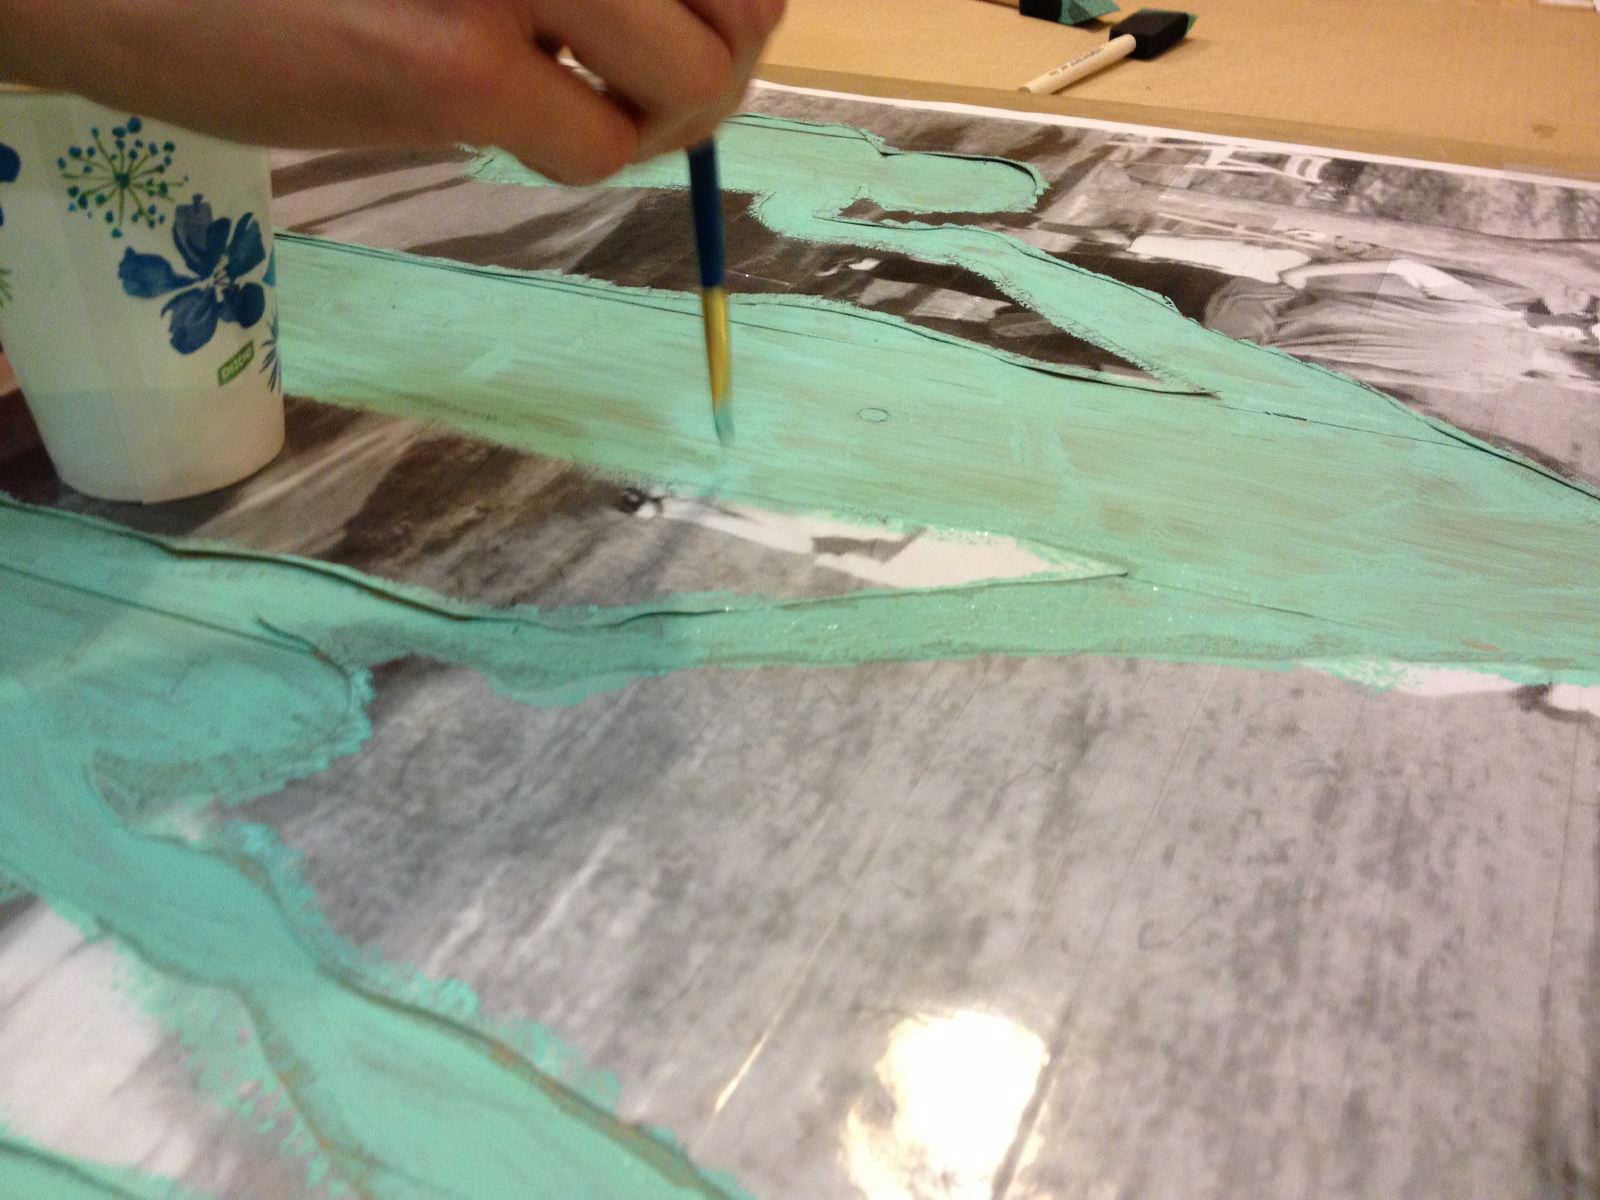
We put the negative of the silhouette (with figures cut out) on top of the wood and then used double-stick tape to hold it down. Then we started painting where the figures would be. We used turquoise acrylic paint from JoAnn (a small 2 oz size, which cost under $1). We were careful to dab around the edges of the silhouette to minimize seepage under the silhouette. We started off with a foam brush and then finished with a regular thin paintbrush.
We nervously lifted the photo off the wood to reveal this:
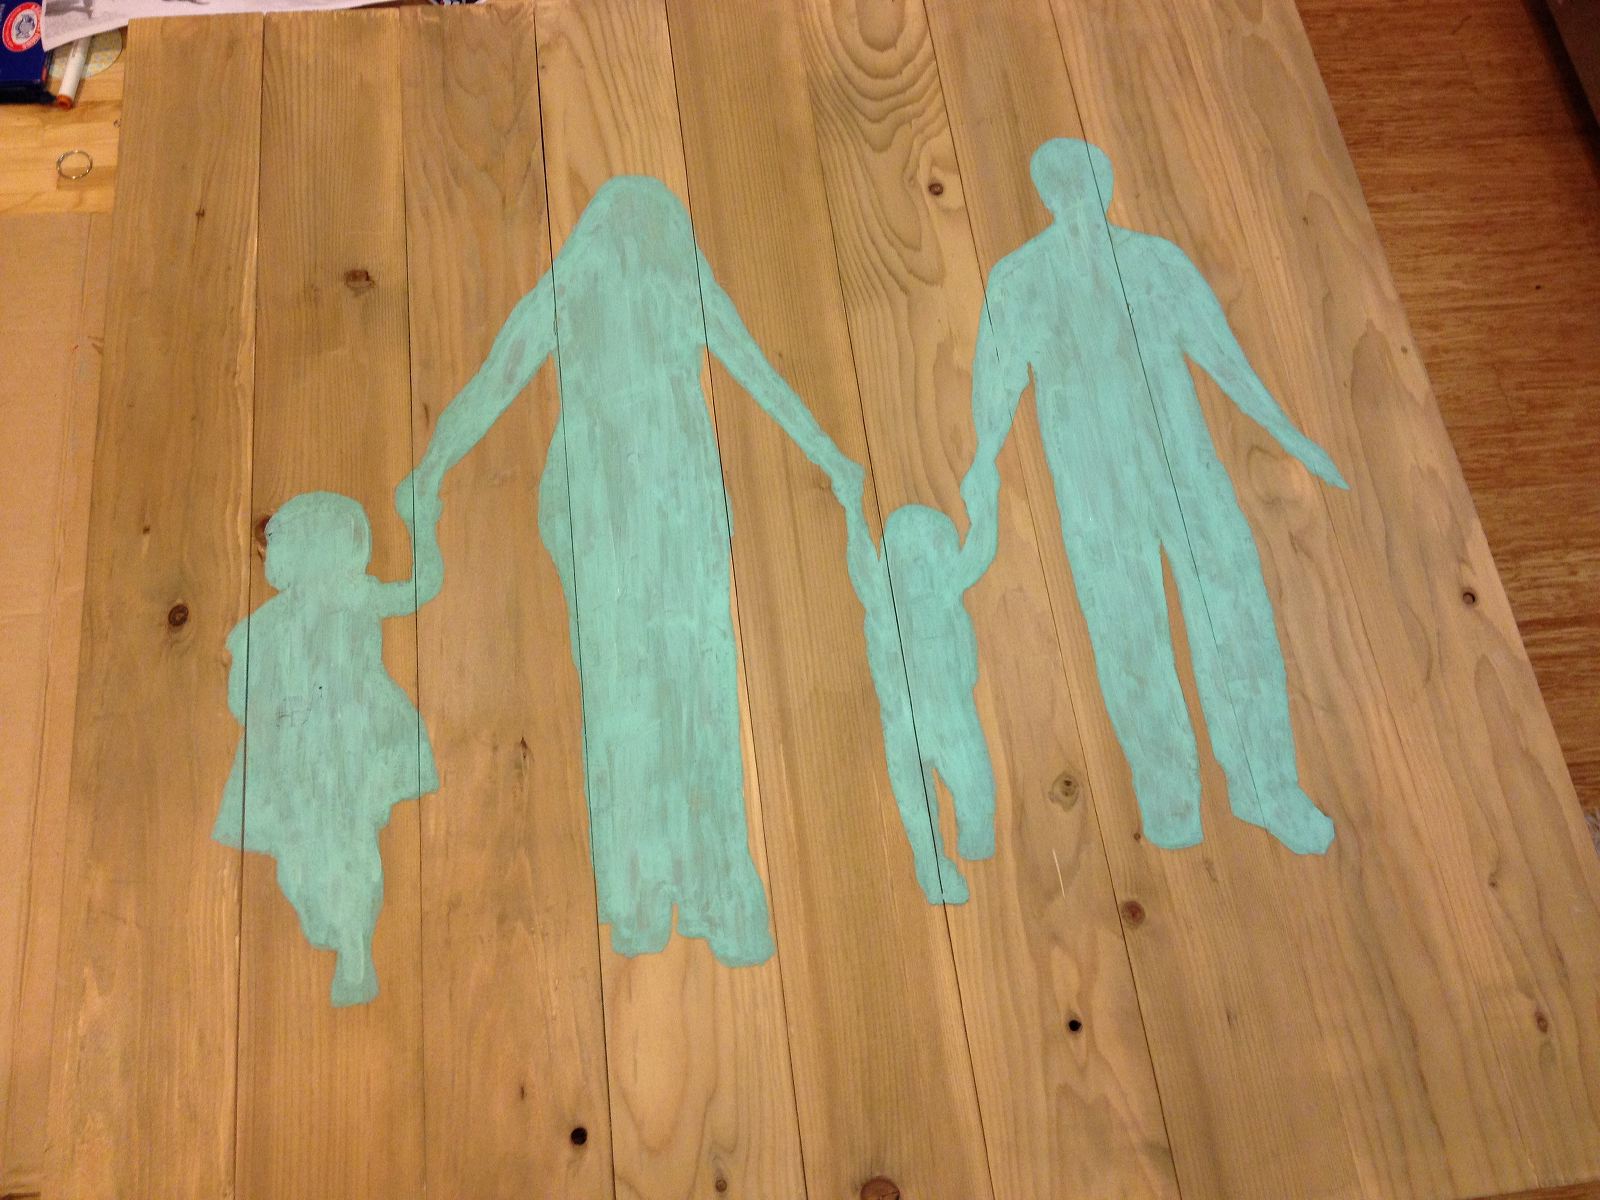
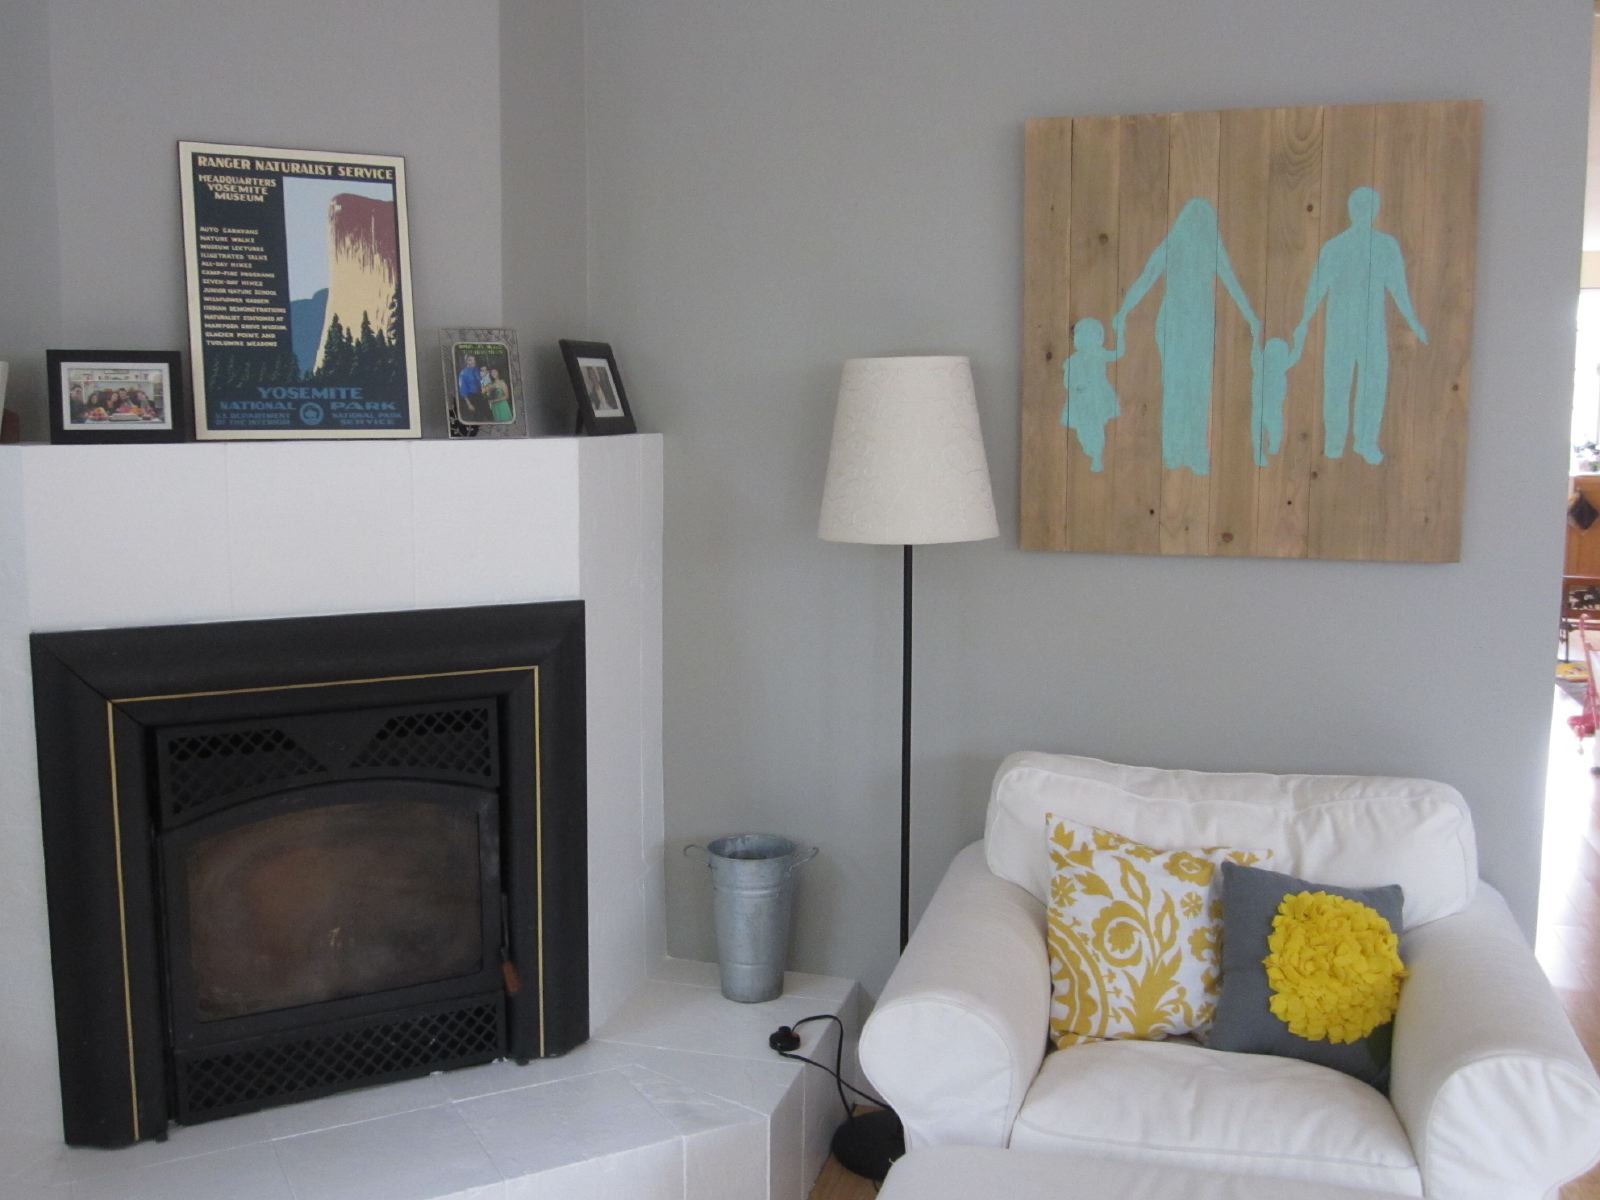
Chris used picture hanging wire screwed to the back to hang the silhouette on the wall in our living room. We’re super happy about how it turned out and are already feeling nostalgic for these days when the kids are so small and will hold our hands…
Costs for this custom art piece:
Wood from Home Depot (three 1x4x8): ~$10
Acrylic turquoise paint from JoAnn: (less than) $1
Blowing up photo to 22×29 size at FedEx: $12 (yikes – we were told it would be about $3 but then were charged a fee because the guy there had to do some manual enhancement)
Total: about $23
Very nice — I like it a lot, well done!
So long,
Corinna