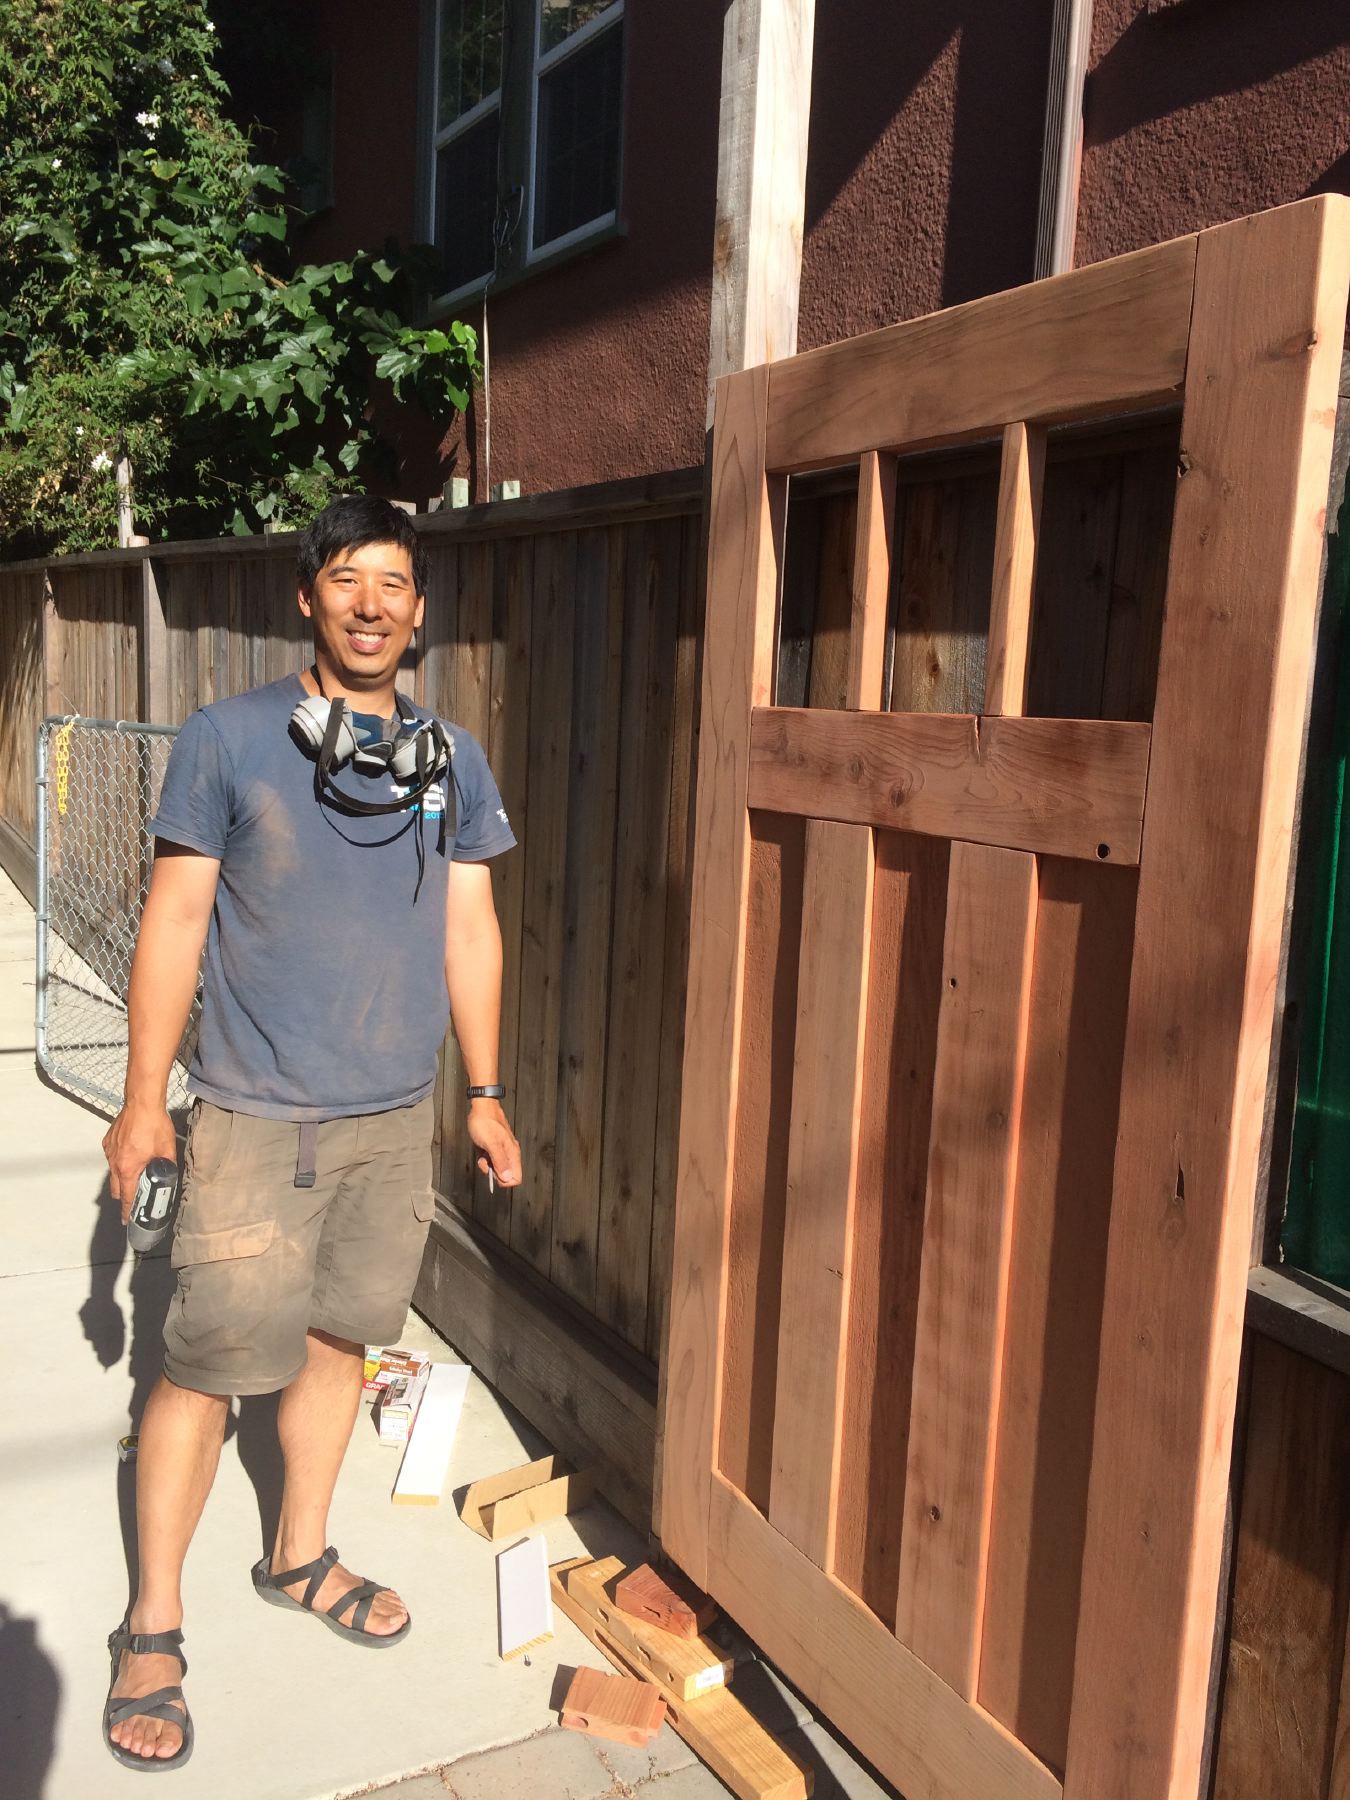
After the gate was built, the next steps are to hang it, install hardware and then stain/seal it. Here is the finished gate after all of these steps. We are very excited with how it turned out! Please check out the previous post to see how the gate was made.

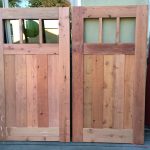
To recap, here’s what the Craftsman gates look like after building them. Please go back to the original post to get more details about how they were made and the tools used.

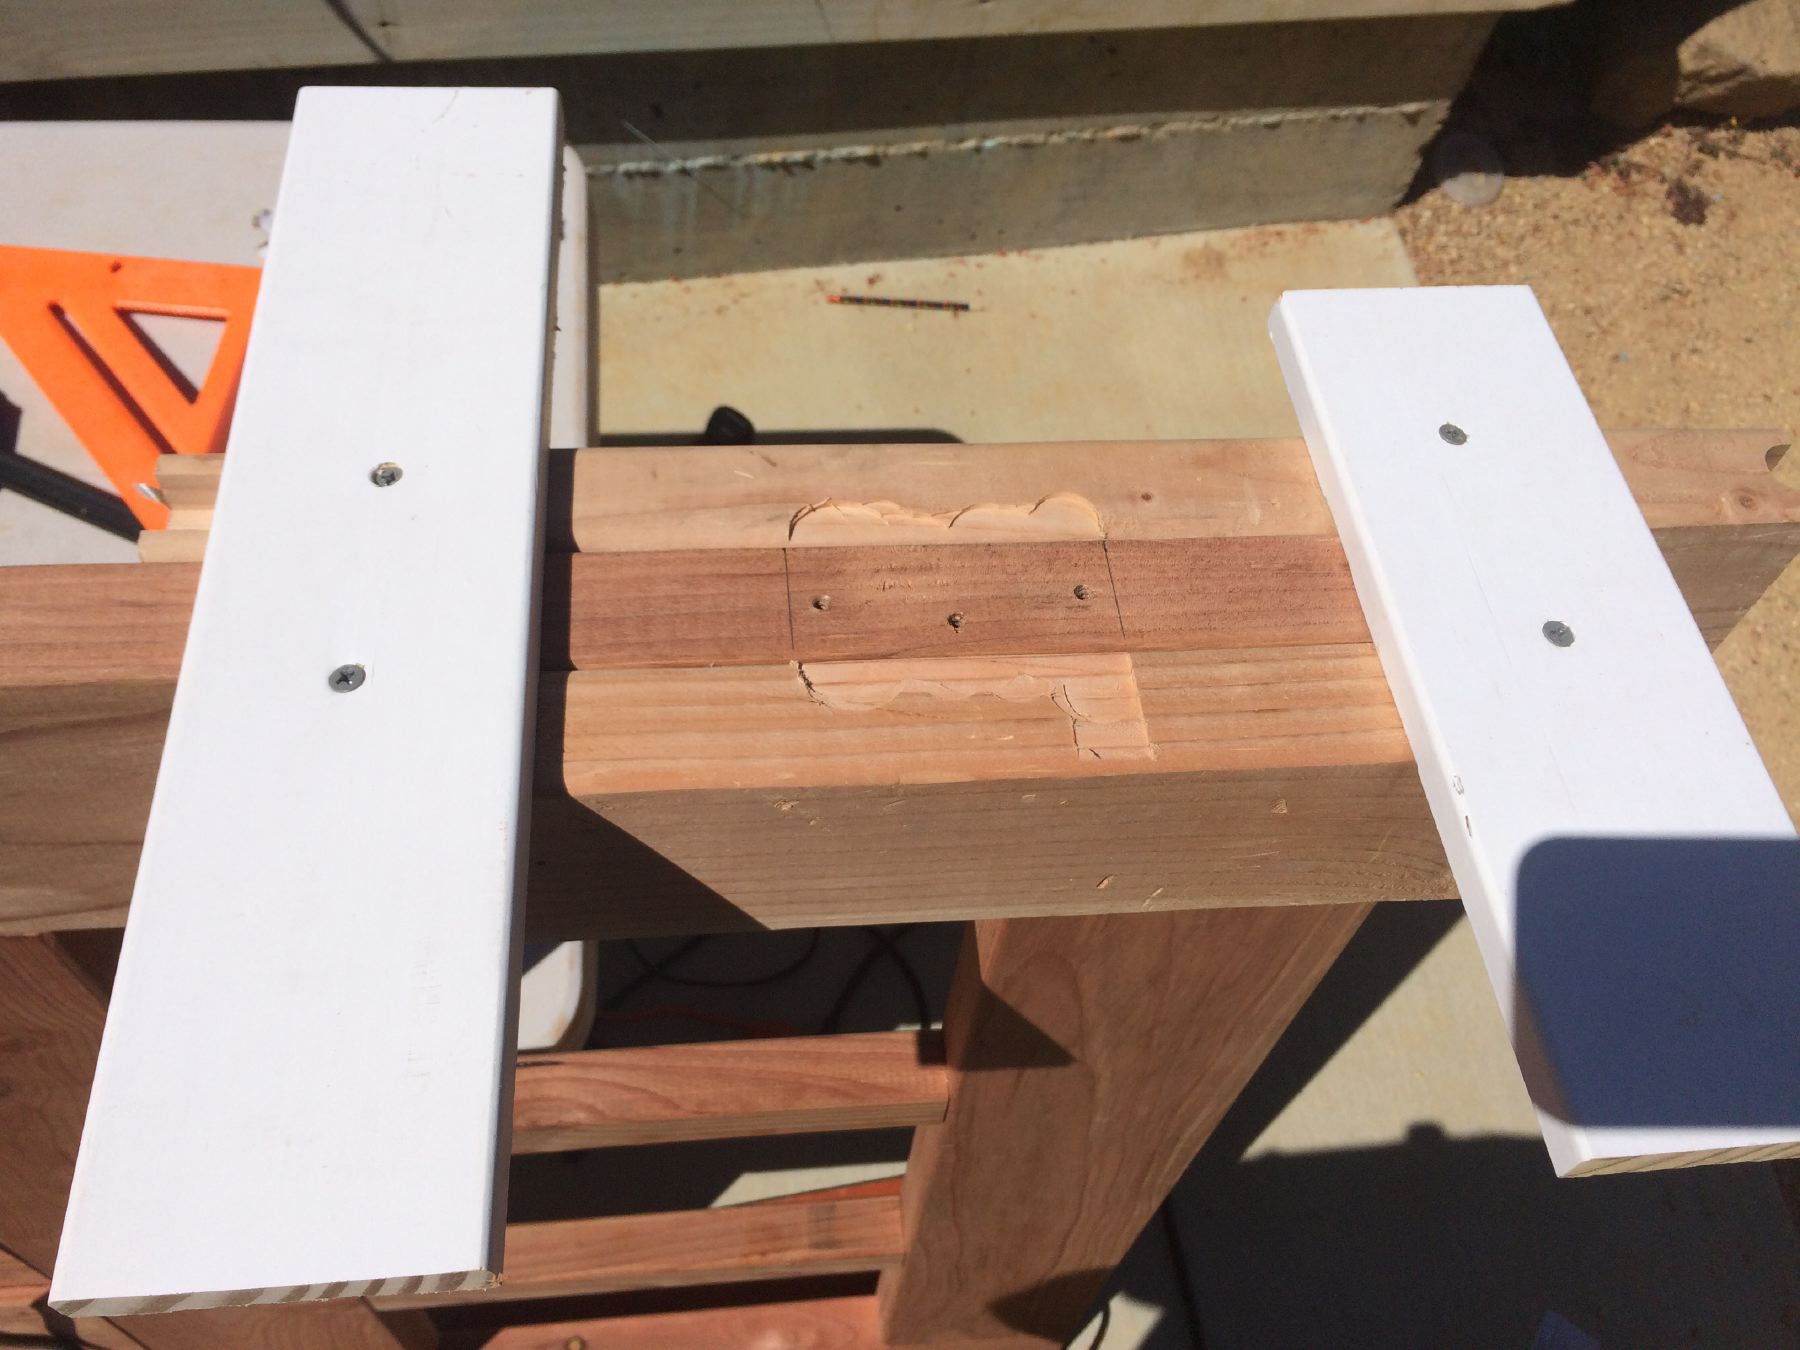
The next step we took in getting the gate installed was to attach hinges and hang the gates on the posts. In order to attach the hinges to the gate, I mortised a slot for the hinge to sit in (so that the top of the hinge was flush with the rest of the gate, rather than sitting on top of the edge of the gate. A perfect time to break out the router again. I built a jig out of scrap wood (the two white pieces on the side and two 2x4s on either side of the gate). The white wood pieces are router guides to enable the router bit to cut the slot the right size for the hinge.
Here I am cutting with my router.

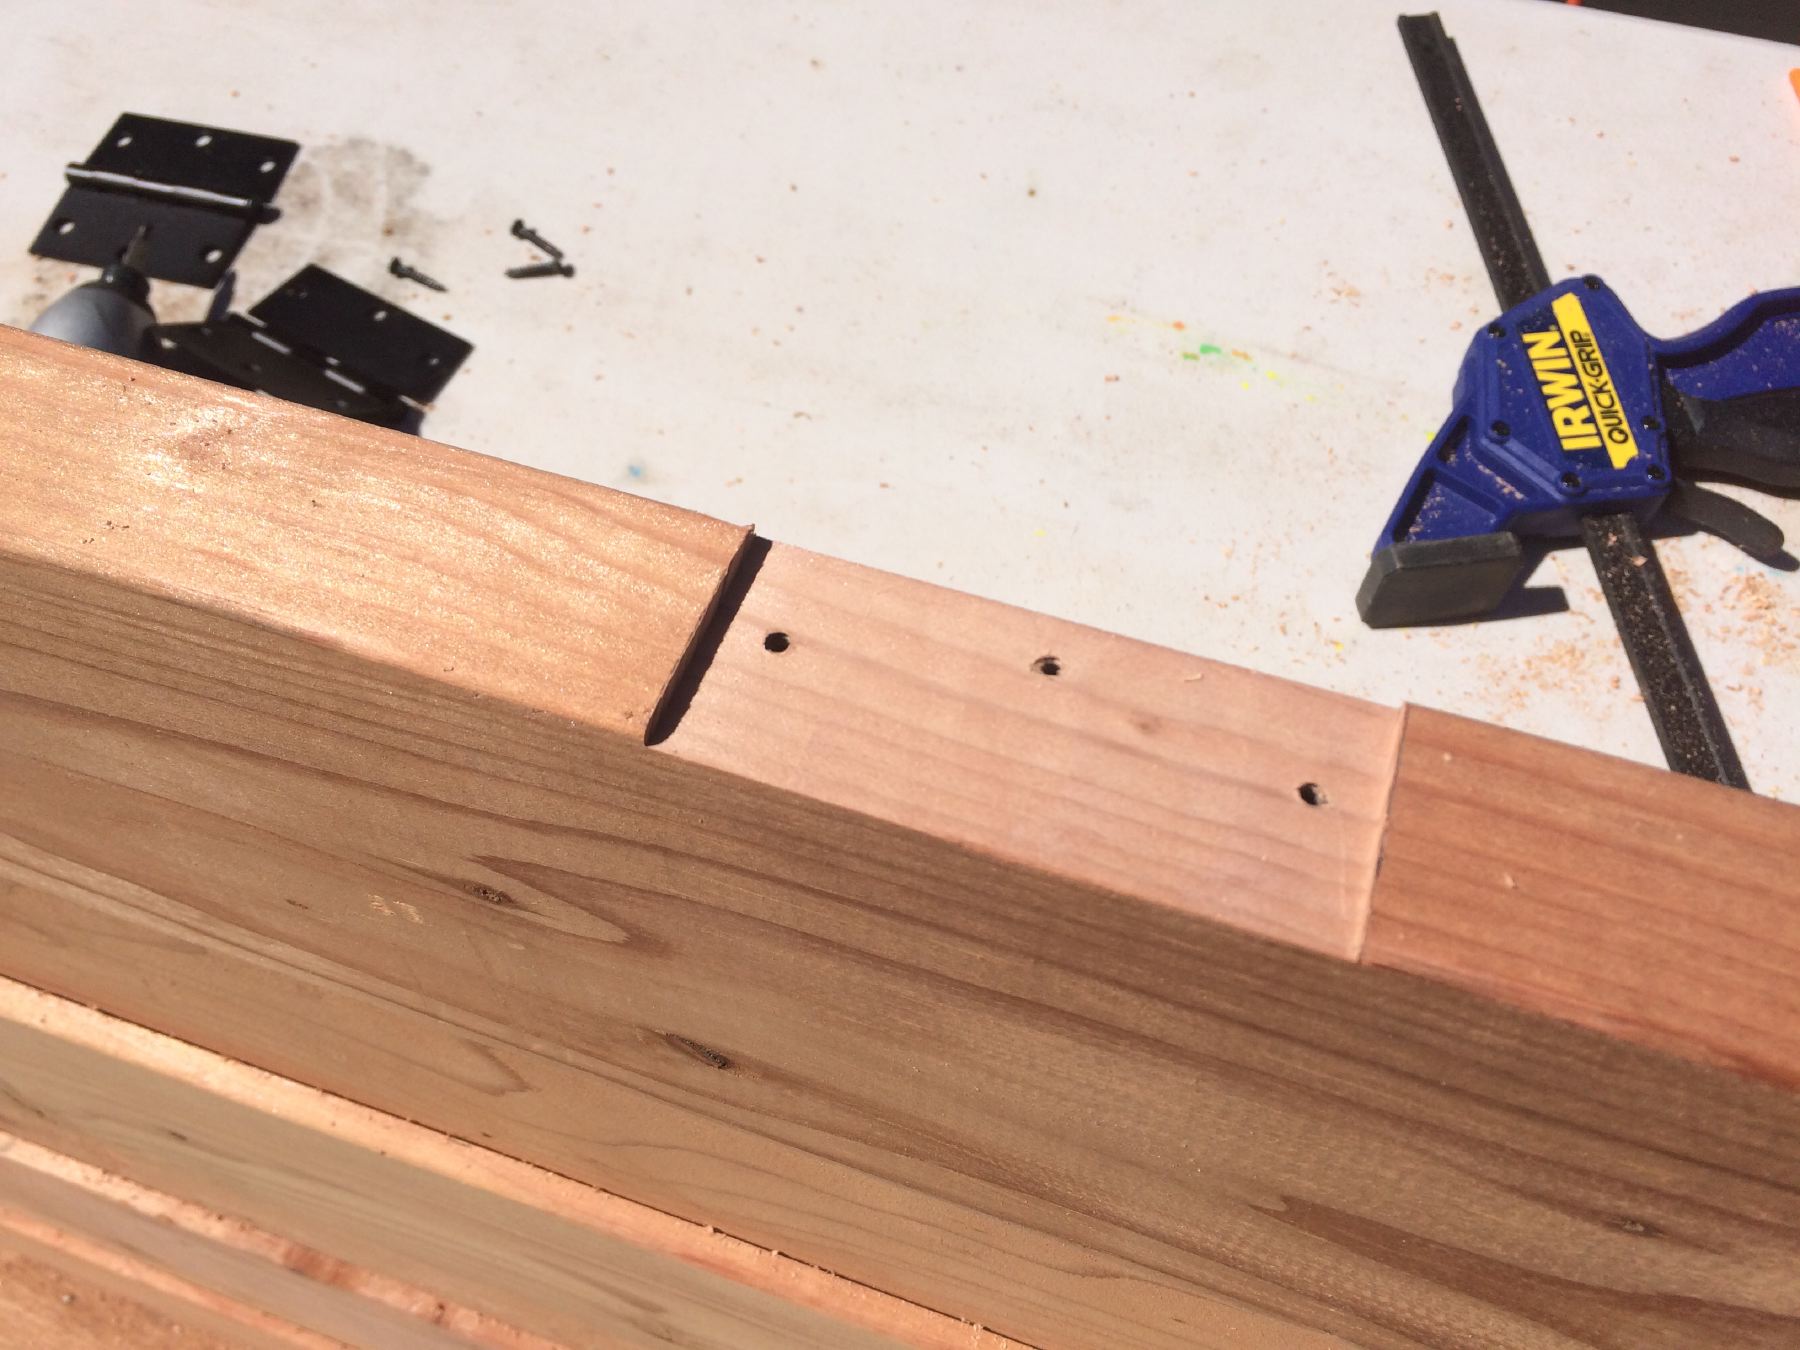
And here’s the finished mortise. One down and 5 to go! It was pretty easy with a jig, much easier than using a hand chisel.
Here’s my daughter pre-drilling a hole for the screw into the 4×4 post. You can also see the black Simpson post base, used for bolting the post to the concrete walkway. The top of the post is attached to our fence to keep it stable.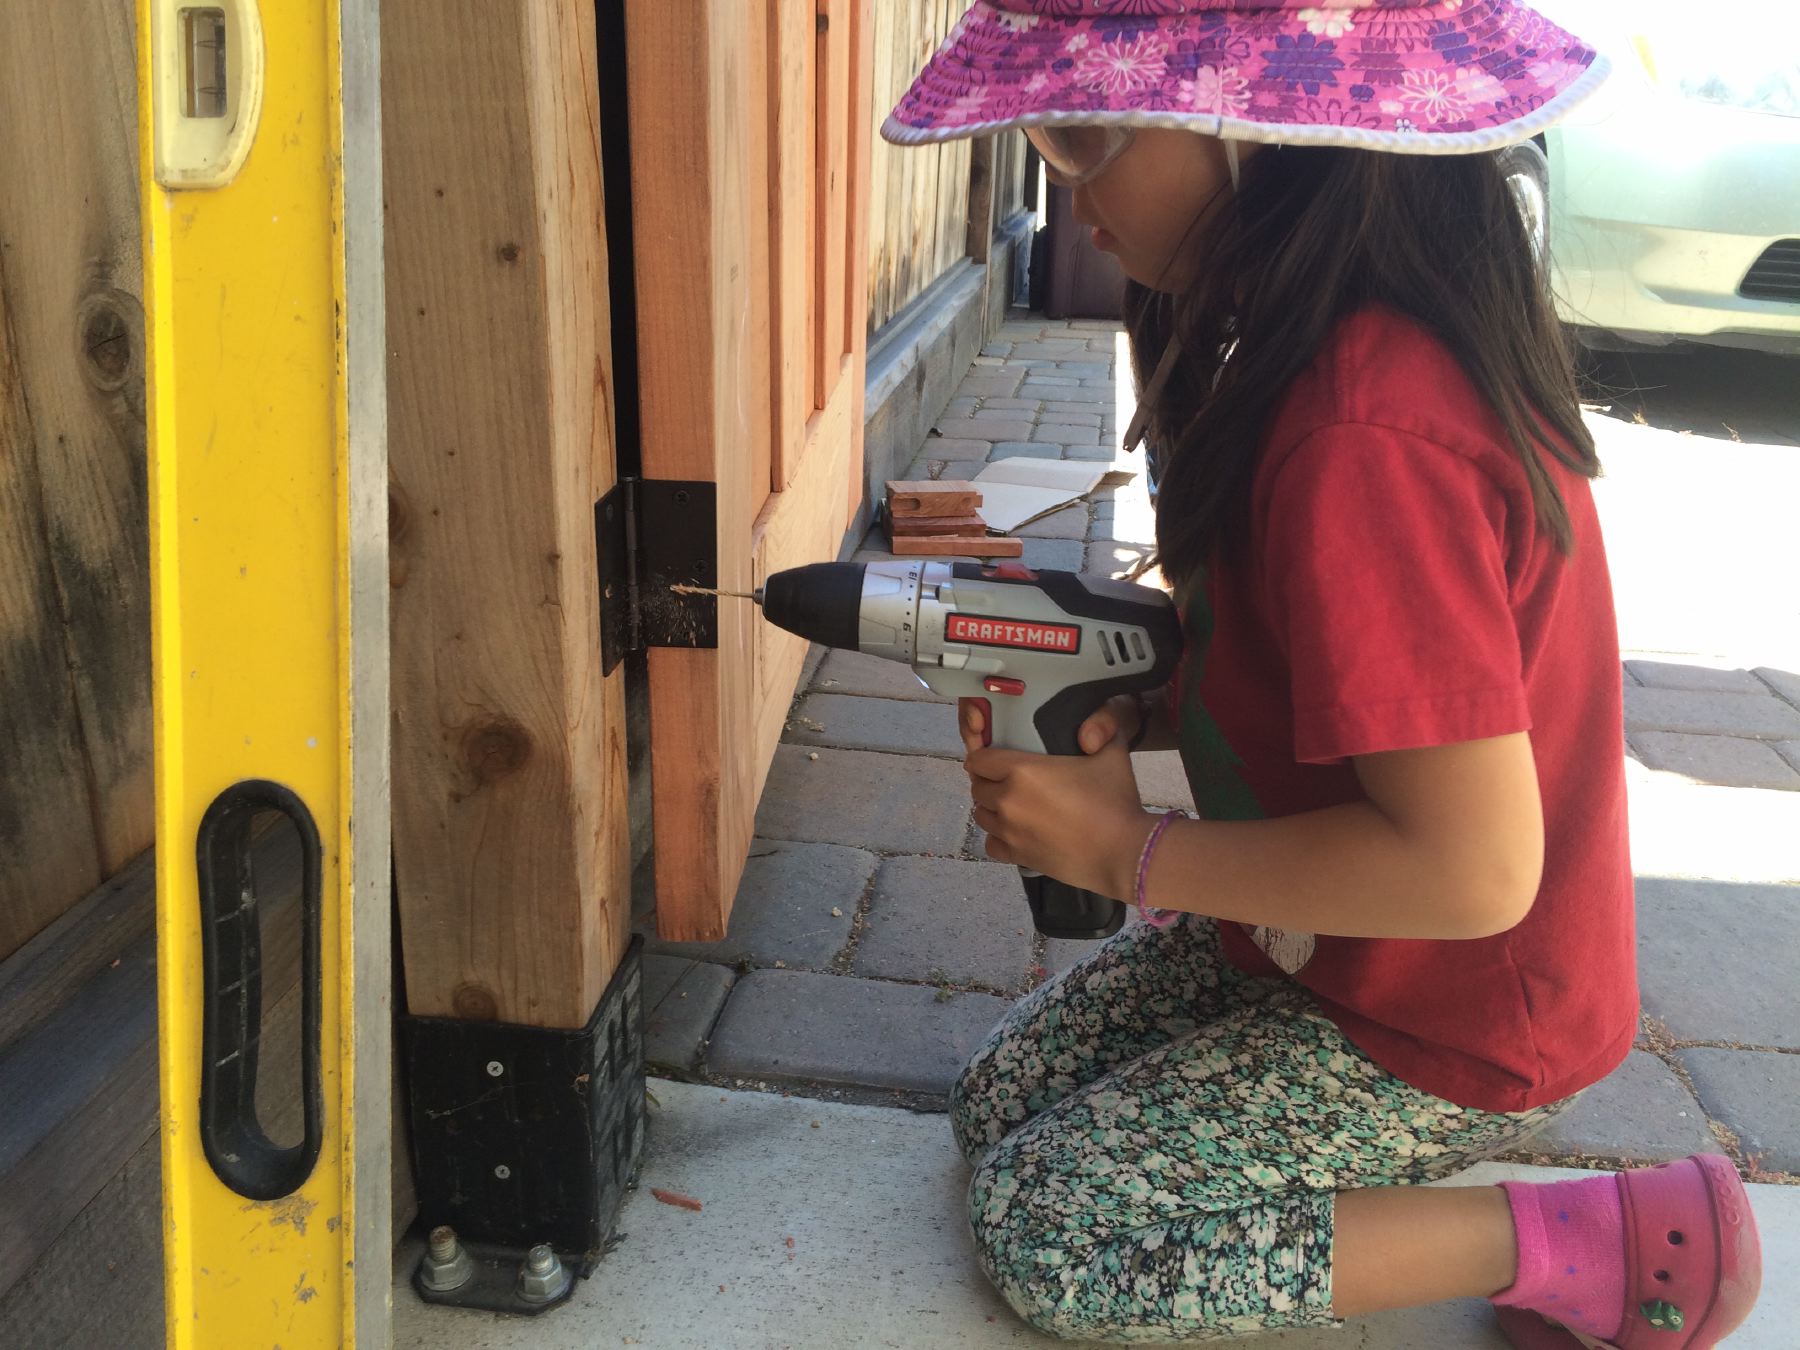
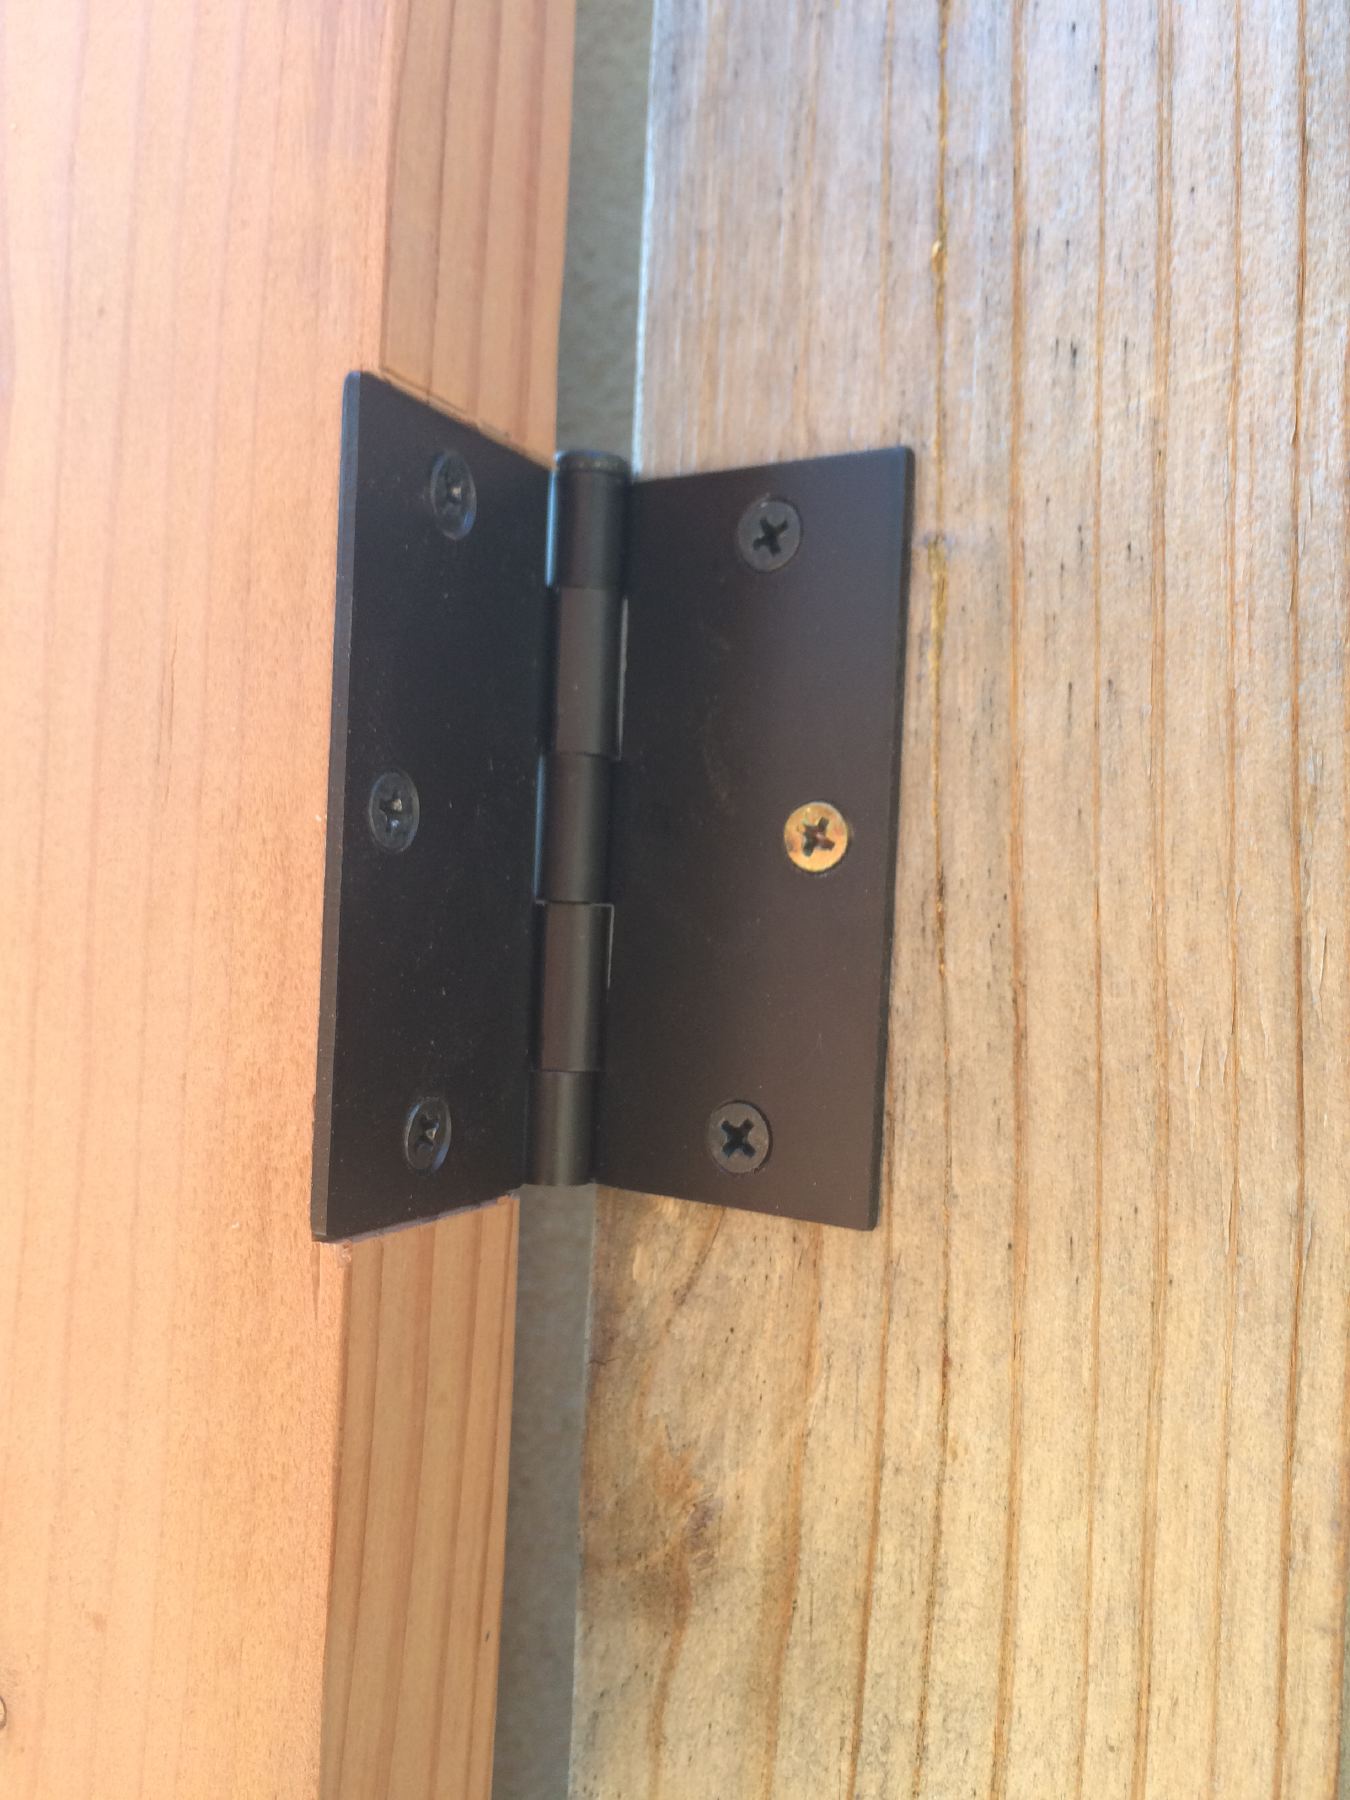
The hinge sitting in the mortise slot. I decided not to mortice the 4×4 post because that seemed complicated and I didn’t feel like trying to do that.
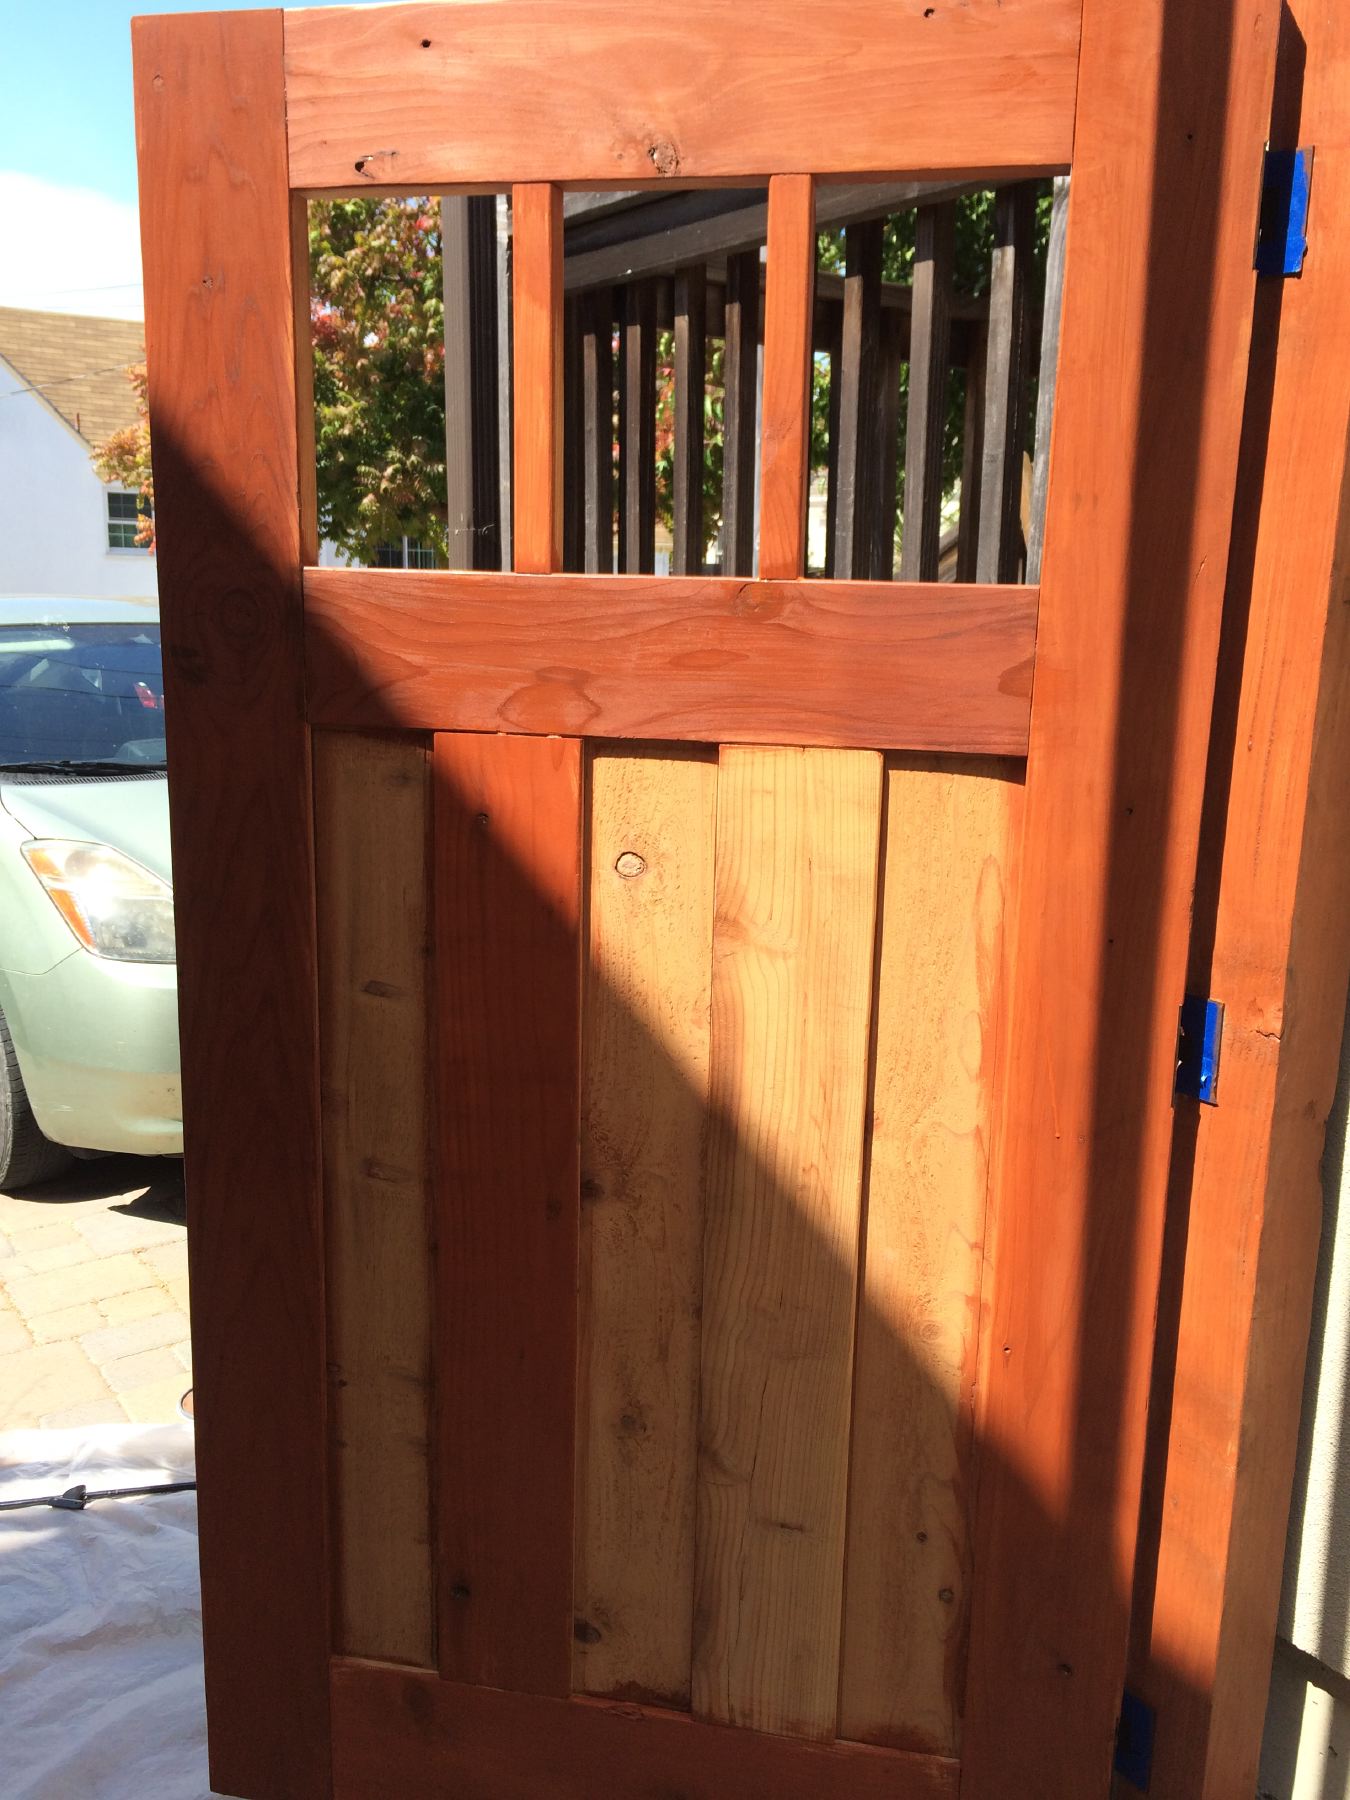
Here is the first gate door hung onto the post.
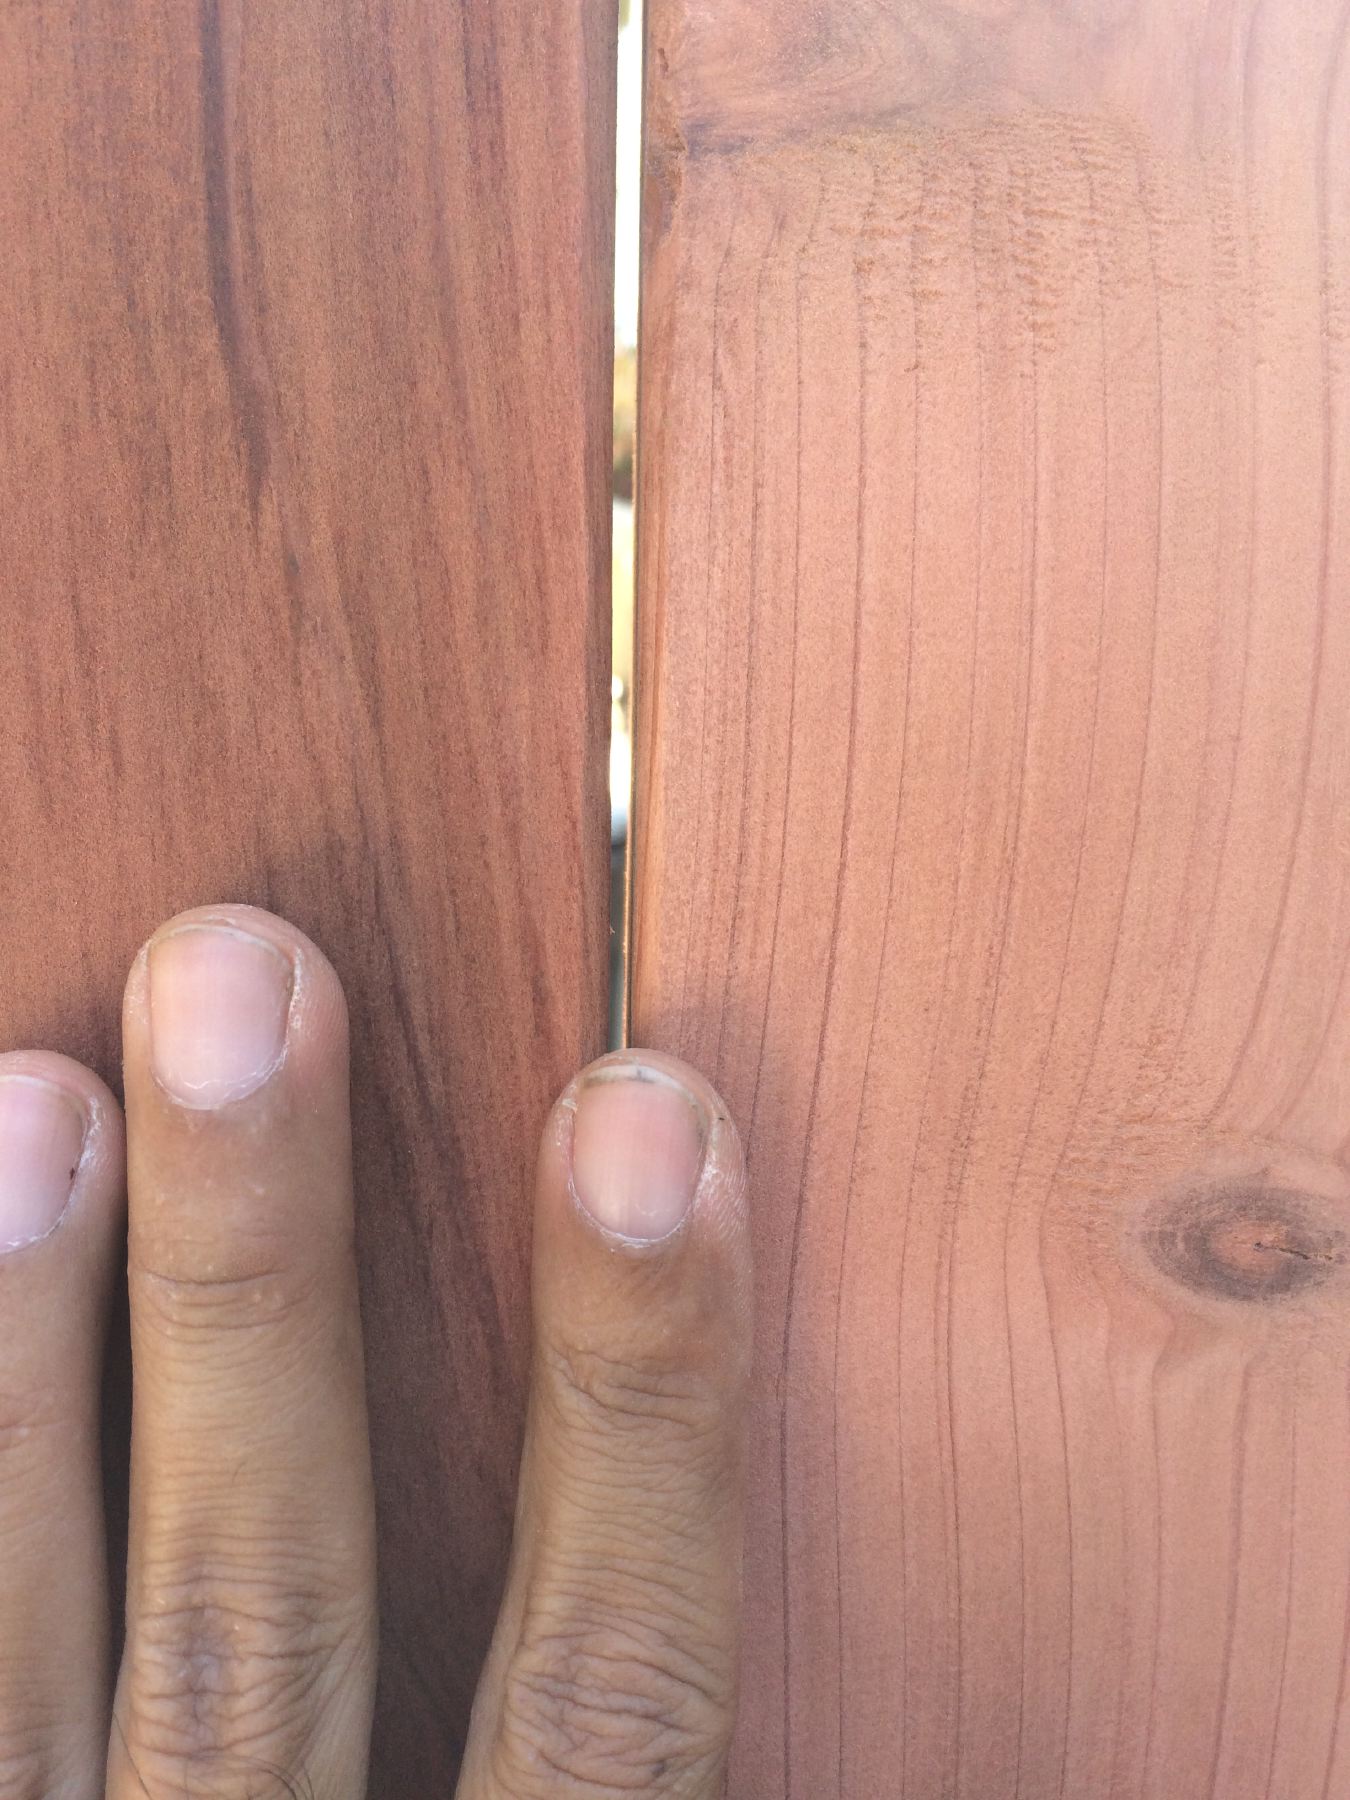
And now the 2nd gate. I measured the distance between the posts (which were installed before I built the gates) so that I would know how wide to make the gates. I was surprised how well it fit and that my measurements worked out. The gap between the gates wasn’t quite parallel but a few passes with a hand plane made it perfect.

Look at that precision gap! It’s about an 1/8 of an inch (hopefully enough when the door expands in the winter). .
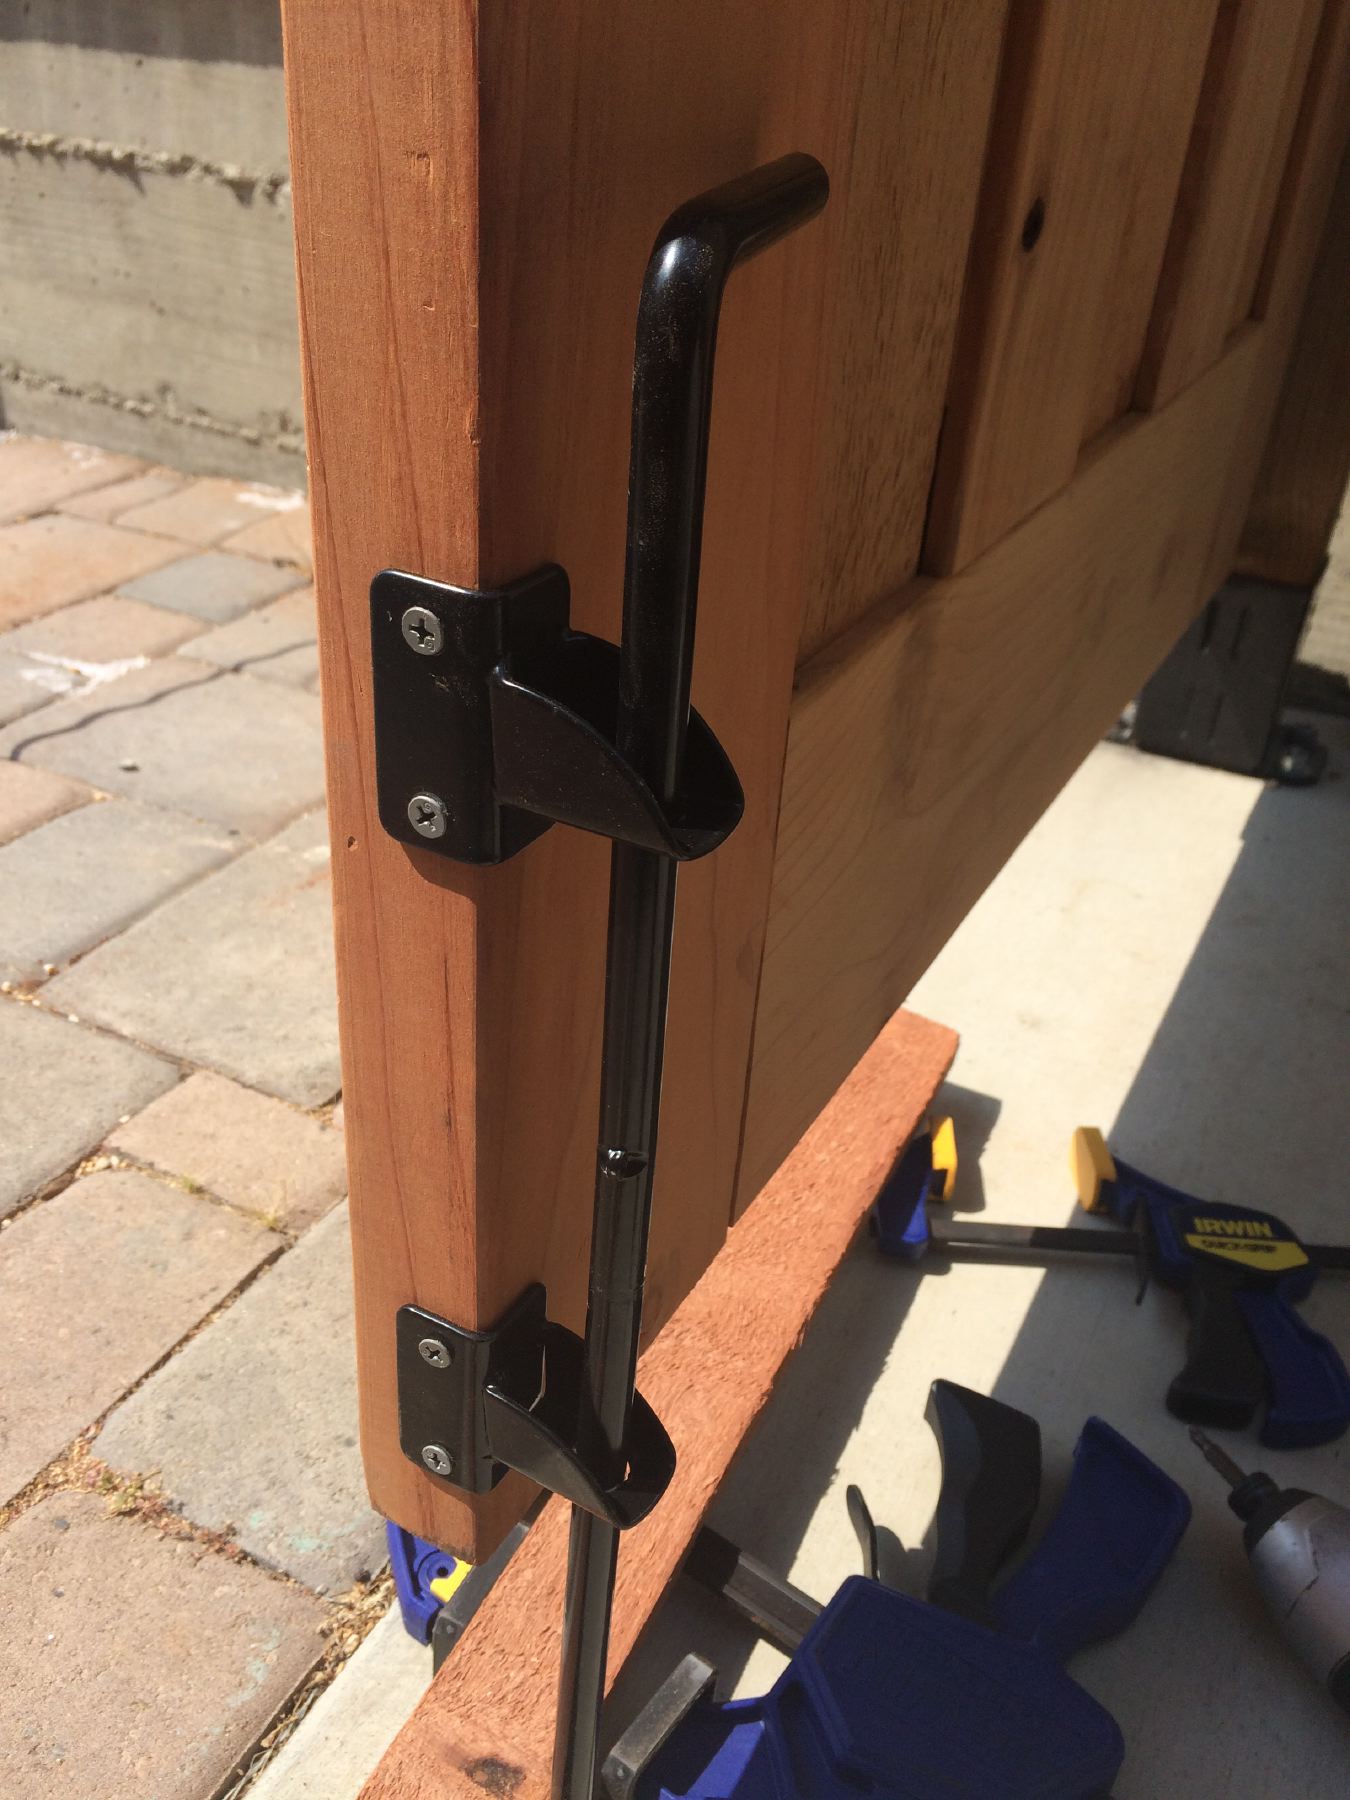
We generally want only to open the door on the right side (which is 39″ wide). I installed a cane bolt (which can drop into a hole drilled into the cement) to keep the left door in place.
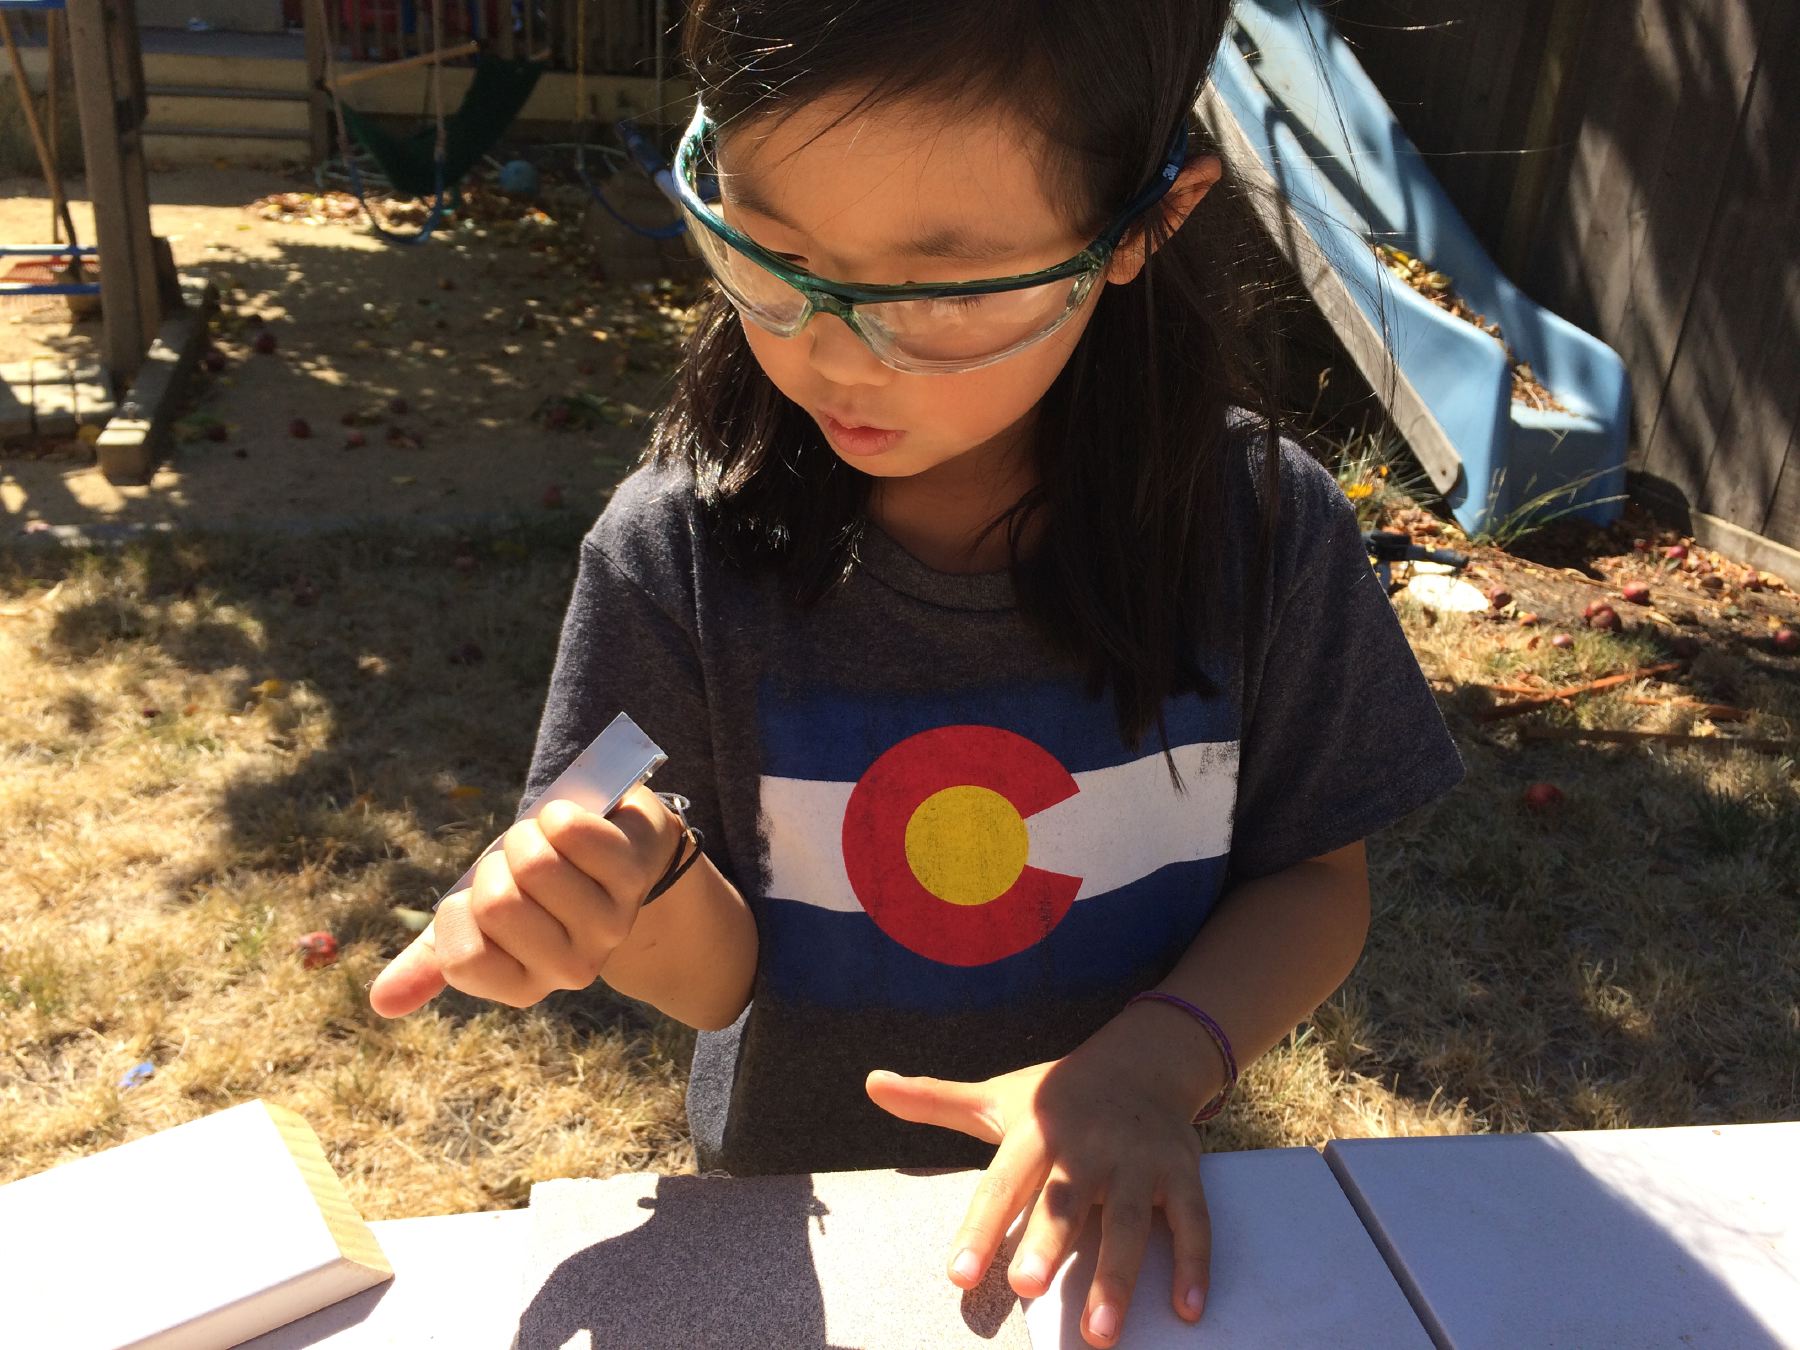
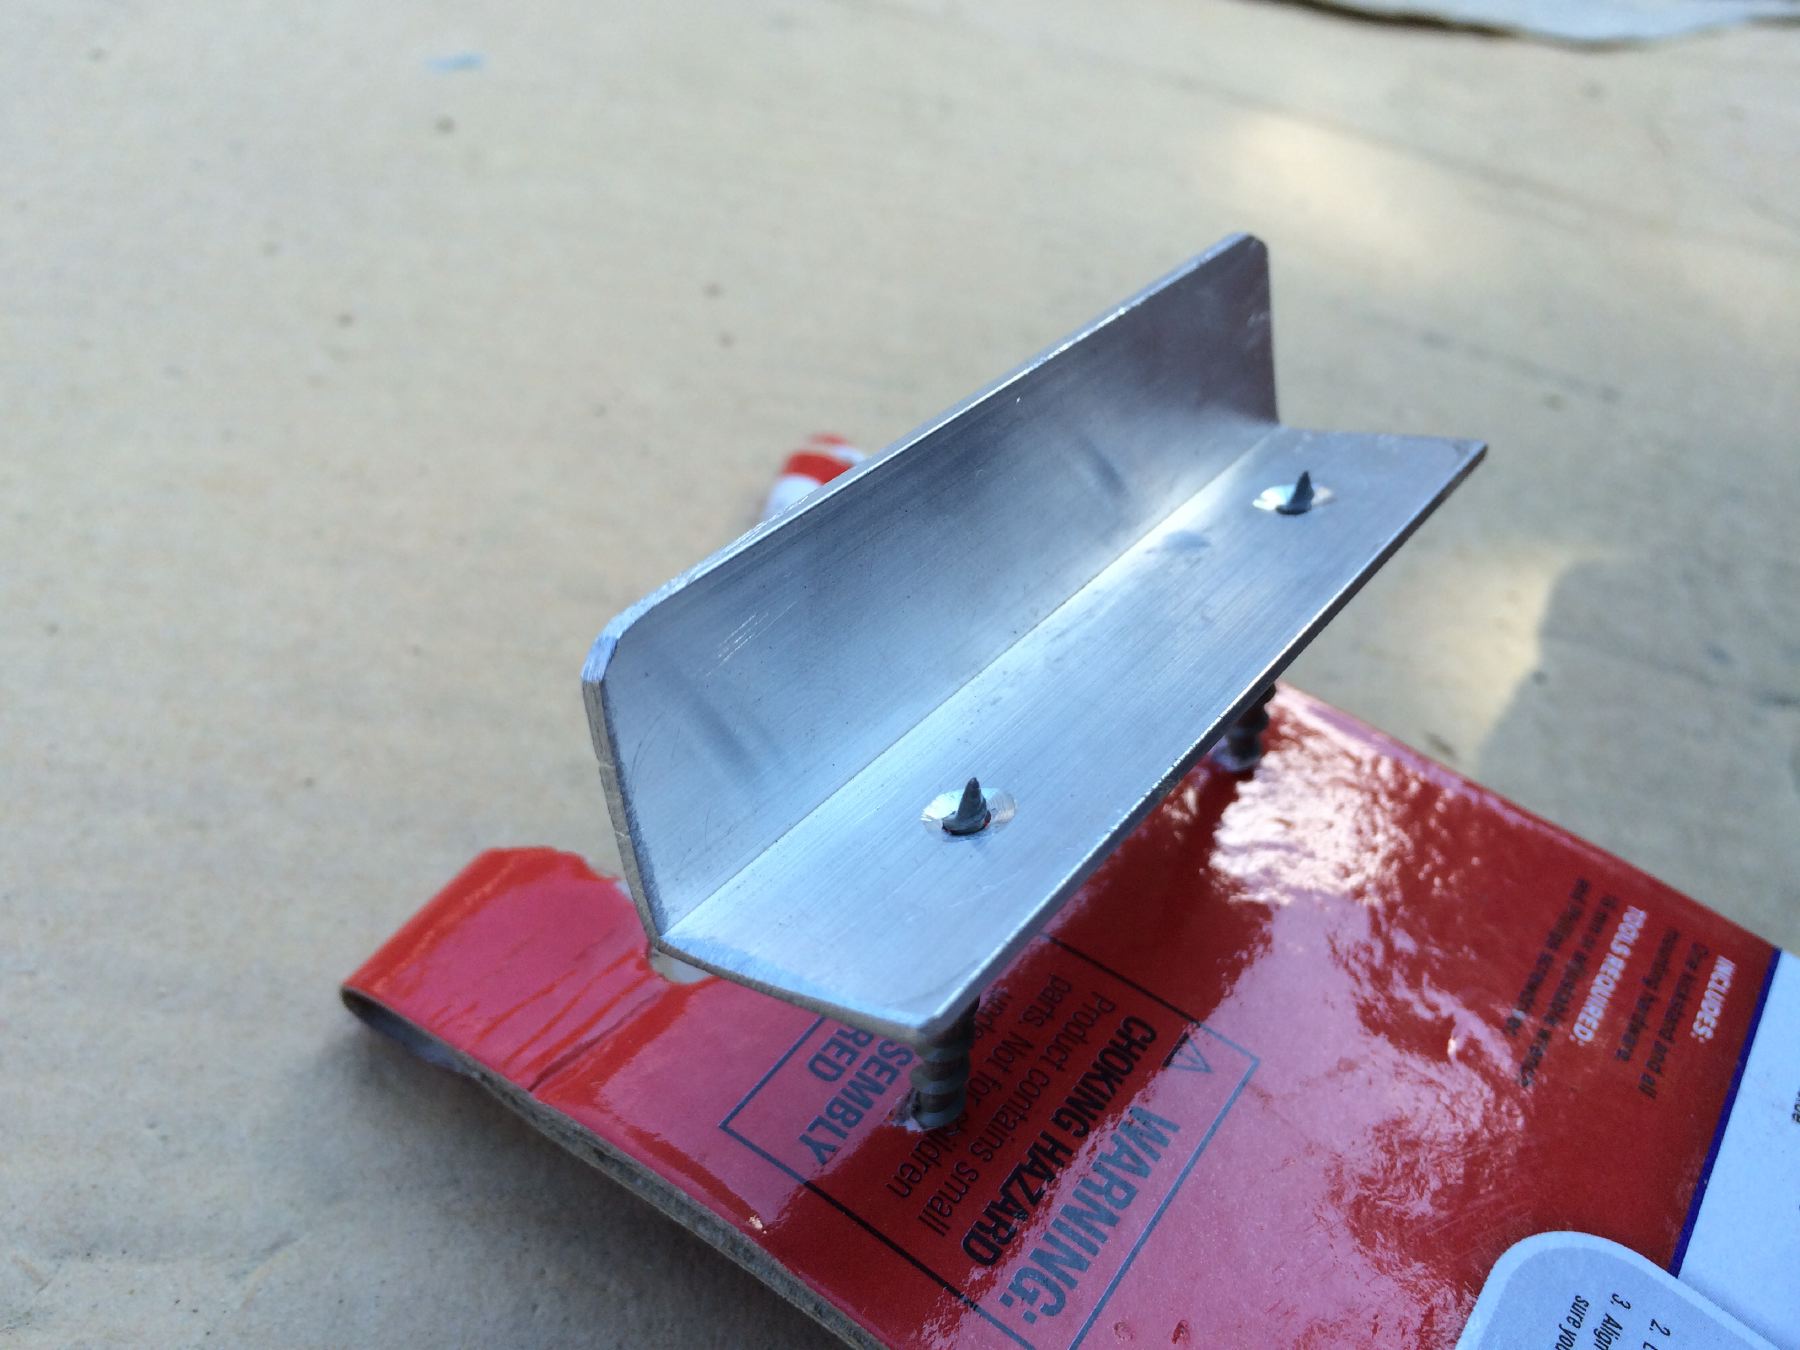
Gates typically need a gate stop to prevent the door from moving past the closed position, which can damage the hinges and the door. Doors don’t have this issue because there are stops along the top and sides to established the closed position. I bought a piece of aluminum angle iron that I cut into 3 inch long segments. My daughter is sanding the corners of the side that will stick out to round them off so no one gets scratched or cut if they rub against the gate stop while walking by.
Here’s the finished gate stop, sitting on a little stand ready to be spray painted black.
A key part of the final gate design is the hardware. There is alot of very expensive gate hardware on the internet, typically pieces that cost several hundred dollars. They look nice, but not really what we want to spend. I decided to try putting some conventional door hardware on the gate, since they are produced in much larger quantities and as a result are cheaper. This is the handle we settled on, from Schlage, which has a simple Craftsman-like profile and was only ~$40.

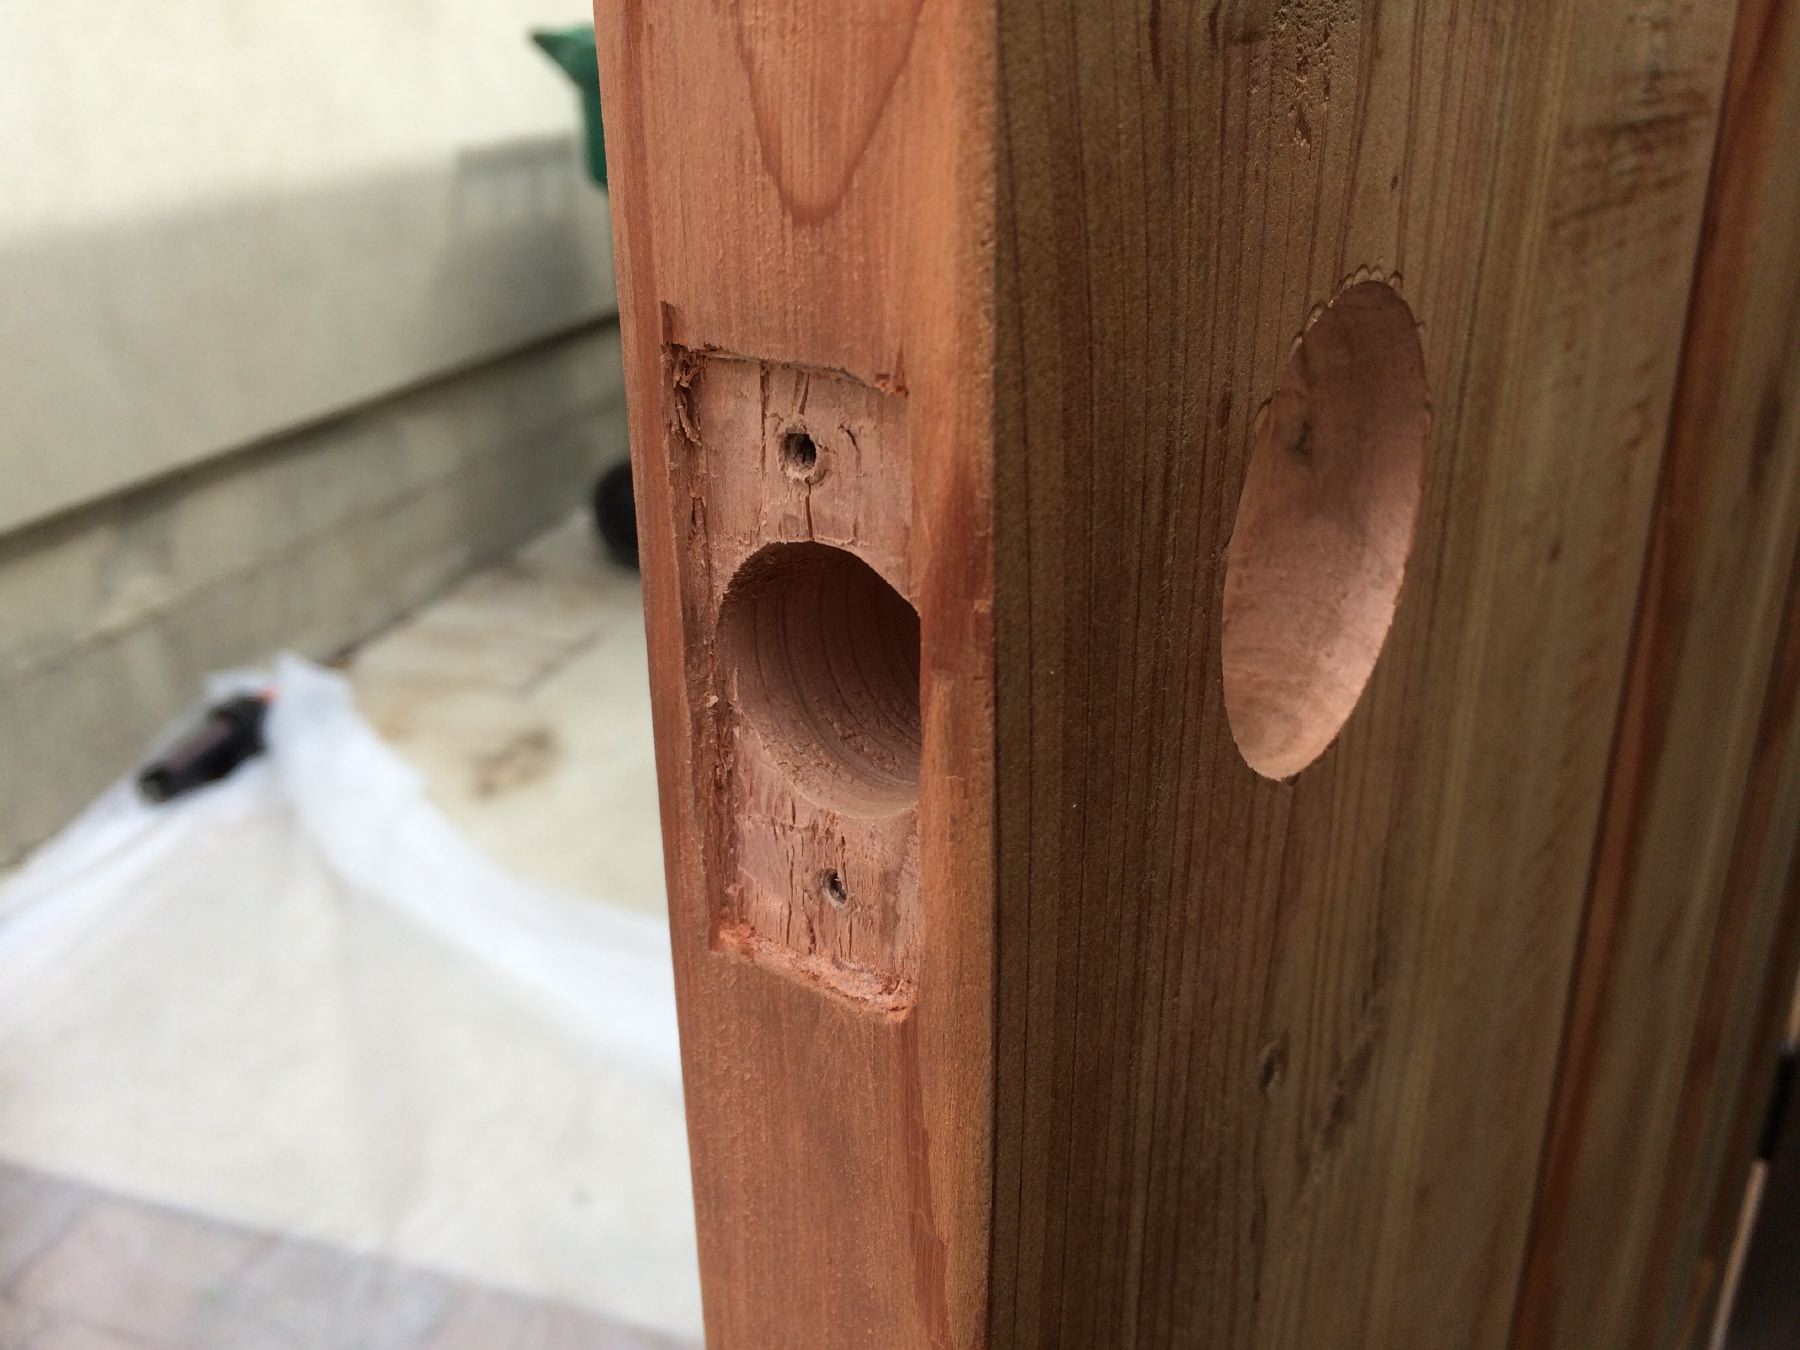
I had to cut a hole for the gate hardware to fit on the gate. This is the same process for a normal door (since I’m using door hardware) and involves drilling a few holes and mortising places for the latch plate and strike plate. This was done with a hand chisel (which is why it looks a bit ugly).
Starting to stain the door. The stain is a redwood semi-transparent finish. It ended up being a bit “redder/oranger” than I had planned. But once I started, there was no turning back.
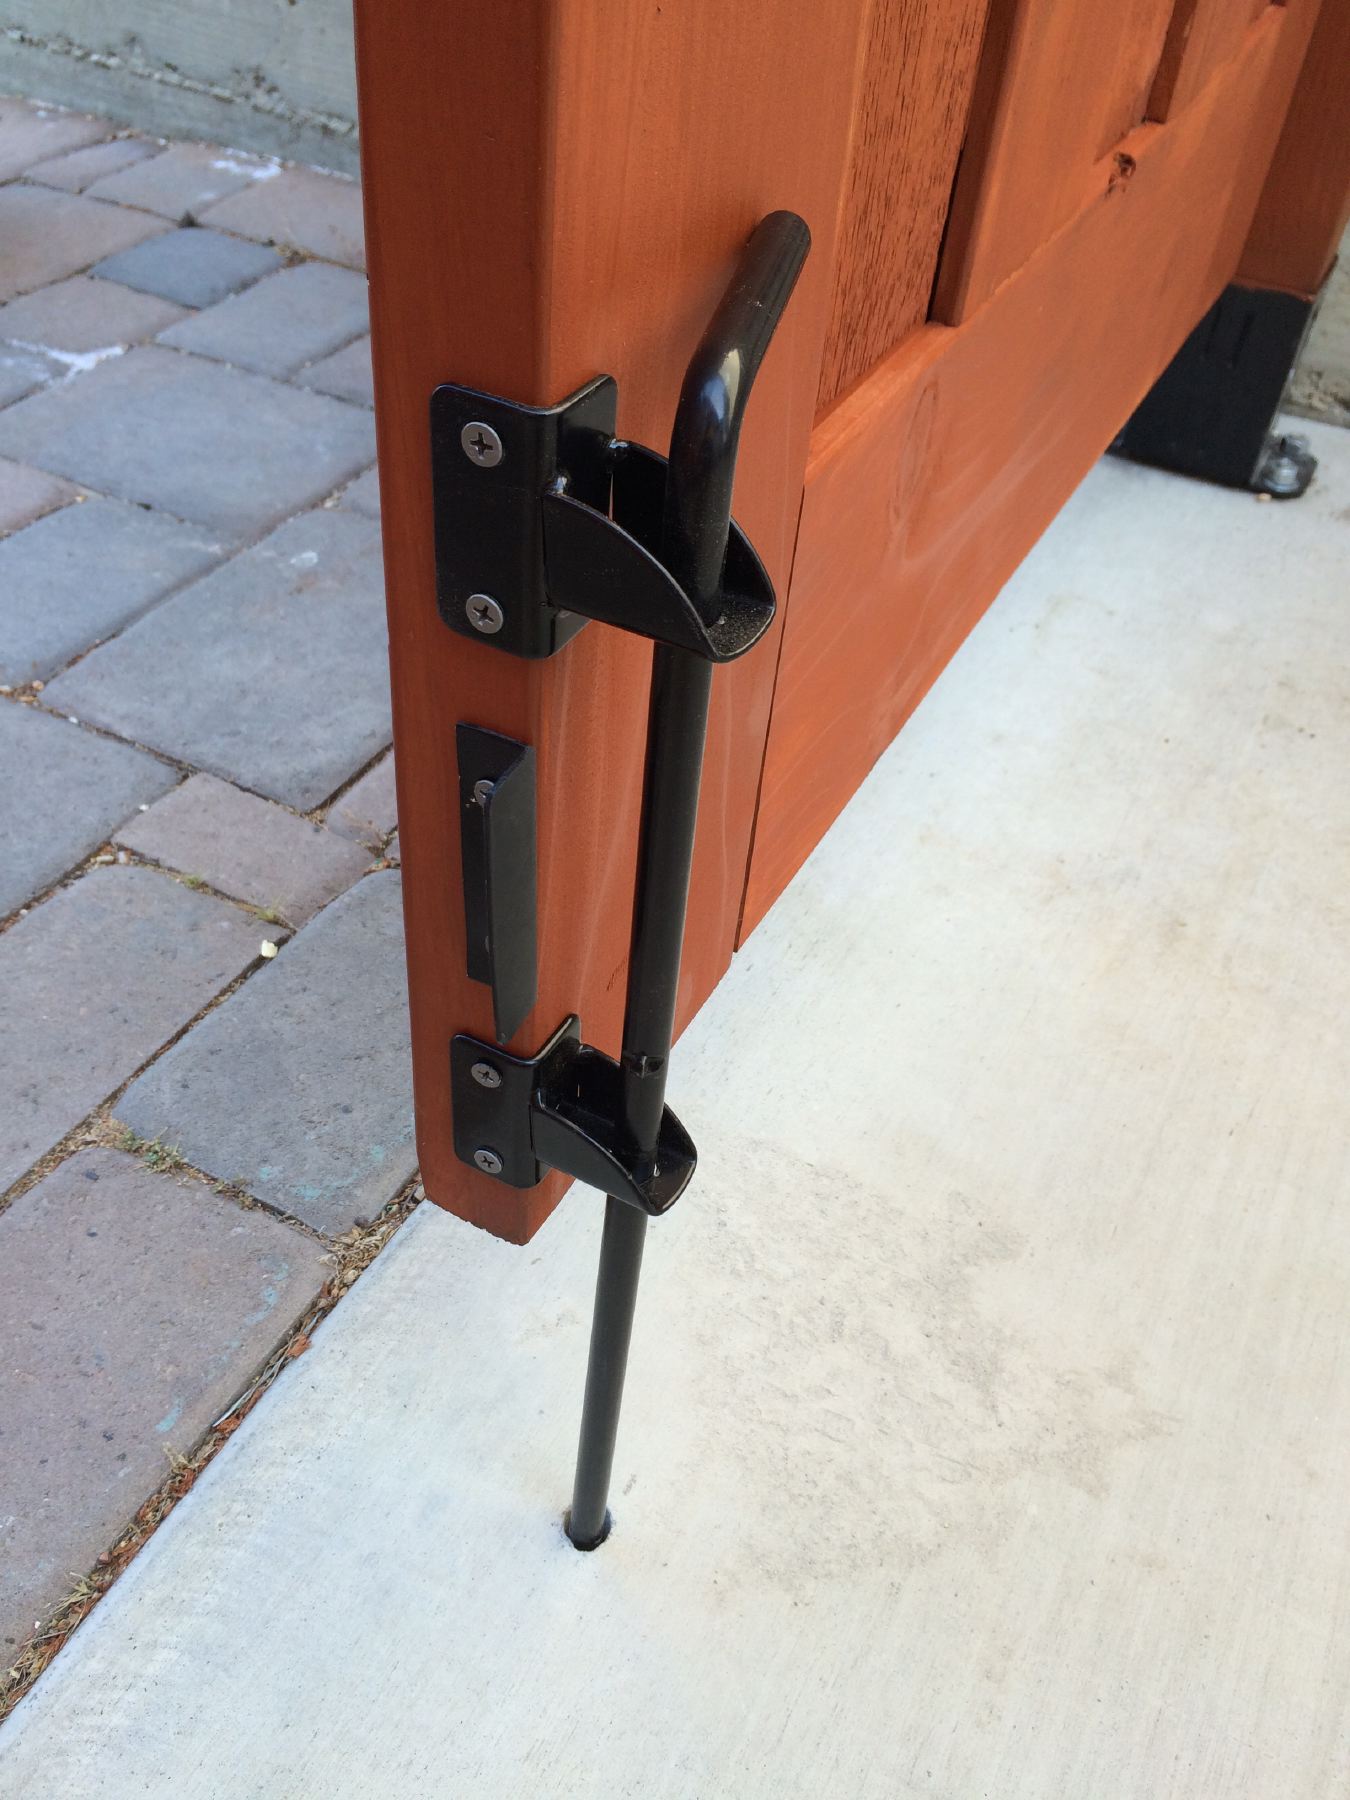
Here is the black cane bolt and gate stop added to the stained door bottom.
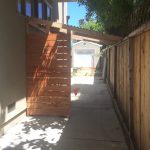
And here’s another view of the finished gate. I added the two 2×6 pieces across the top to give it a more traditional gate look and also to stabilize the two posts. The post next to the house also has a post bracket at the bottom and is screwed directly into the house at the top (with a spacer so the post is not actually touching the house, which lets it dry out after rain). It looks pretty good with the darker color and the black hardware. We typically only open the right side and the combination of the door hardware and gate stops work perfectly.
In the last post, we described how it cost about $180 in materials to build the gates. We added a few additional costs to finish off the full gate:
- Simpson 4×4 post bases 2 x $18 = $36
- 2 4×4 posts 2 x $16 = $32
- Schlage Latitude handle (black) $41
- Black hinges 6 x $3 = $18
- Black cane bolt $10
- Lag bolt $1
- Angle iron for gate stops $7
- Semi-transparent redwood stain (Behr) $36
- Total additional costs $181
So our total cost for the entire gate project was $183+$181 = $364 for all the materials and an additional $153 (total of $517) when you include tools. The gate turned out better than expected and I got to learn a lot about joinery, routers, and some “entry-level” woodworking and have fun in the process. Plus, we now have a solid and attractive fence gate along the side of the house. Overall, not bad for two weeks worth of work.
I am building a replacement gate for my house and stumbled across your blog. Your design is perfect and I plan to basically copy it for my gate. So glad there are people like you on this world that shared your experience in detail….thank you!
One question: I will not have a crosspiece between the tops of the posts on my gate which will measure 6′ tall by 4′ wide and is only one gate (not a double like yours). Do you think a 4″ x 4″ post is sufficient to hold it or would you suggest a larger 6″x6″ post?
Would greatly appreciate any thoughts you may have.
Regards
Bill
Looking to do this for a driveway gate of 12ft. 6 ft each door. Do you think it would be strong enough and not sag at that size with the same hardware you used? Thanks in advance, gate looks amazing.