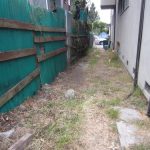
After our fence and driveway project (which was completed 4 years ago), we had planned to build a nice gate. In that previous post, the following line appears:
Chris has plans to build a nice gate, but that project probably won’t get done for a little while.
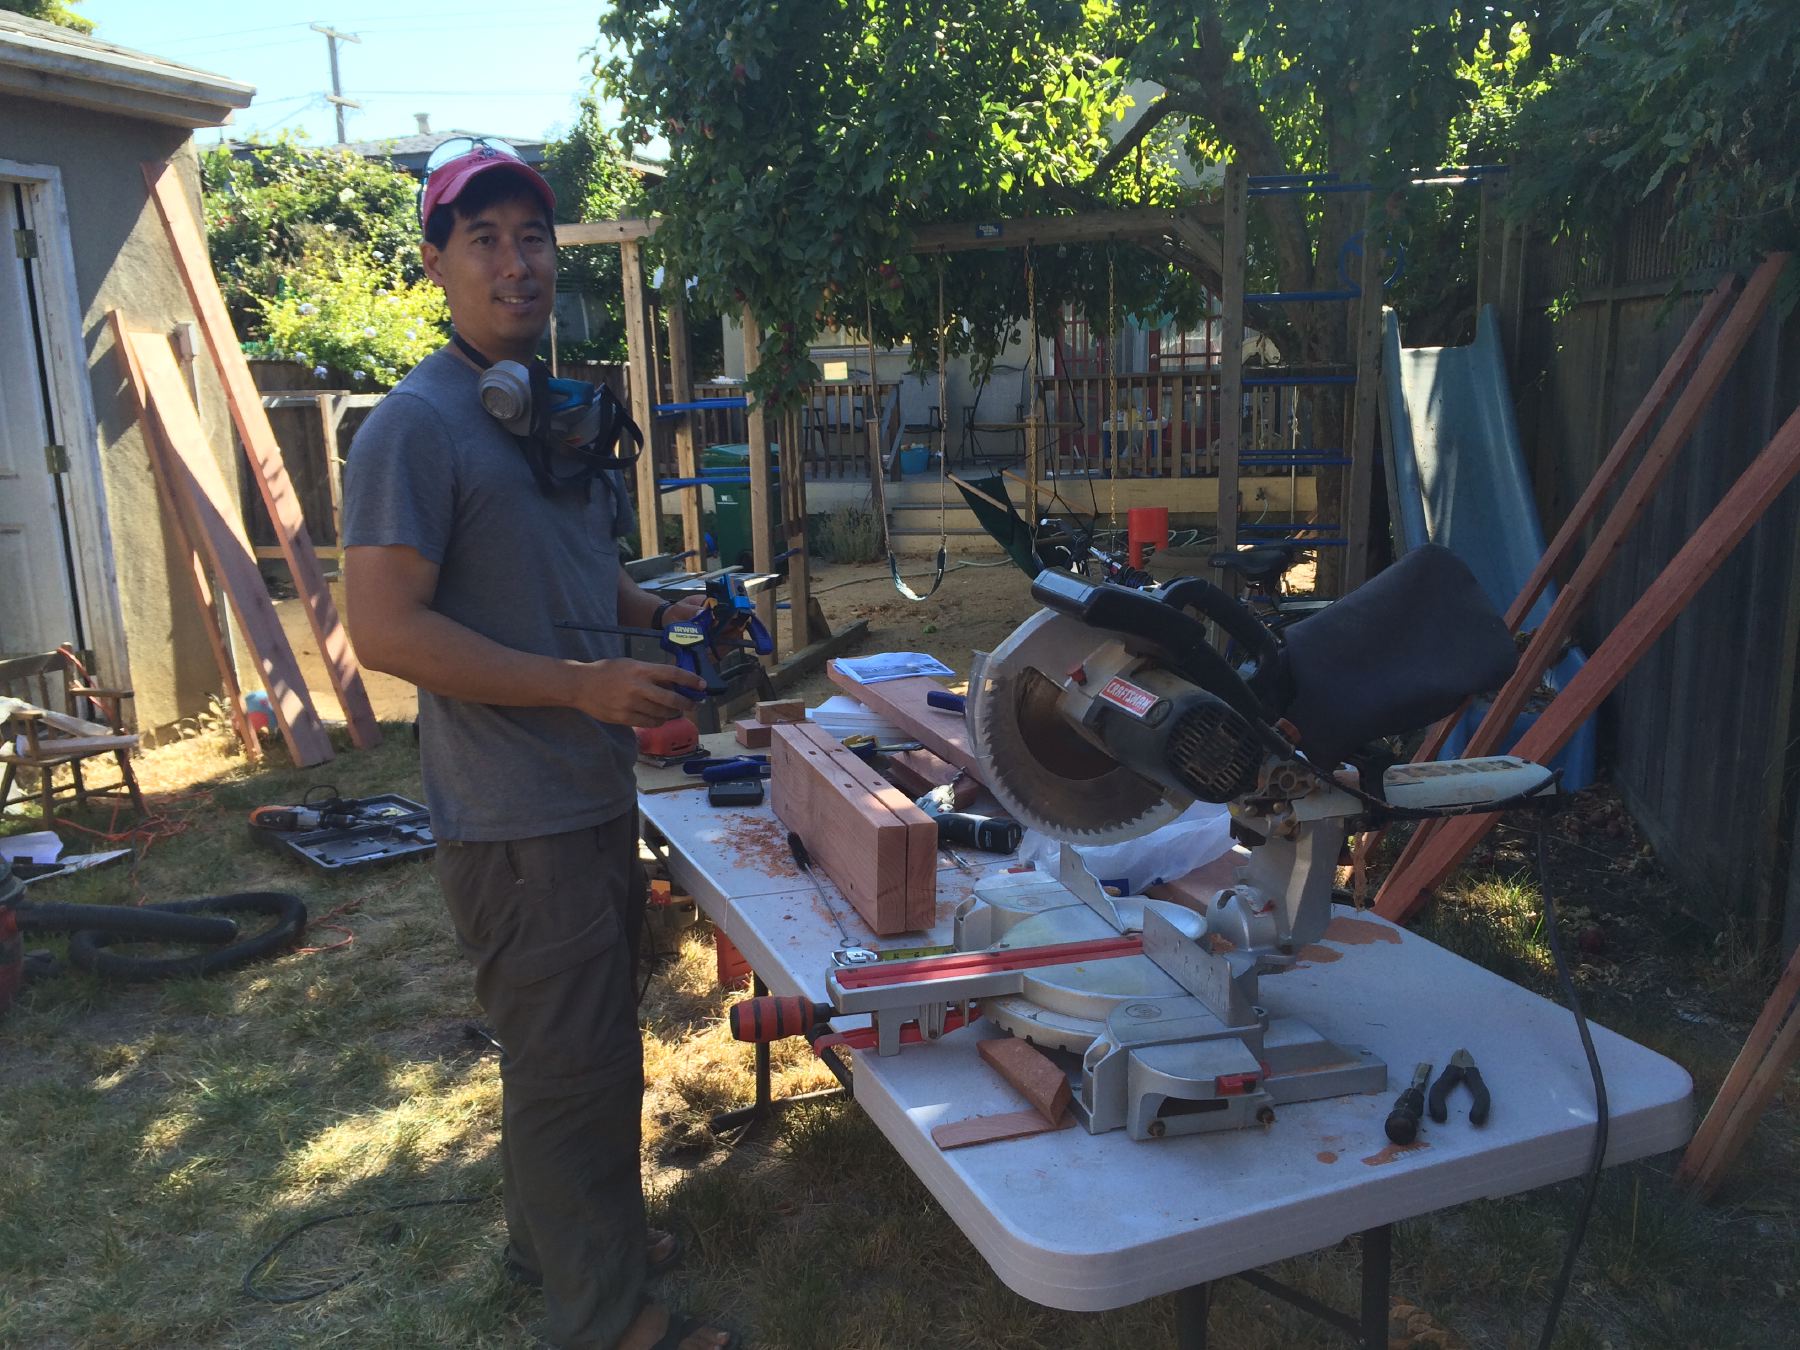
So here we are “a little while” later and after some gentle nudging from Shirley, I (Chris) am finally going to make the gate. I had been planning for the gate for quite awhile, including figuring out the design and buying tools, so when it came time to actually build the gate, it didn’t take too much time at all. Overall, it took about 1 week or so (maybe ~20 hours of actual work) to build the gate.
Here are the finished two gates that will span the narrow driveway, sitting on our back deck.

This is the design that I planned based upon lots of internet searches for different Craftsman style gates. There are lots of examples of beautiful craftsman gates online, but many of them seem to cost $5000 or more (not including hardware and installation). I figured that I could make something very similar aesthetically, without the high cost.
The left gate is 36″ wide while the right gate is 39″ wide. This will ensure that we can get our bikes, including the bike trailer through the wide gate without having to open both gates all the time. The darker brown boards in the drawing below are all 2x boards (redwood 2x6s and 2x8s) while the lighter brown color in the diagram are recessed panels that are about 3/4″ thick (redwood fence boards).
This is by far the most involved and “woodworking”-y project that I have ever tackled. Previous projects involved screwing a bunch of wood together, but I wanted to try to build this thing without any nails or screws. This required learning about some other wood joinery, namely mortise and tenon joints. These joints are much stronger than boards that are simply screwed or nailed together and will help prevent the gate from sagging. The grey bits indicate where these mortise and tenon joints will hold the various boards together (I used a special tool called the Beadlock jig, which made it relatively easy to do). The light purple lines around the recessed panels are where I needed to router a groove for the panels to fit into.

A quick trip to home depot on a Sunday and we were able to get most of the wood (except for the 2×8 which they don’t carry, so I had to get that at Ashby Lumber). It was kind of amazing to think that you can turn these boards to turn into a gate. (Note the use of a Prius for hauling lumber).

The key tools for getting the boards to the right size are a miter saw and a table saw.
For the mortise and tenon joints, I bought a new tool called the Beadlock kit. In researching the various joinery techniques, I learned that mortise and tenon joints are the strongest kinds of joints but can fairly complicated to make. The Beadlock system makes these joints pretty easy to implement. It just involves using their jig and a drilling a bunch of holes. The idea is to make a slot in each of the two pieces of wood that you want to join and to insert a pre-made tenon (and glue) to hold the two pieces together. Here’s the 1/2″ Beadlock jig for drilling the holes (it’s essentially a guide for drilling).

The key to this is that once you’ve drilled the two holes, you shift the jig over and drill a hole that spans the other two holes. If you look into the bottom hole, you’ll see the parts of the two previously drilled holes.
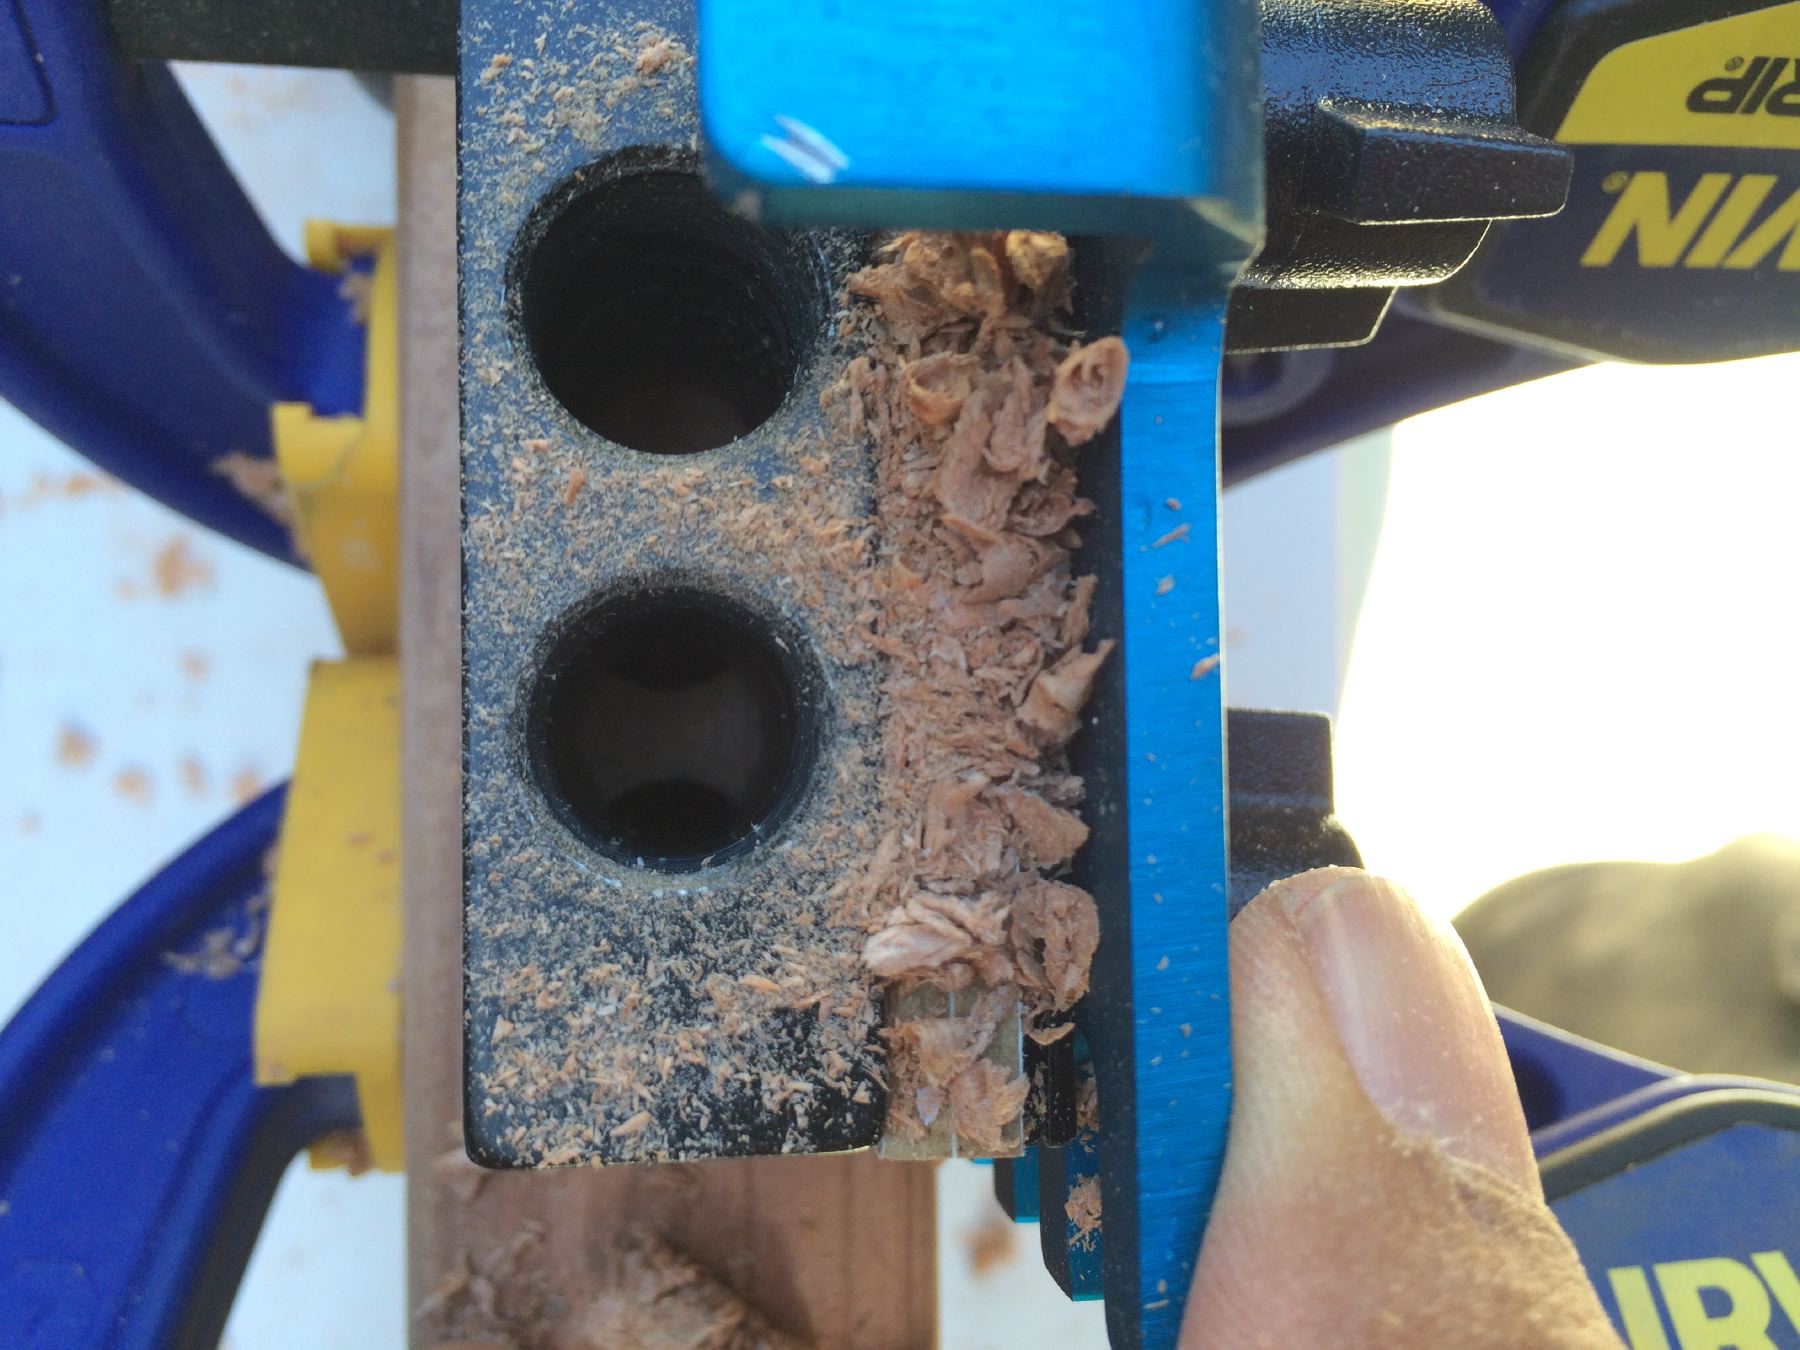
This creates a slot that the Beadlock tenon can slide into. And with glue in the slot, it is very snug and should hold the gate together for a long time.

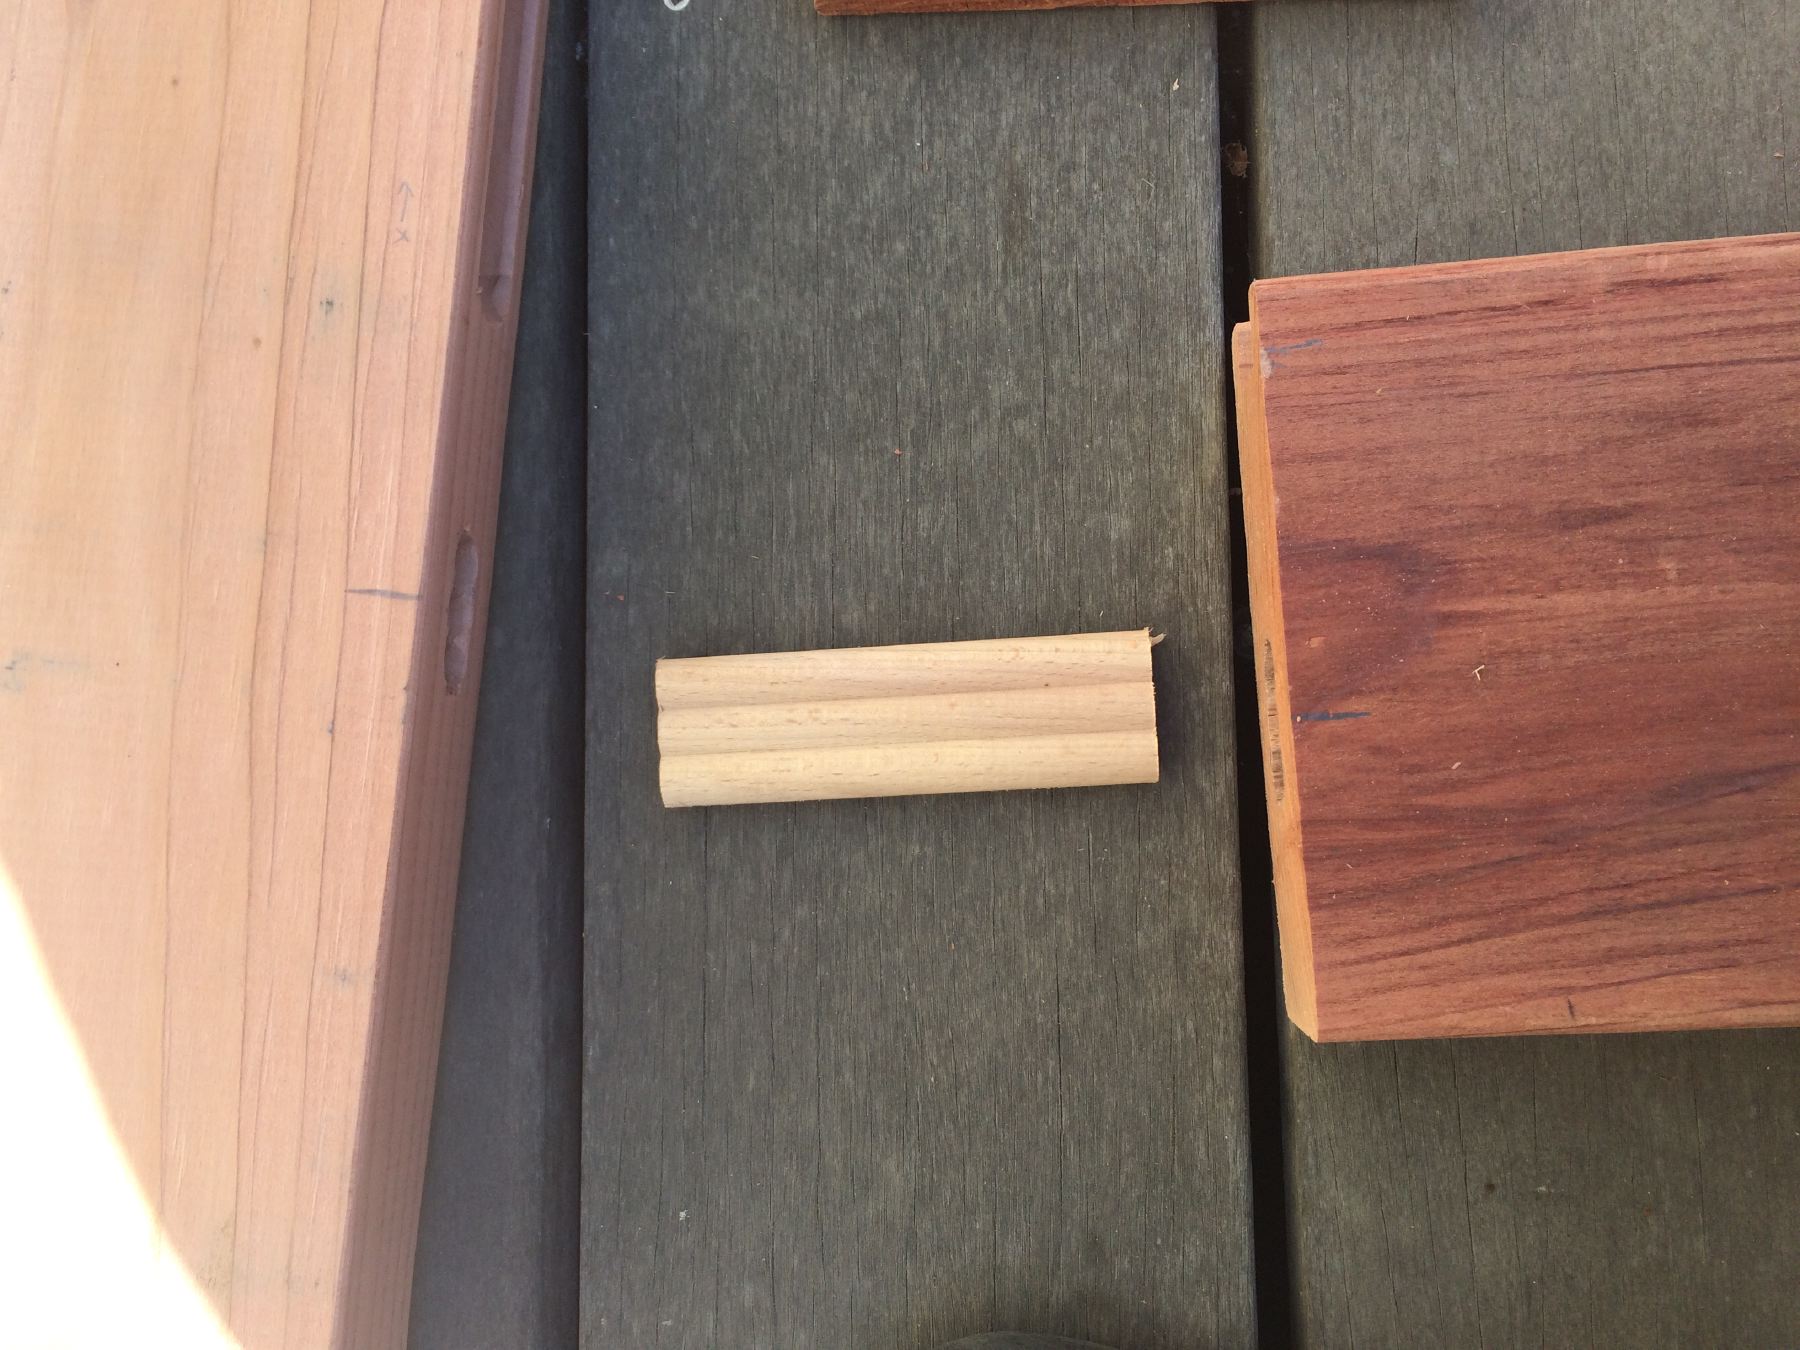
Here is the Beadlock tenon (which can be cut to different lengths) to join these two pieces of wood.
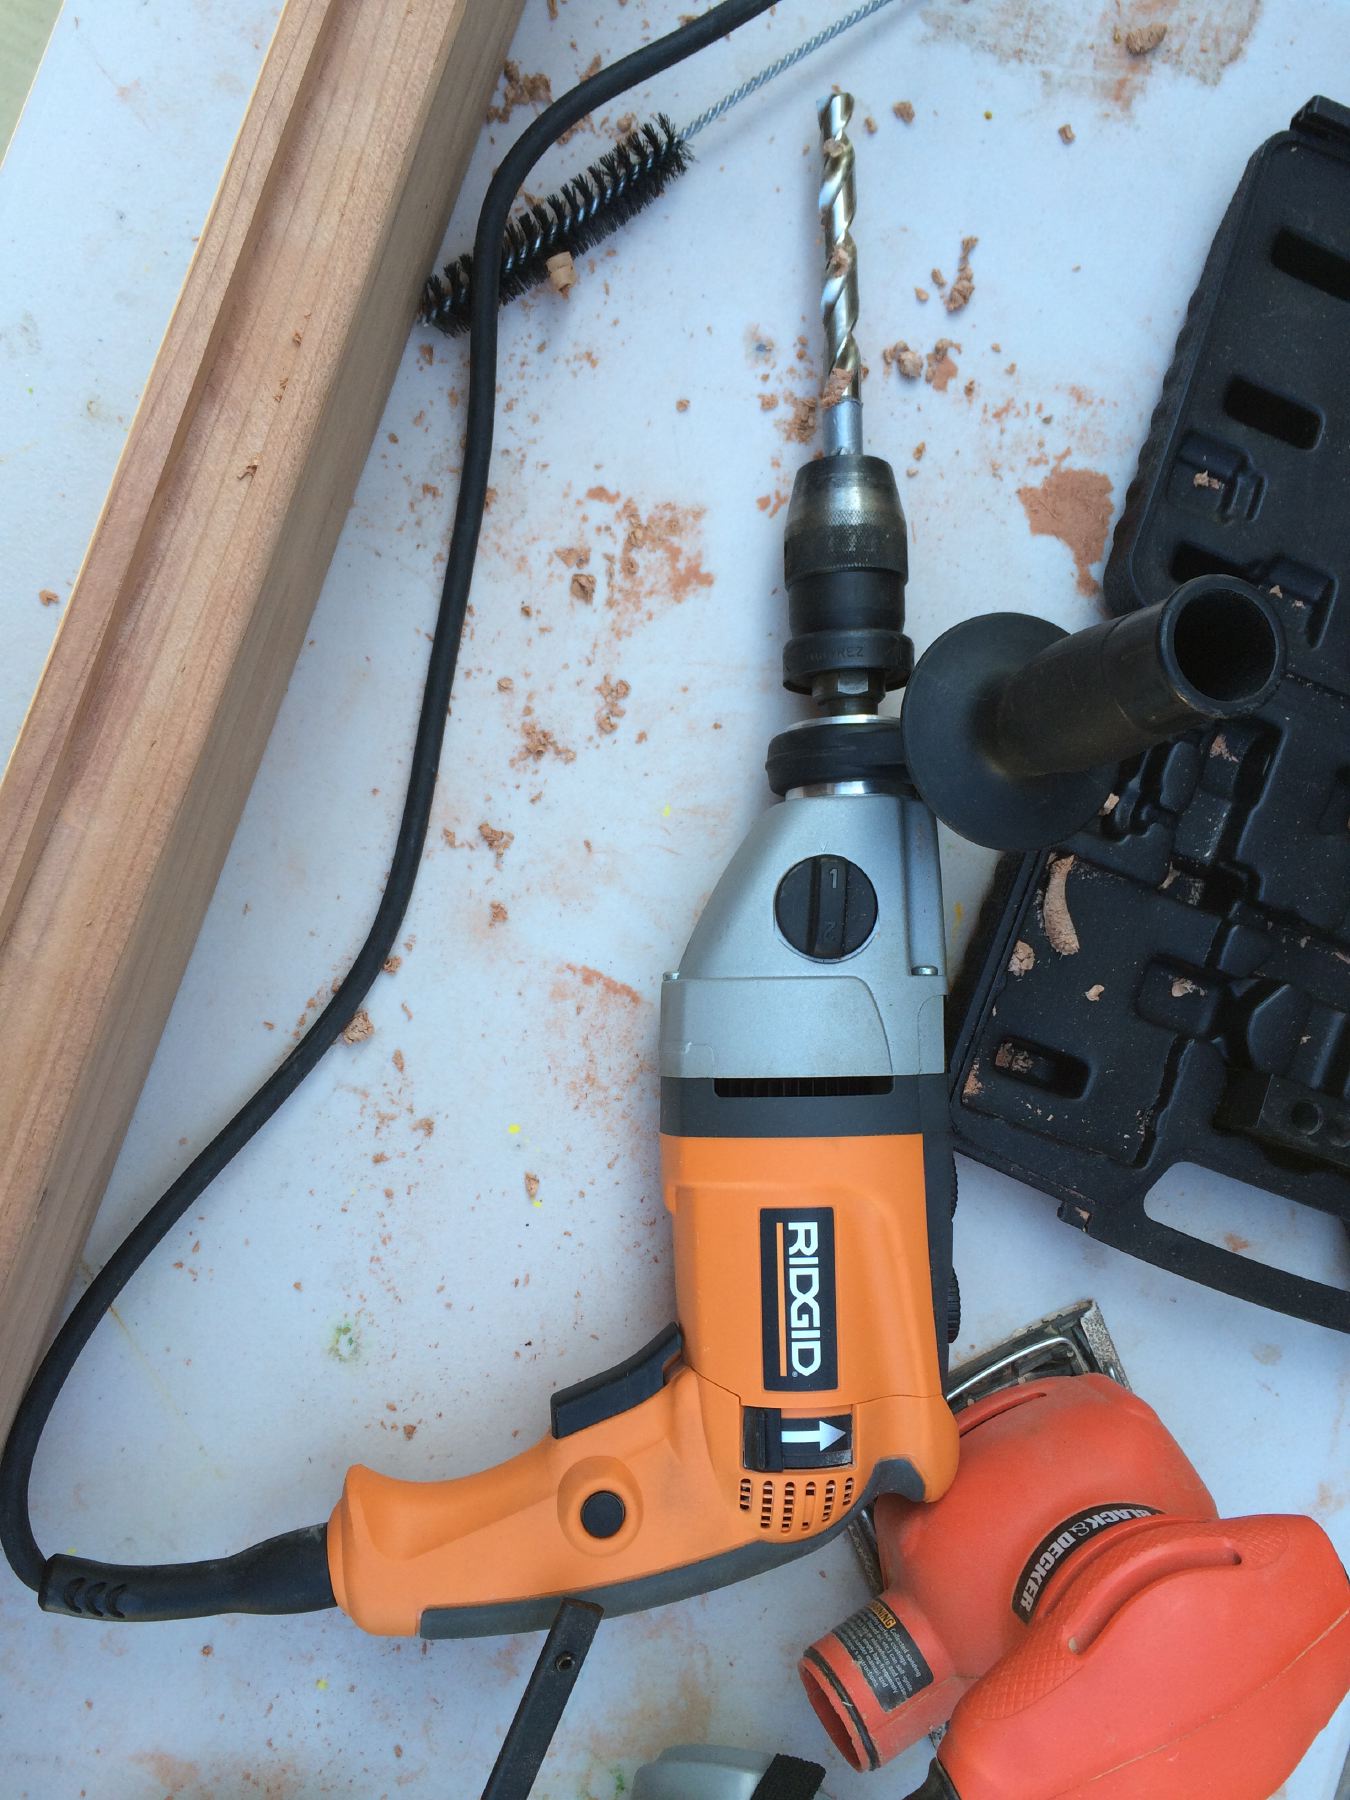
Each tenon required the drilling of 6 holes (3 for each side), and with 16 tenons used, it was 96 holes to drill. Because the holes required a 1/2″ drillbit, our small cordless drill couldn’t handle the drill bit so I had to use my hammer drill, which weighs ~10 lbs. It was a bit of a shoulder/arm workout to drill that many holes.
The other new tool for this project was a router table. I wanted the recessed panels of the gate to nest in the thicker boards on the gate so I bought a Craftsman router (to build the Craftsman gate, of course). This would enable me to create the groove 3/4″ groove in the boards for the panels to fit in. This picture shows setting up the router table for the first time and practicing cutting a groove into a 2×4.
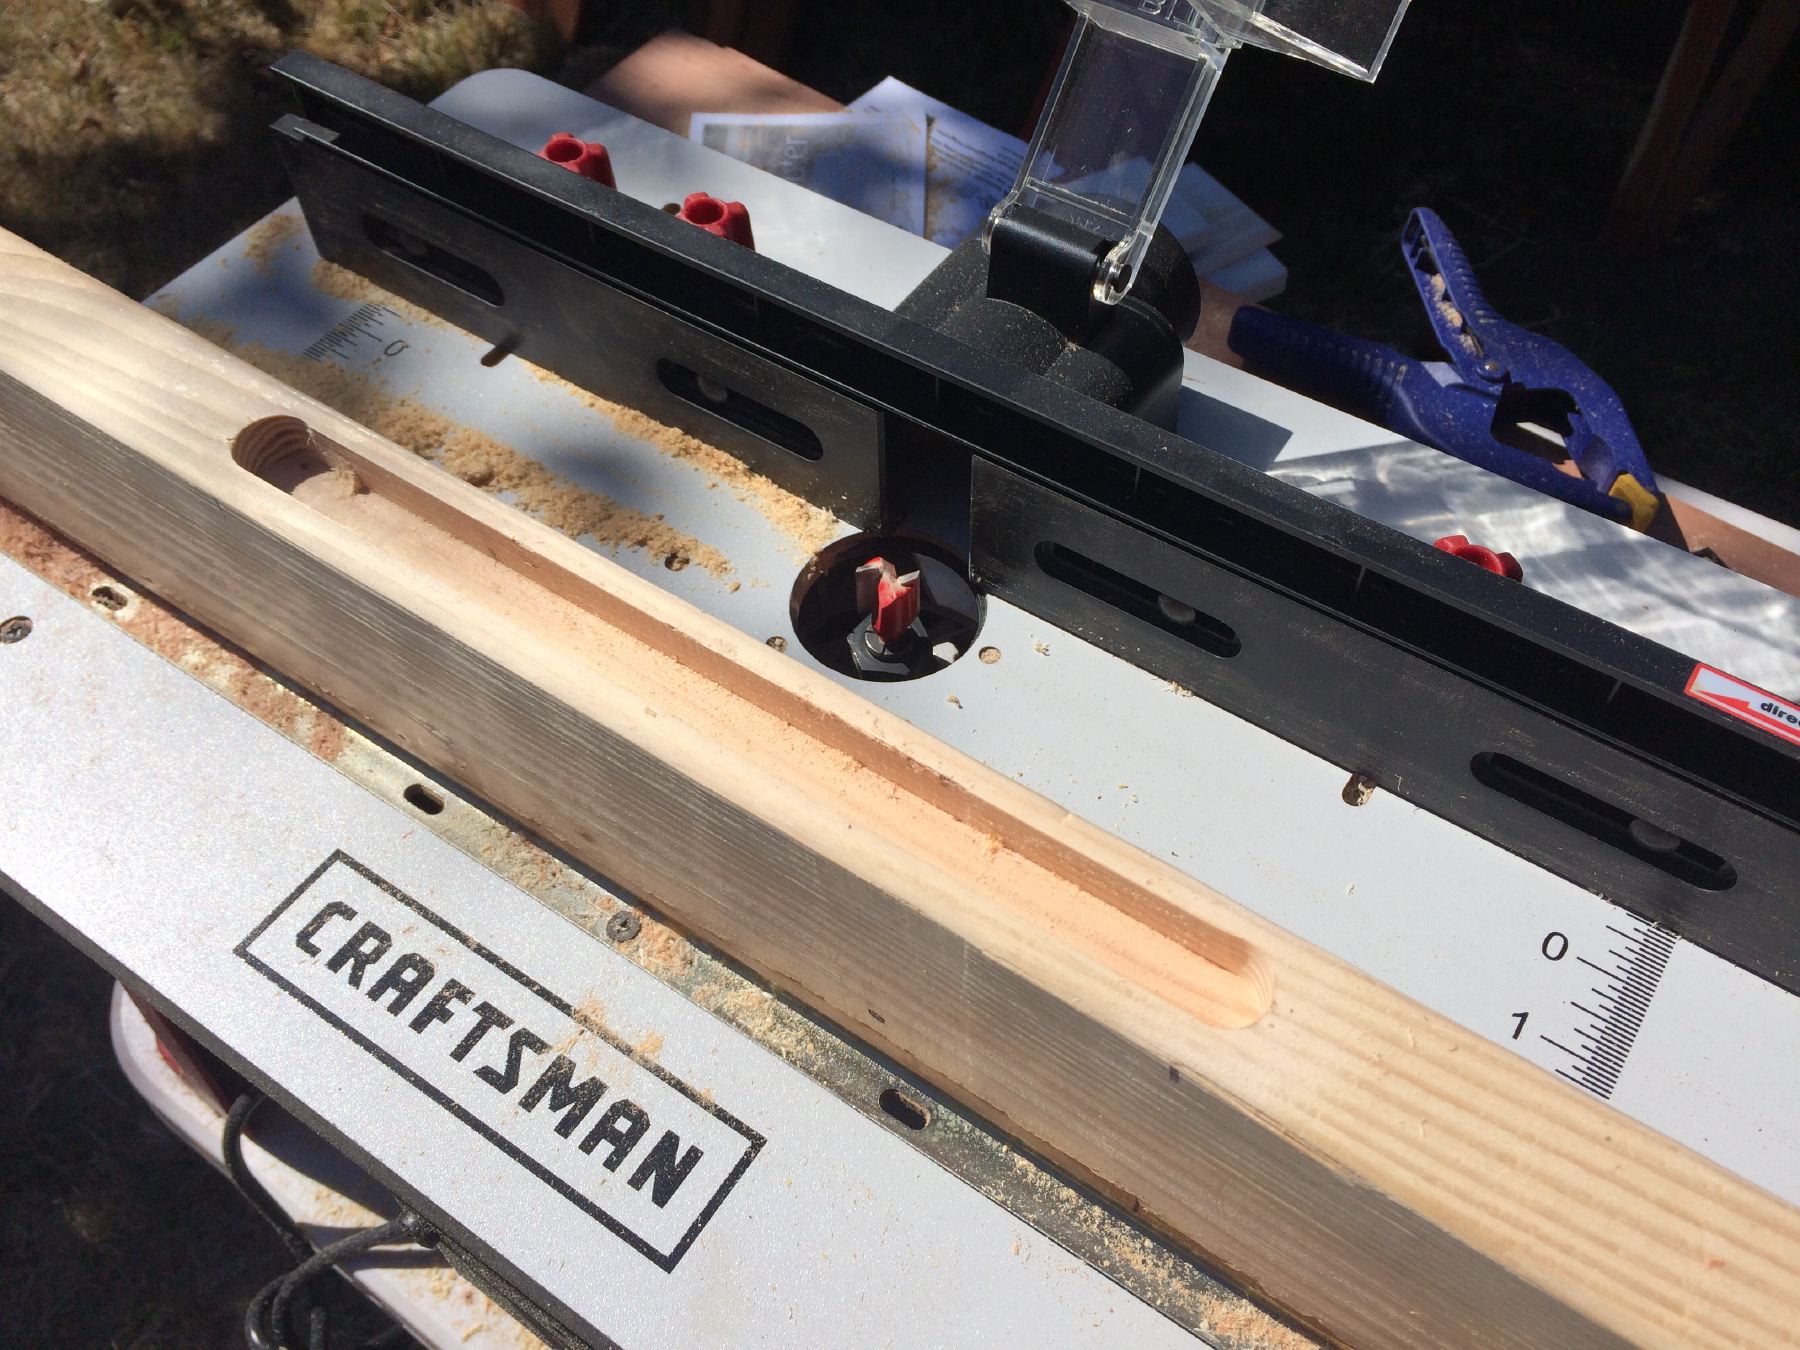
And looking down the groove on one of the boards.
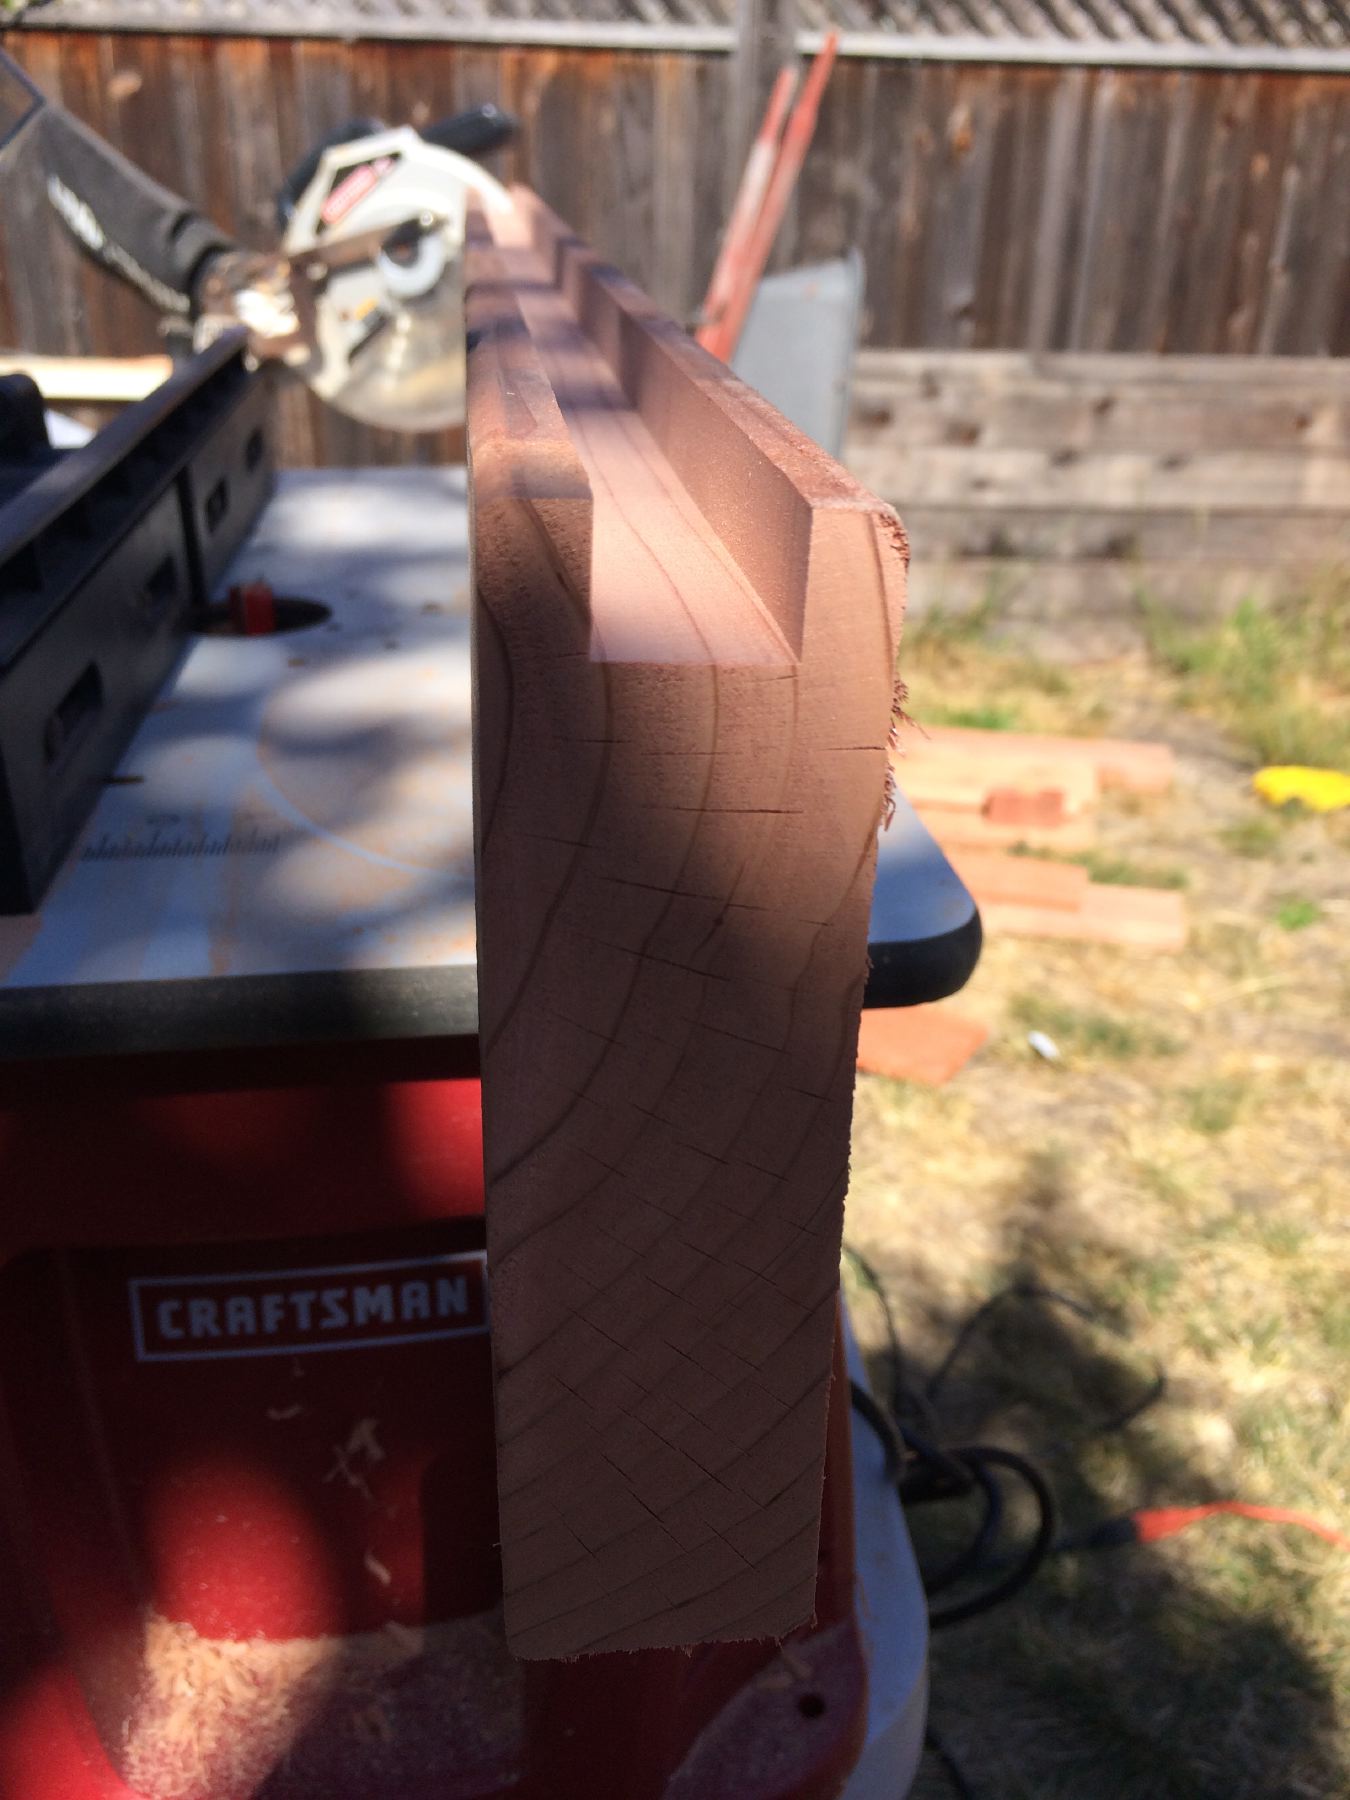
Checking the fit of the fence panel and the groove in the 2×6.
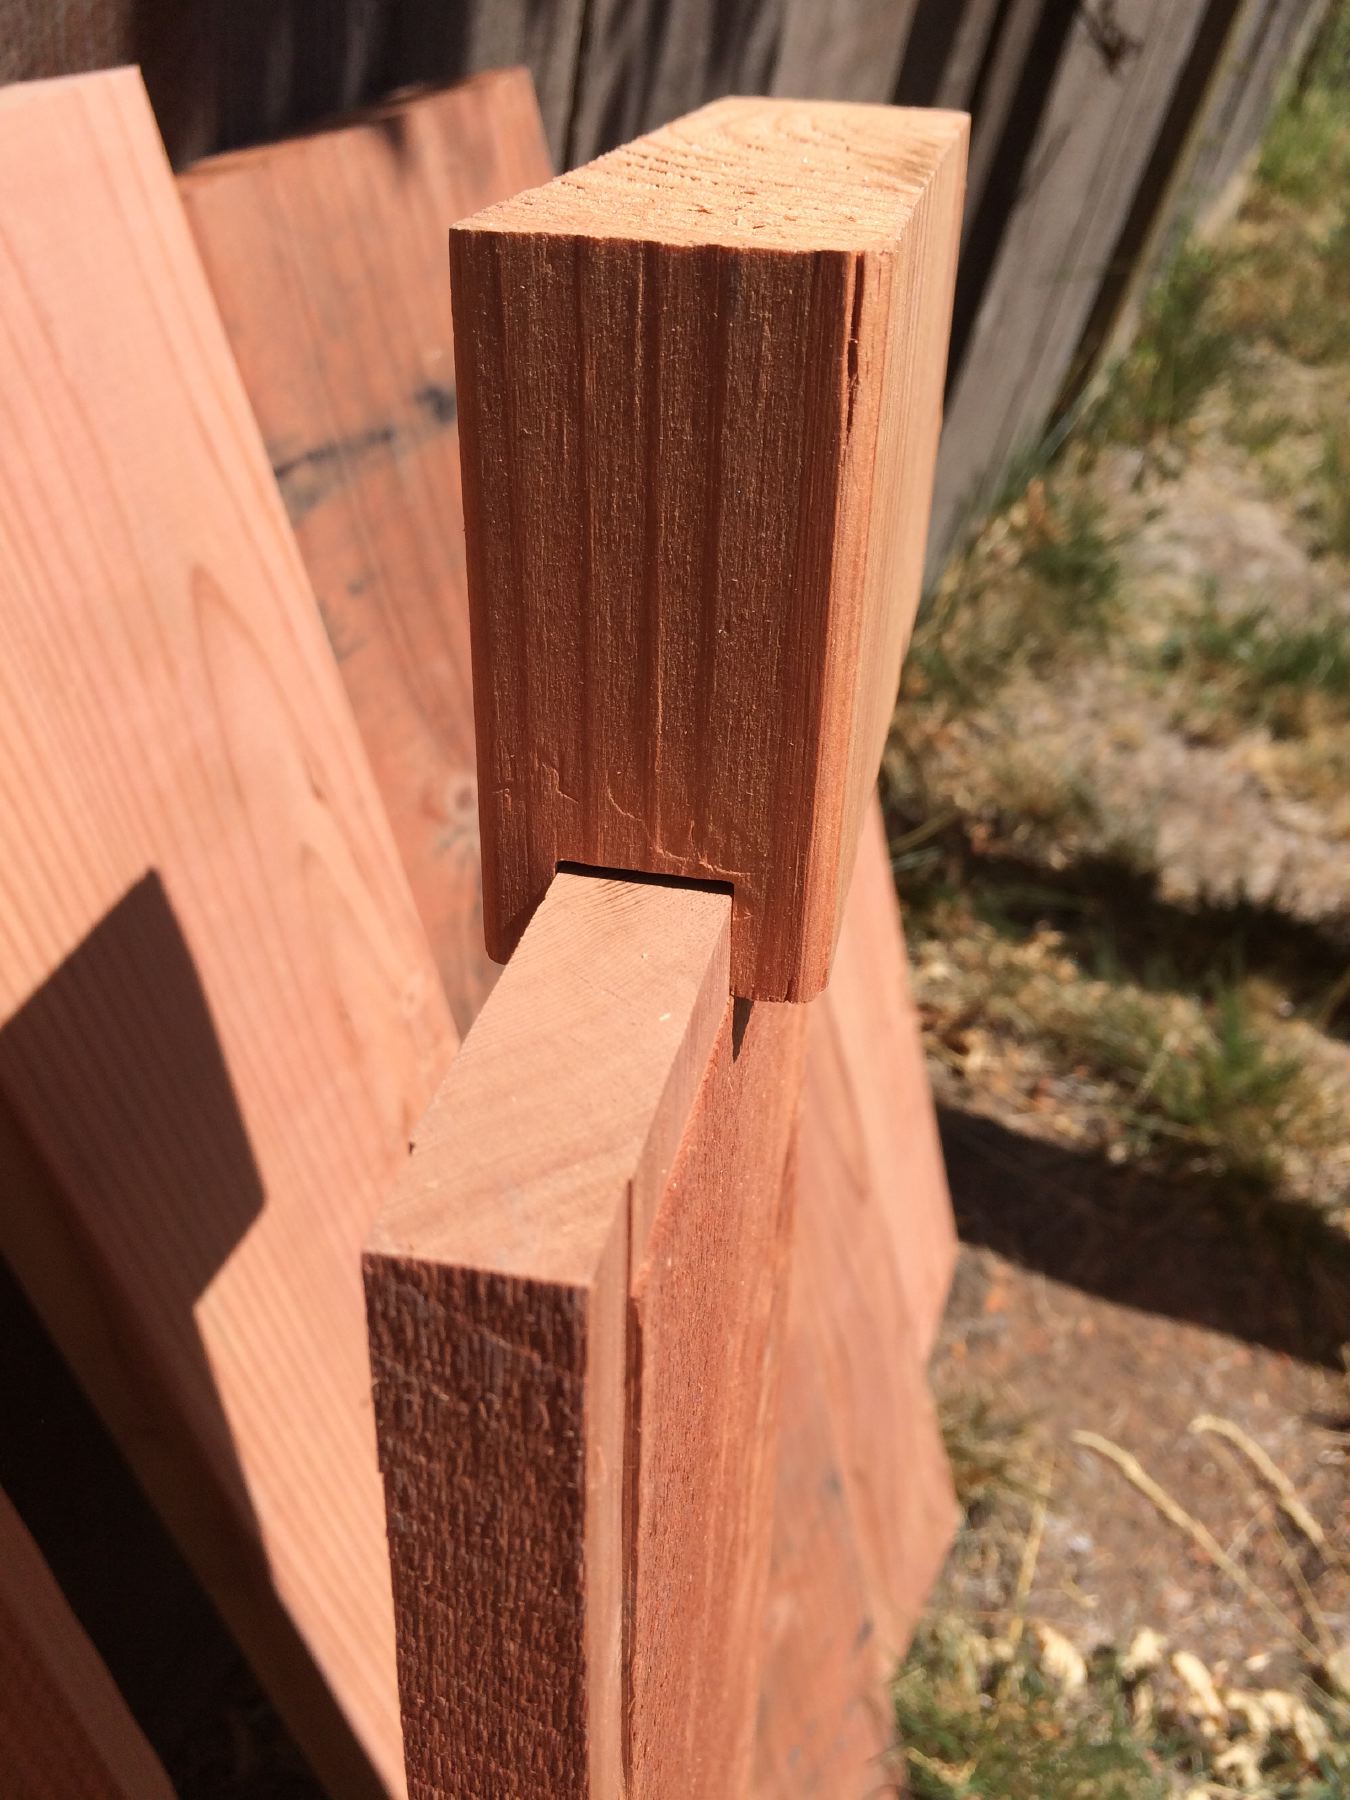
Here are three boards with aligned grooves for a panel to slide into.

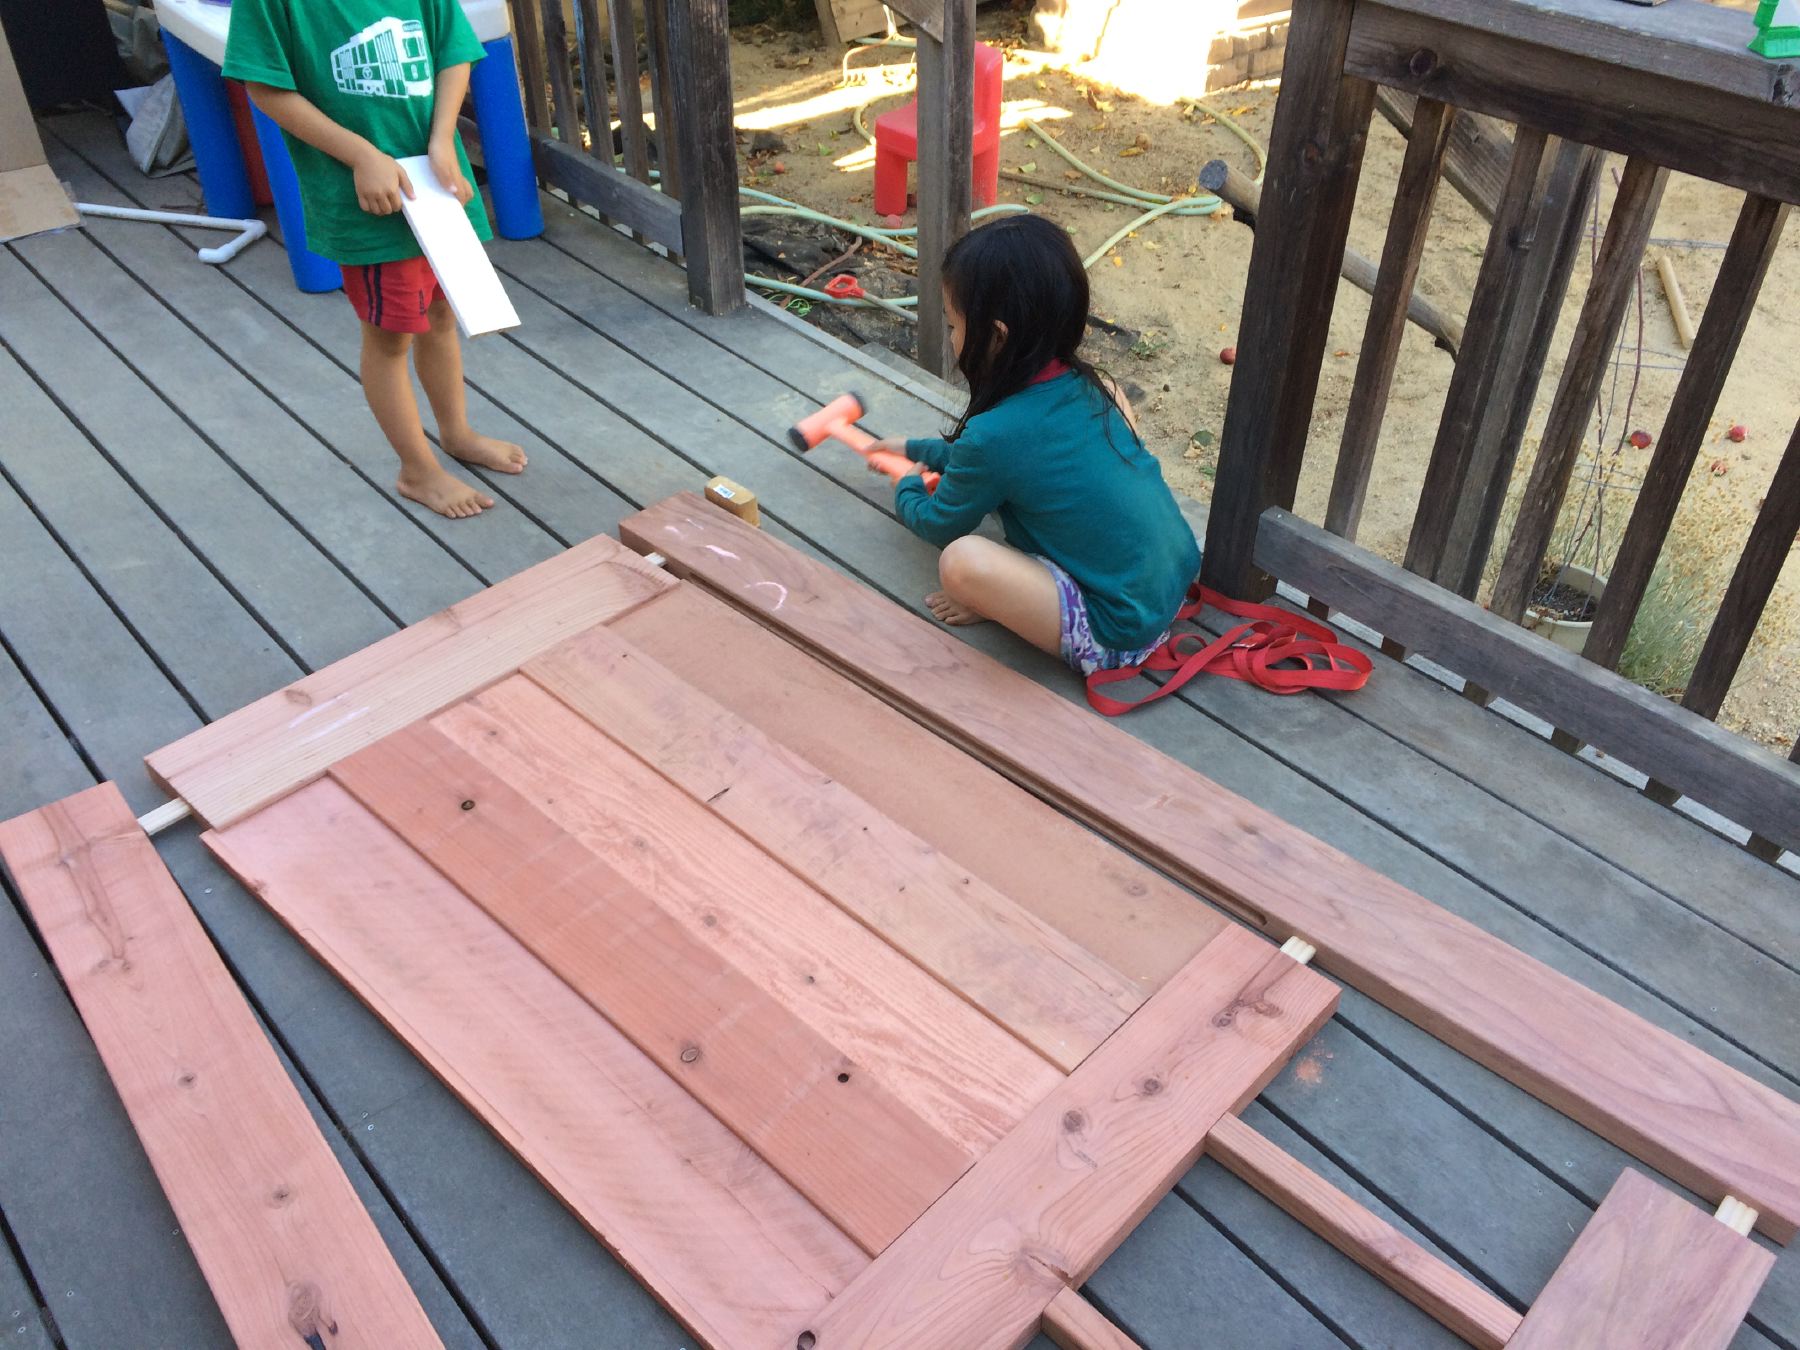
Here are all the various pieces of the gate that have been cut and routed and drilled. They are all laid out ready to be dry-fit (put together without glue, just to make sure all the pieces align). Some of the tenons were ridiculously hard to remove from being dry fit (a good sign that they hold together well).

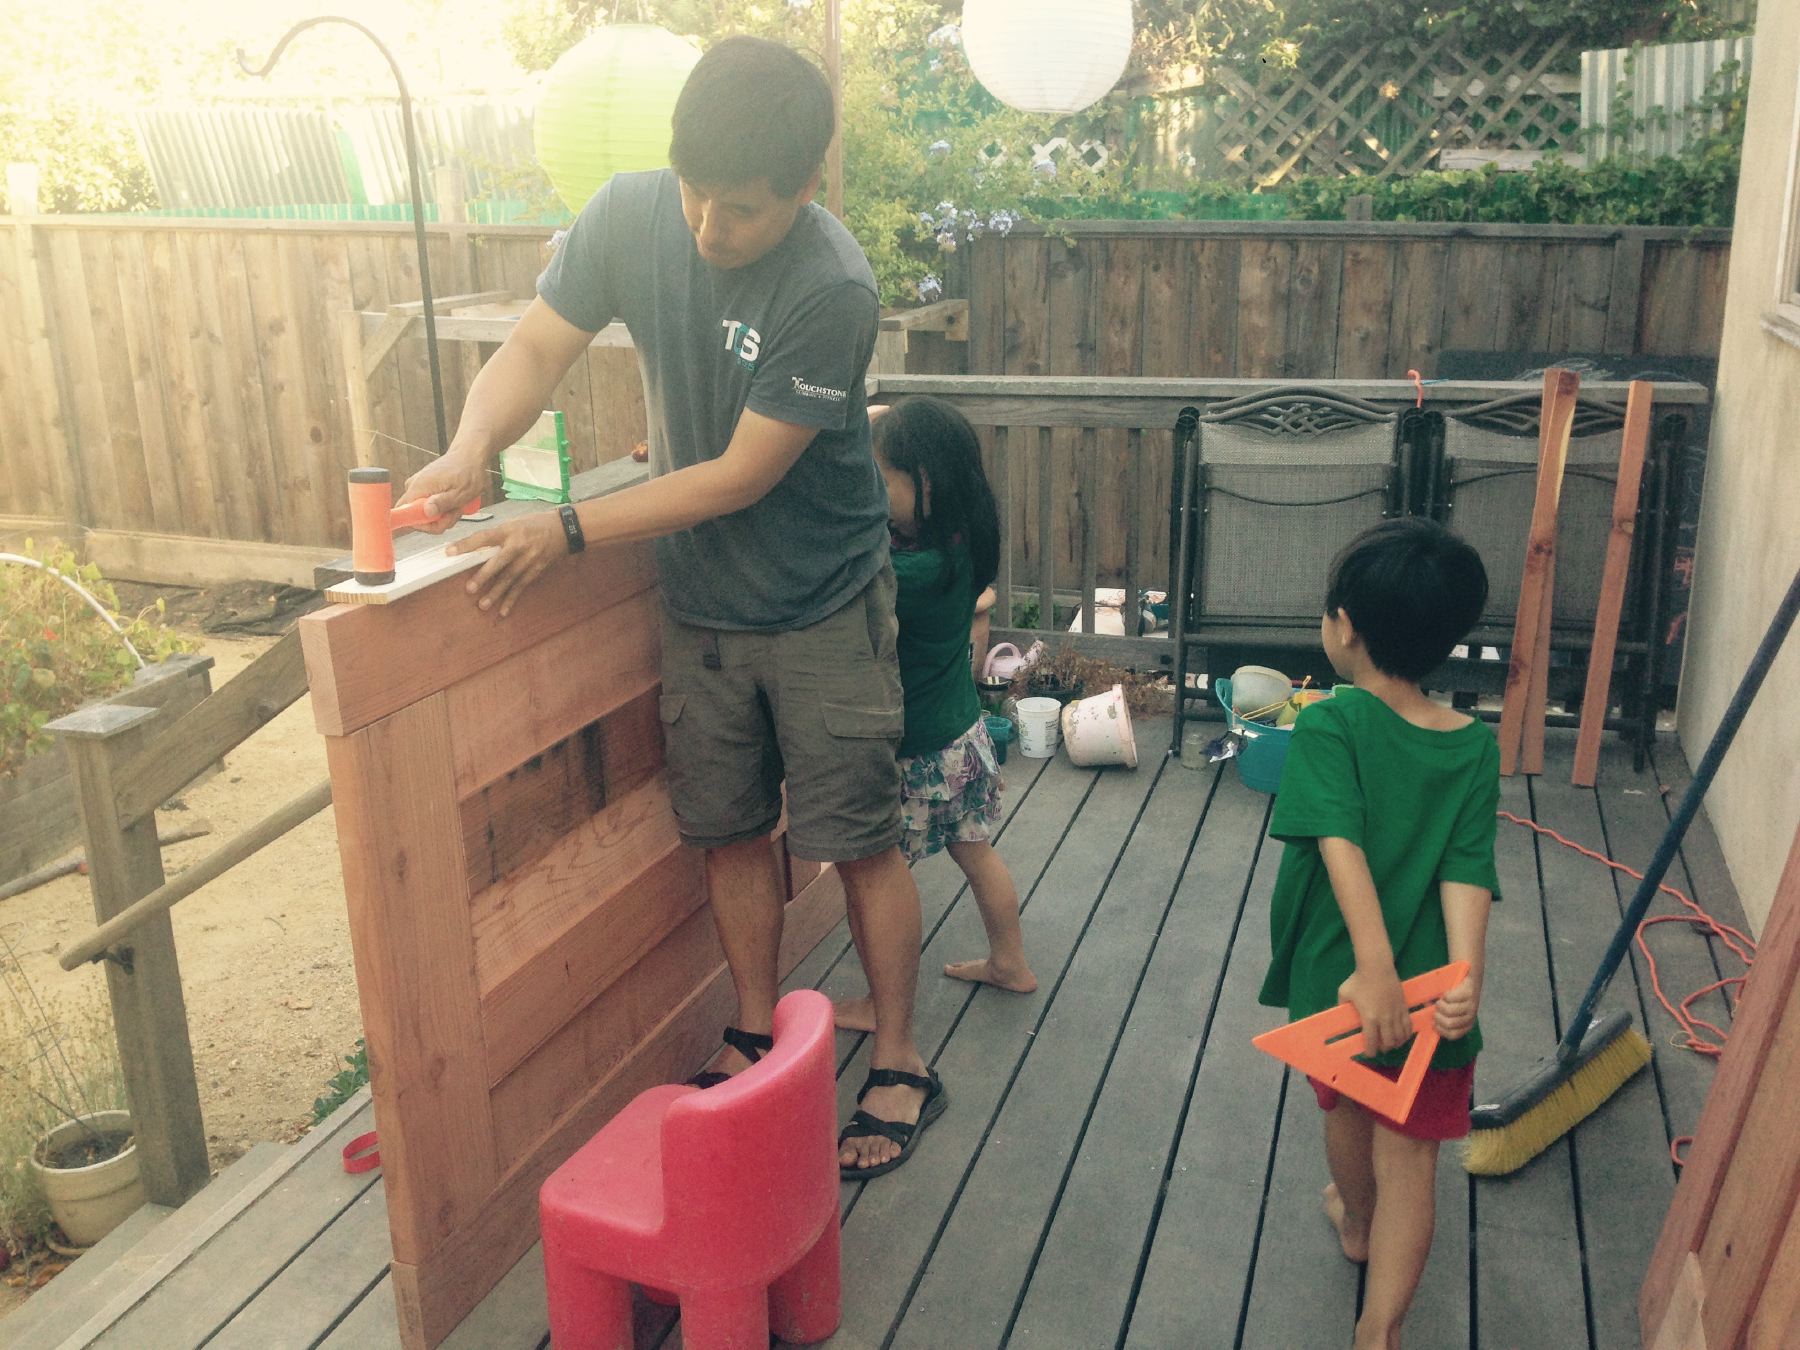
The kids were excited to help out with the dry fit and tapping the various pieces into place.
After the dry-fit, glue was applied on all of the tenons and various joints. Since I didn’t have long enough clamps, I just used ratcheting straps to hold the pieces together until the glue dried .

After letting the glue set for a couple of days, I sanded the door to get a nice smooth finish.
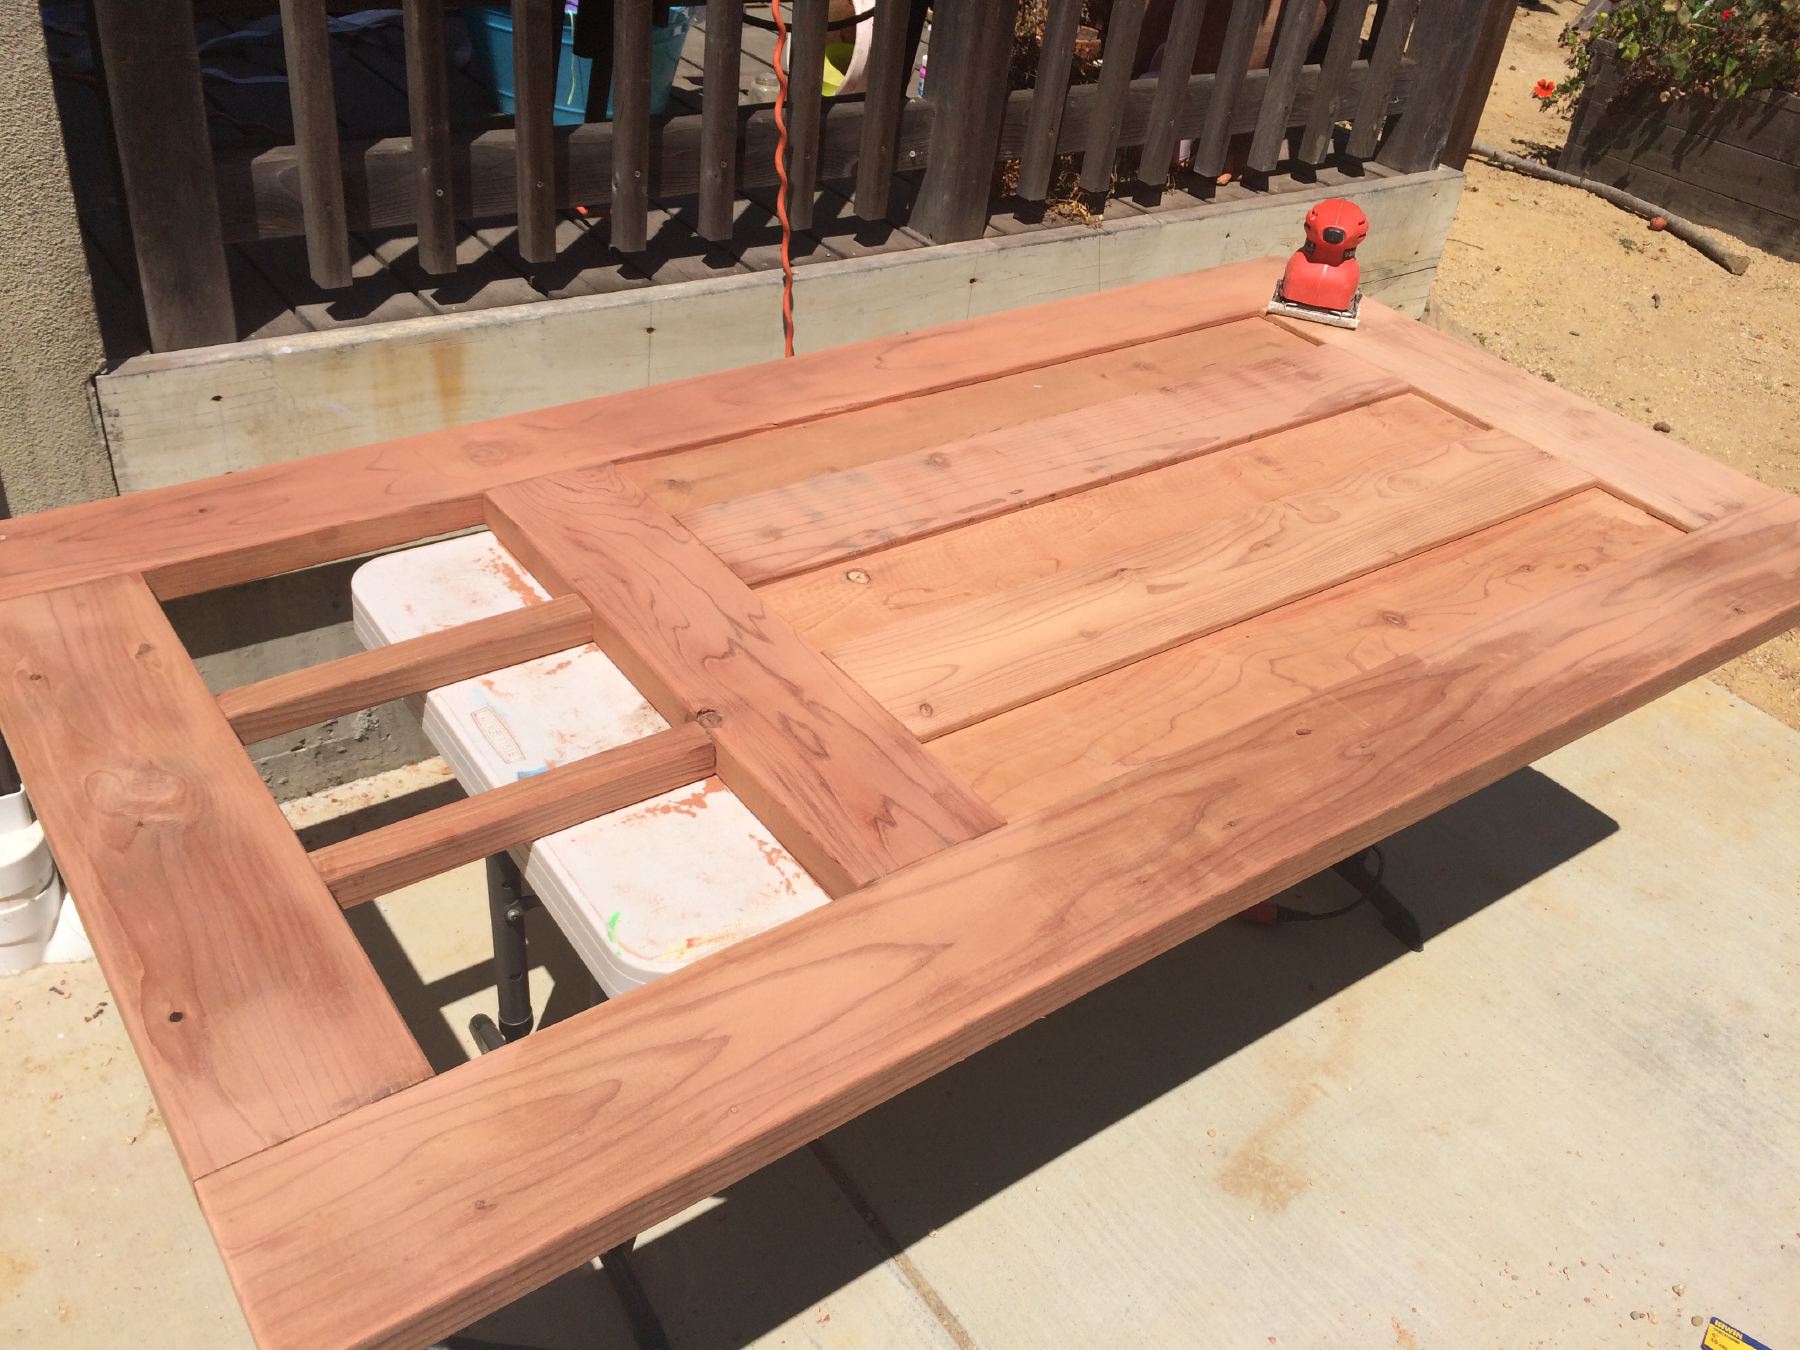

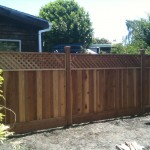
Here are the two gates together. I changed the design slightly between the first gate that I made (the thinner one) and the 2nd gate (the wider one). Instead of joining the two middle vertical boards to the middle and bottom horizontal boards using the Beadlock joints, I decided to just router a groove for them to sit in.
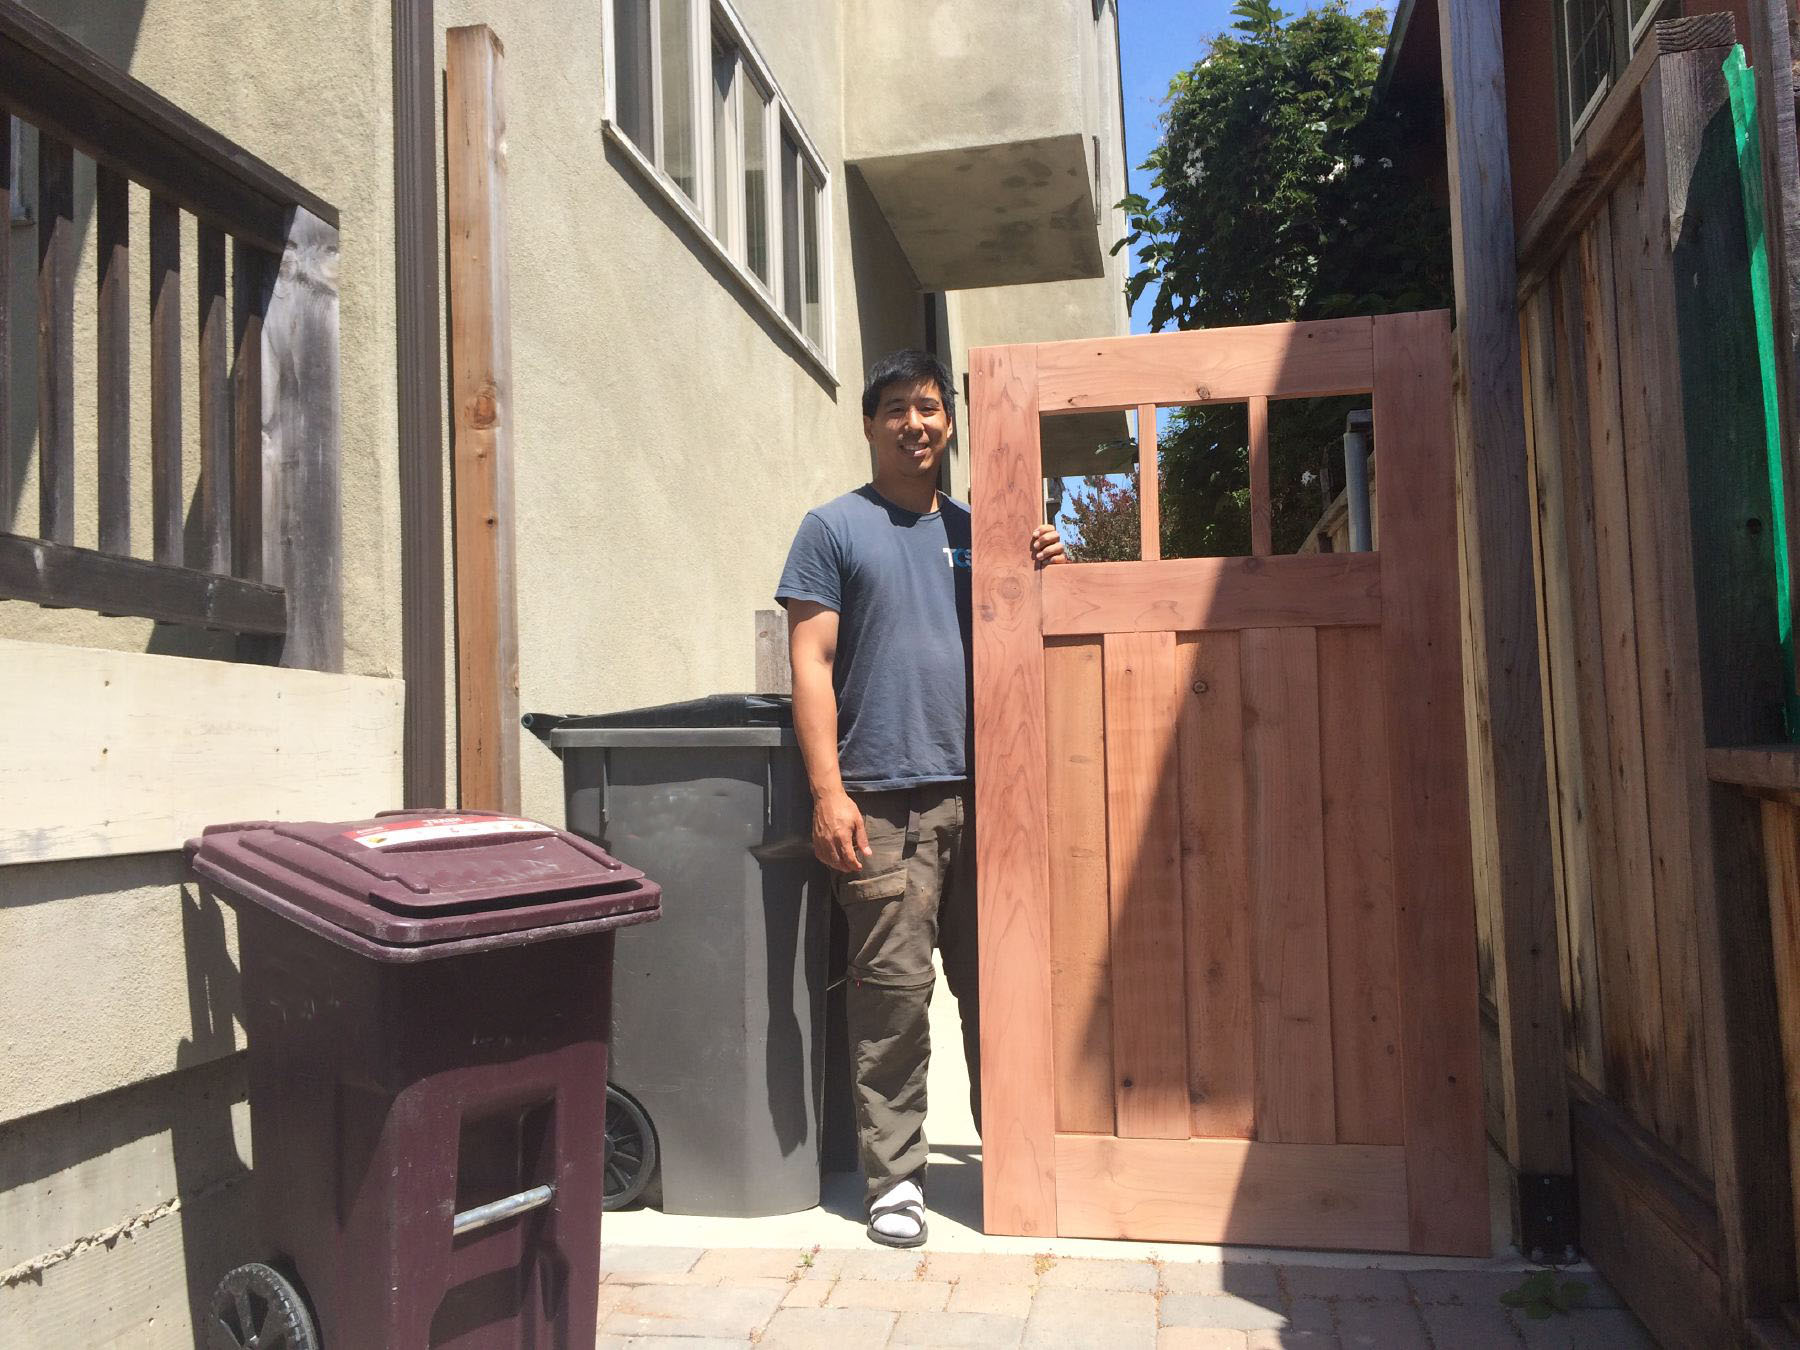
Done! Checking to see how the gate would look on the driveway.
Here is the cost breakdown for the gate materials:
- Wood
- 2×6 (6 x 8ft) …………………………………..$98
- 2×8 (1 @ 8ft) ………………………………….$28
- 2×2 (1 @ 8ft) ……………………………………$8
- Fence boards 11/16″ x 7.5″ x 6′ (6) ………….$25
- Beadlock tenons 3/8″ and 1/2″………………$24
- Total Materials ………………………………$183
- New Tools
- Beadlock kits (3/8 and 1/2″ kits) ………..$36
- Craftsman router and table …………………$99
- 3/4″ Router bit ………………………………………..$18
- Total Tools ……………………………………………….$153
- Total Materials and Tools ………………………….$336
So even with buying a few new tools, we only spent under $340 to build the two gates and it only took less than 1 week (~20 hrs). And to make another set of gates, the additional cost would only be under $200, and given the fact that I had never used the router or tenon tools before, it’ll be a bit faster as well.
We will have another post soon to show how I finished the gate off, including stain, hardware and hanging the gates. (Update: Here it is!)